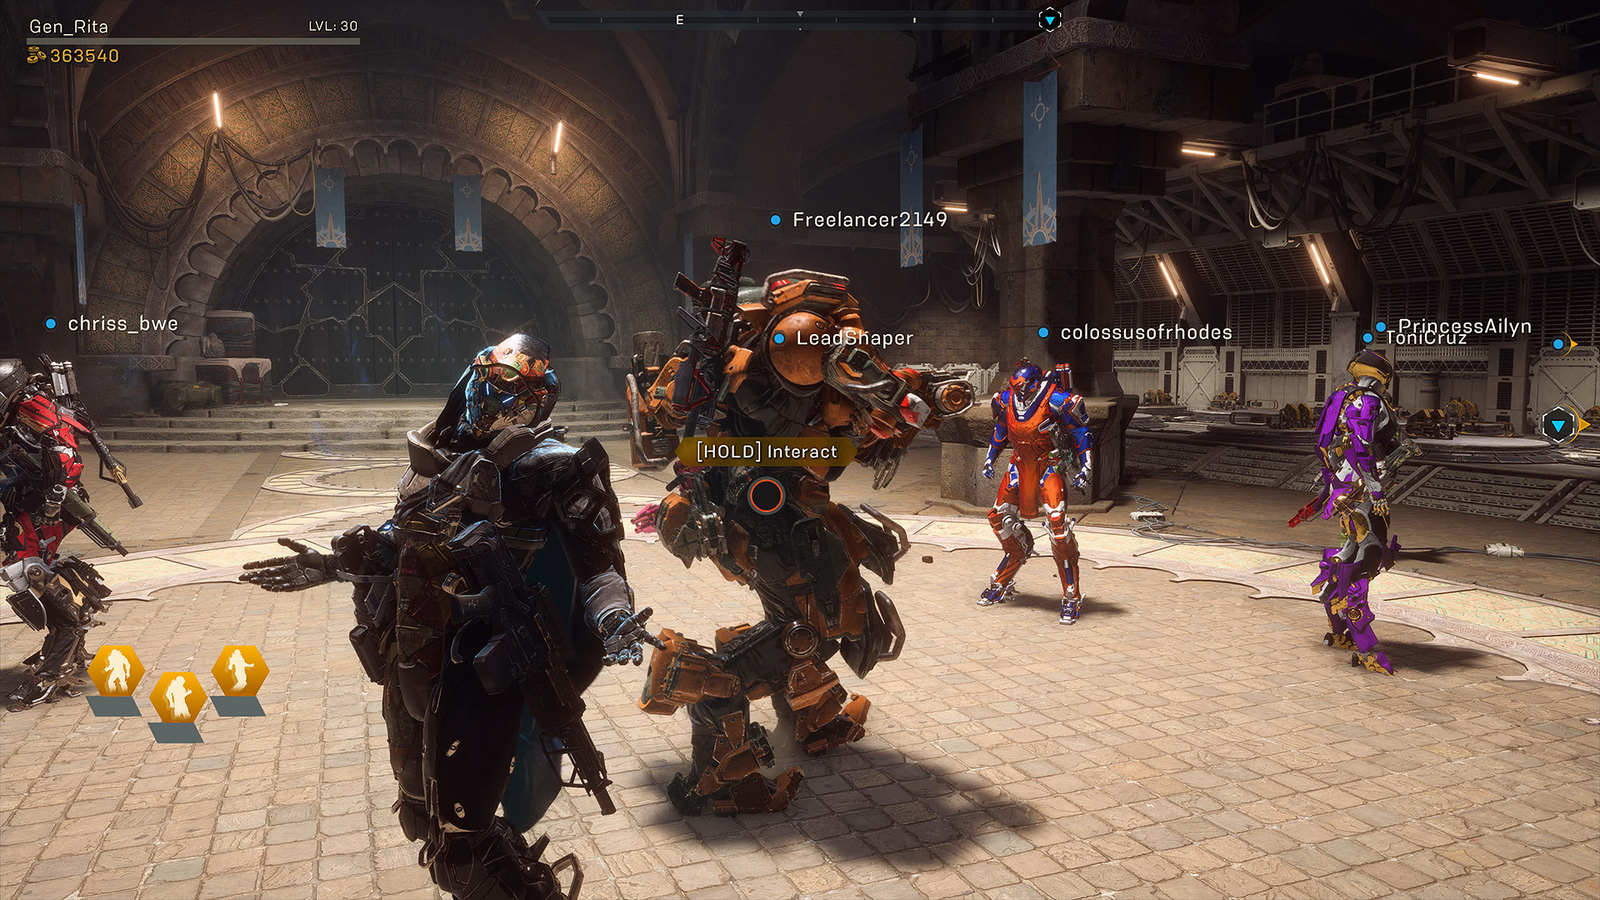
Before you suit up and dive into Anthem‘s more advanced and challenging content, we’ve got some tips that will help prepare you to take on just about anything the game can throw at you. We’ll be covering why your gear and loadouts can mean the difference between success and failure, why crafting is vital, and the importance of combos and ultimates. Ready? Let’s go, Freelancer!
Beyond the Level Cap
Once you’ve unlocked all four javelins and reached the level cap, you’ll be ready to take on the three highest difficulty levels: Grandmaster 1, Grandmaster 2, and Grandmaster 3. Higher difficulties, in turn, give you opportunities for increasingly rare gear that will help you to build the right javelin loadouts to take on almost any enemy.
There are six rarity levels: Common, Uncommon, Rare, Epic, Masterwork, and Legendary. The higher the rarity level, the more powerful the gear. And gear at the highest rarity levels also comes with inscriptions (randomly rolled bonuses) and the possibility for added ability bonuses that appear on the item’s description.
At this point, attempting to find or craft the best gear for your javelins may take up a good deal of your time. There’s no “perfect build” in Anthem, so maximizing several highly specialized and powerful loadouts is an excellent idea. Tweak your loadout in the Forge, then take your javelin out to try it against some actual enemies. Don’t be afraid to experiment; it’s important to find the right combination for you and your playstyle – you want to know precisely what your javelin can (and can’t) do before you take on something like a Stronghold.
What is a Stronghold? They’re the most challenging and dangerous experiences you’ll face in Anthem, so much so that you’ll need a full squad of four even to enter them. Trust us, it’ll take every single member to succeed – and they’ll need to understand the strengths and weaknesses of their javelin both individually and in terms of the team. Preparation is critical if you want to triumph and reap the generous rewards you’ll find there.
Crafting 101
What do you do if you can’t find the exact weapon or gear you need to complete a loadout? You can certainly keep searching, but a faster way is to turn to crafting. First, you’ll need a blueprint, which can be obtained by completing Challenges. Blueprints have the same six rarity levels as above, and, unsurprisingly, the higher the rarity level, the more difficult the Challenge will be to get it. Once you’ve obtained a blueprint, you’ll also need embers (by-products of the Anthem of Creation that can be found throughout the world and dictate the rarity of the item you’ll craft) to get started.
You’ll also need to gather materials, and there are four primary ways to go about that. Head out into Freeplay (freely roaming the open-world of Anthem) and locate plant and mineral resources to harvest, take on daily, weekly, and monthly Challenges, salvage materials by dismantling gear you don’t currently need, and visit the Crafting Shop.
Finally, consumables are single-use items that provide powerful offensive or defensive bonuses. They unlock at level 10, 20, and finally 30, giving you a maximum of three. As with other kinds of gear, their strength is related to their rarity level, but even a relatively low-level consumable can make a significant difference in combat. Applying them before entering a Stronghold is suggested.
Combos and Ultimates
So you’ve found or crafted the gear and weapons you need, optimized your loadout, and tried it out against some enemies – now it’s time to master your combos and ultimates. Let’s start with combos, or sets of moves that can quickly and reliably take down tougher enemies. There are two essential building blocks for a combo: primers and detonators.
Primers are typically a javelin’s elemental moves that inflict a status effect on the enemy. This effect can be fire, ice, electric, or acid, depending upon the ability used. Lower level enemies will be more easily primed than high level or shielded enemies.
Once an enemy is primed, you’ll need a triggering mechanism to release the combo. A single javelin can both prime and trigger a combo on its own or in combination with any other javelin. And the resulting effect will vary depending on the javelin being used. For example, if a Ranger triggers the combo they’ll do extra bonus damage to a single target on top of the ability. If a Colossus does the triggering, they’ll do extra bonus damage to all of the targets in proximity. Keep in mind, though, once a combo has been triggered, you’ll need to prime enemies again before performing another.
Each javelin also has a special ultimate ability that can not only take down enemies but also aid their fellow lancers during battle. Ultimates are slow to charge so must be used wisely, but their sheer power makes them well worth the wait.
Here’s a quick list of each javelin’s ultimate and just what it can do.
Ranger: Multi-target Missile Battery: Unload on your enemies with a volley of missiles that can lock onto dozens of moving targets at once.
Colossus: Siege Cannon: When you need an enemy to disappear, trigger this salvo and get ready for a show.
Interceptor: Assassins’ Blades: Carve through enemies with a burst of agility that allows you to dart around the battlefield striking enemies.
Storm: Elemental Storm: Calling down a torrent of energy, the Storm decimates a targeted area and any foes unlucky enough to be standing in it.
Well-prepared Freelancers will find even the most difficult Strongholds, and enemies can be overcome with a combination of the right loadout, understanding of their javelins’ capabilities, and teamwork. Communicate with your squad and work together to get the job done, and nothing can stand in your way.


