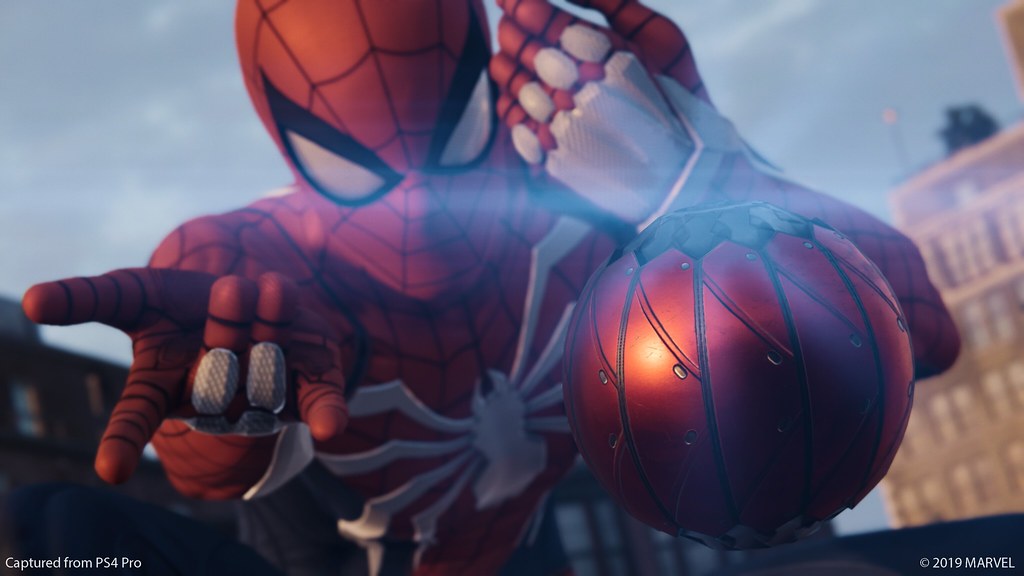
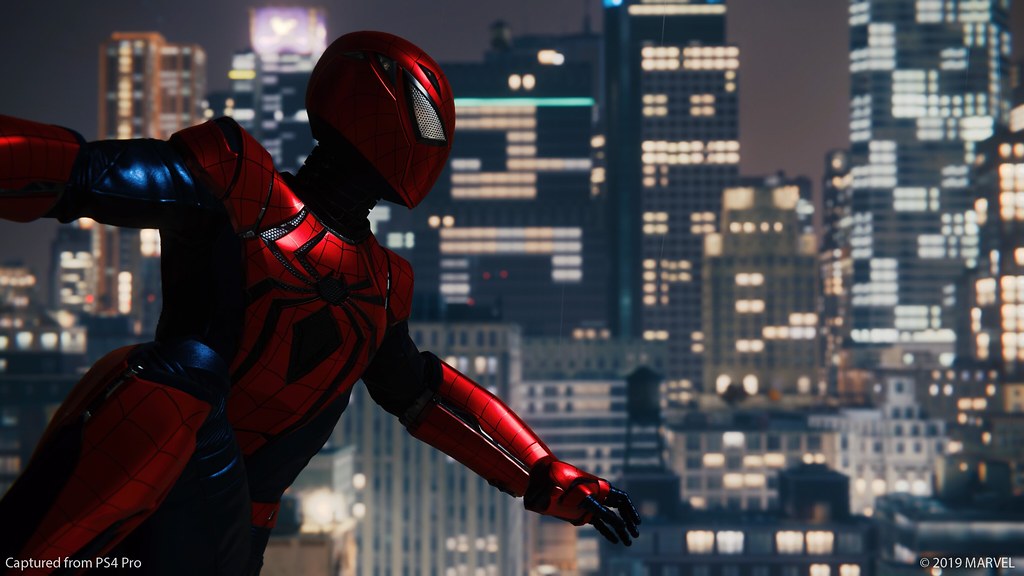
Has it already been a year since Marvel’s Spider-Man webbed up our hearts? I’ve been a lifelong fan of the ol’ wall-crawler, so since Insomniac’s acclaimed adventure first point-launched onto PS4 I’ve been beside myself swinging through the city, putting a stop to crimes both big and small… and stopping every five minutes to bust out my camera.
Even after locking down the game’s Platinum Trophy, I’ve made quite the habit of hopping back in from time to time not only to let off some steam with a quick swing through NYC, but to flex my photographic muscles with the superb Photo Mode Insomniac baked into Marvel’s Spider-Man.
There are three broad ideas I try to keep in mind when getting into the Photo Mode mindset in any game, and they certainly apply here as well. Let’s call them Lights, Camera, and Action.
LIGHTS
Photography, at its core, is the practice of capturing light. As such, understanding light and how it affects your subject is key to capturing a compelling photo.
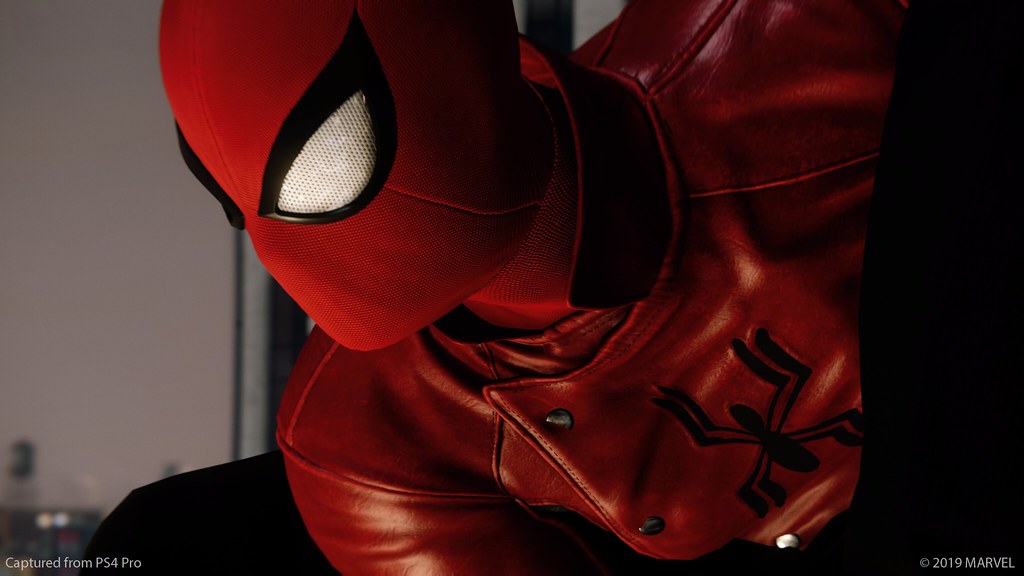
If you’ve unlocked the ability to set the time of day at Harry’s Research Stations, set your game to nighttime and go for a quick swing around the city. Look for various sources of light and get up close to each one to see how they interact with Spidey. Some of my favorites are the lit glass skylights on top of some buildings, which can make for dramatic bottom-lit shots of our hero.
Use these…
… to do this
I also like to play with the huge electronic billboards you can find in the brighter parts of the city. Framing a well-timed jump or mid-air attack just right can make for a rad silhouette shot of the web-slinger. Setting the time of day to sunset can make for great silhouettes too, and that warm “golden hour” lighting is especially gorgeous.
Experiment with the different color filters in your Photo Mode menu here, too — but keep in mind that you can (and often should) decrease their intensity a bit to suit the photo you’re taking. The Spider-Chrome filter can blow out the details of a photo at full strength, but reducing its intensity can provide just the contrast bump you need to give your photo an extra kick.
CAMERA
Photo Mode in Marvel’s Spider-Man has plenty of menus to tinker with, but the first one I look to when setting up a new shot is the FOV (field of view). This behaves similarly to the optical zoom feature on a real-life camera, which means two things:
- Setting it to 100 will give you an ultra-wide angle shot. This will add an element of distortion to the edges of your image, which can make for an especially dramatic shot if you frame it well.
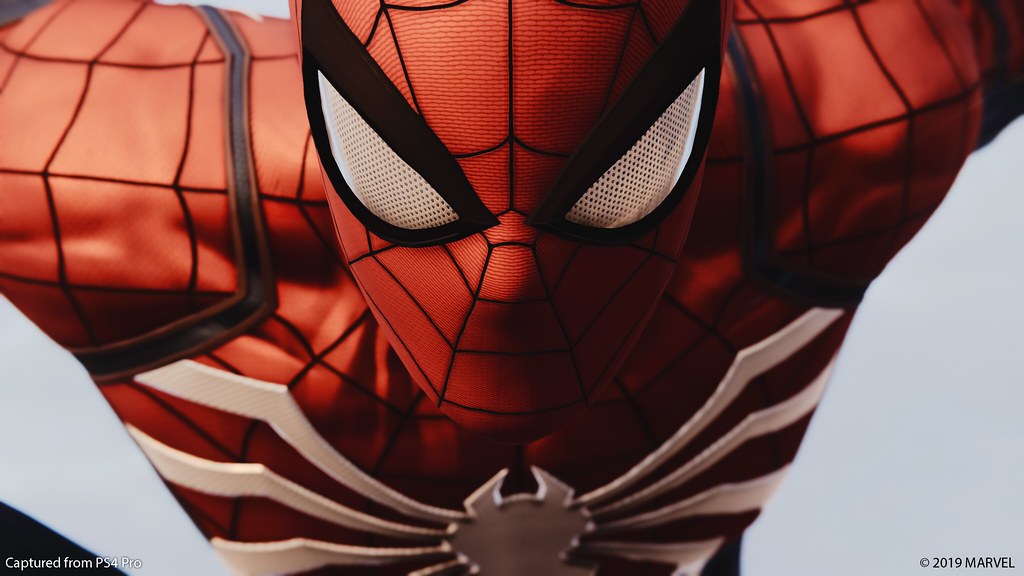
- Cranking it all the way to the other side of the slider acts similarly to a super-telephoto lens in real life, compressing the elements of your image together and letting you zero in on specific details. This makes for great portraits, especially given the extensive texture work Insomniac has put into many of Spidey’s suits.
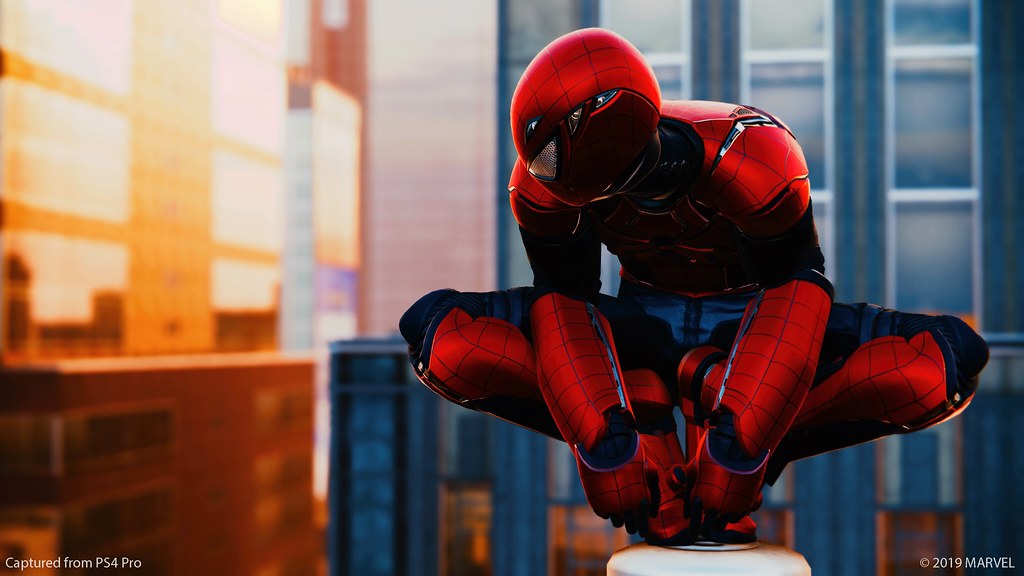
Next, I usually adjust the aperture and focus distance of the photo. This emulates the behavior of the aperture setting on a real camera, which means it lets you adjust how much of a photo is in focus. You know that effect where a person’s face will be in focus, but the background is blurry? That’s called depth-of-field, and it’s what we’re playing with when we adjust these sliders. It’s tempting to just crank it all the way down to blow out the background of every photo, but don’t get too carried away. Sometimes it pays to keep a little bit of detail in the background to add a bit of context to your shot.
Tilting your camera is another technique that can help keep certain elements in-frame or make a photo feel more dynamic, so don’t be afraid to play around here. Additionally, you can rotate the camera 90 degrees to frame your photo in portrait orientation, which can make for some rather nice mobile wallpapers!
It’s important to consider the altitude of your camera in relation to your subject, as well. Generally speaking, shooting from a low angle can make your subject seem more powerful, but as with all things in Photo Mode (and in life!), moderation is key. Try taking the same photo with the camera at different heights and see how it affects the final shot.
Bonus tip: Watch Spidey’s eyes as you experiment with all of these points. Since they’re so large and expressive, they can be especially subject to these adjustments. Play with the different emotes when using the selfie camera, too!
ACTION
Since Photo Mode freezes time, it’s possible to capture positively striking images if you time things just right. Experiment with all the moves in Spider-Man’s repertoire — he has a far more tricks up his sleeve than swinging and punching. If you’re really precise, you can even see the details on all of his different gadgets as he fires them off at foes!
Keep playing with different moves to see how certain ones look when frozen; you’ll be surprised at the photos you can capture without even meaning to. Web Zips, Point Launches, various combat maneuvers, gadgets, and even simply wall-running can lead to surprisingly dramatic images.
You may have noticed the repeated use of the word “experiment” in this guide, and there’s a good reason for that. I’ve provided a few starting points here, but the best way to get pictures of Spider-Man is to get out there and take them! The more you tinker with the toolkit Insomniac has provided, the more familiar you’ll become with its various powers — you might end up developing your own tricks, too.
To get this shot, I froze the camera while wall-running up the side of a building, just as I passed a light mounted to the wall.
Finally, there’s a sweet suite of frames and stickers you can apply to put the finishing touch on your art. Don’t be afraid to get weird with it — you could create the next great comic book cover!
I’ve shared plenty of my own in-game photography on Twitter with the #SpiderManPS4 and #PS4share hashtags, and if you decide to boot up the game to take some photos I’d love to see you do the same! Got your own Photo Mode tricks you’d like to share? Drop ‘em in the comments!


