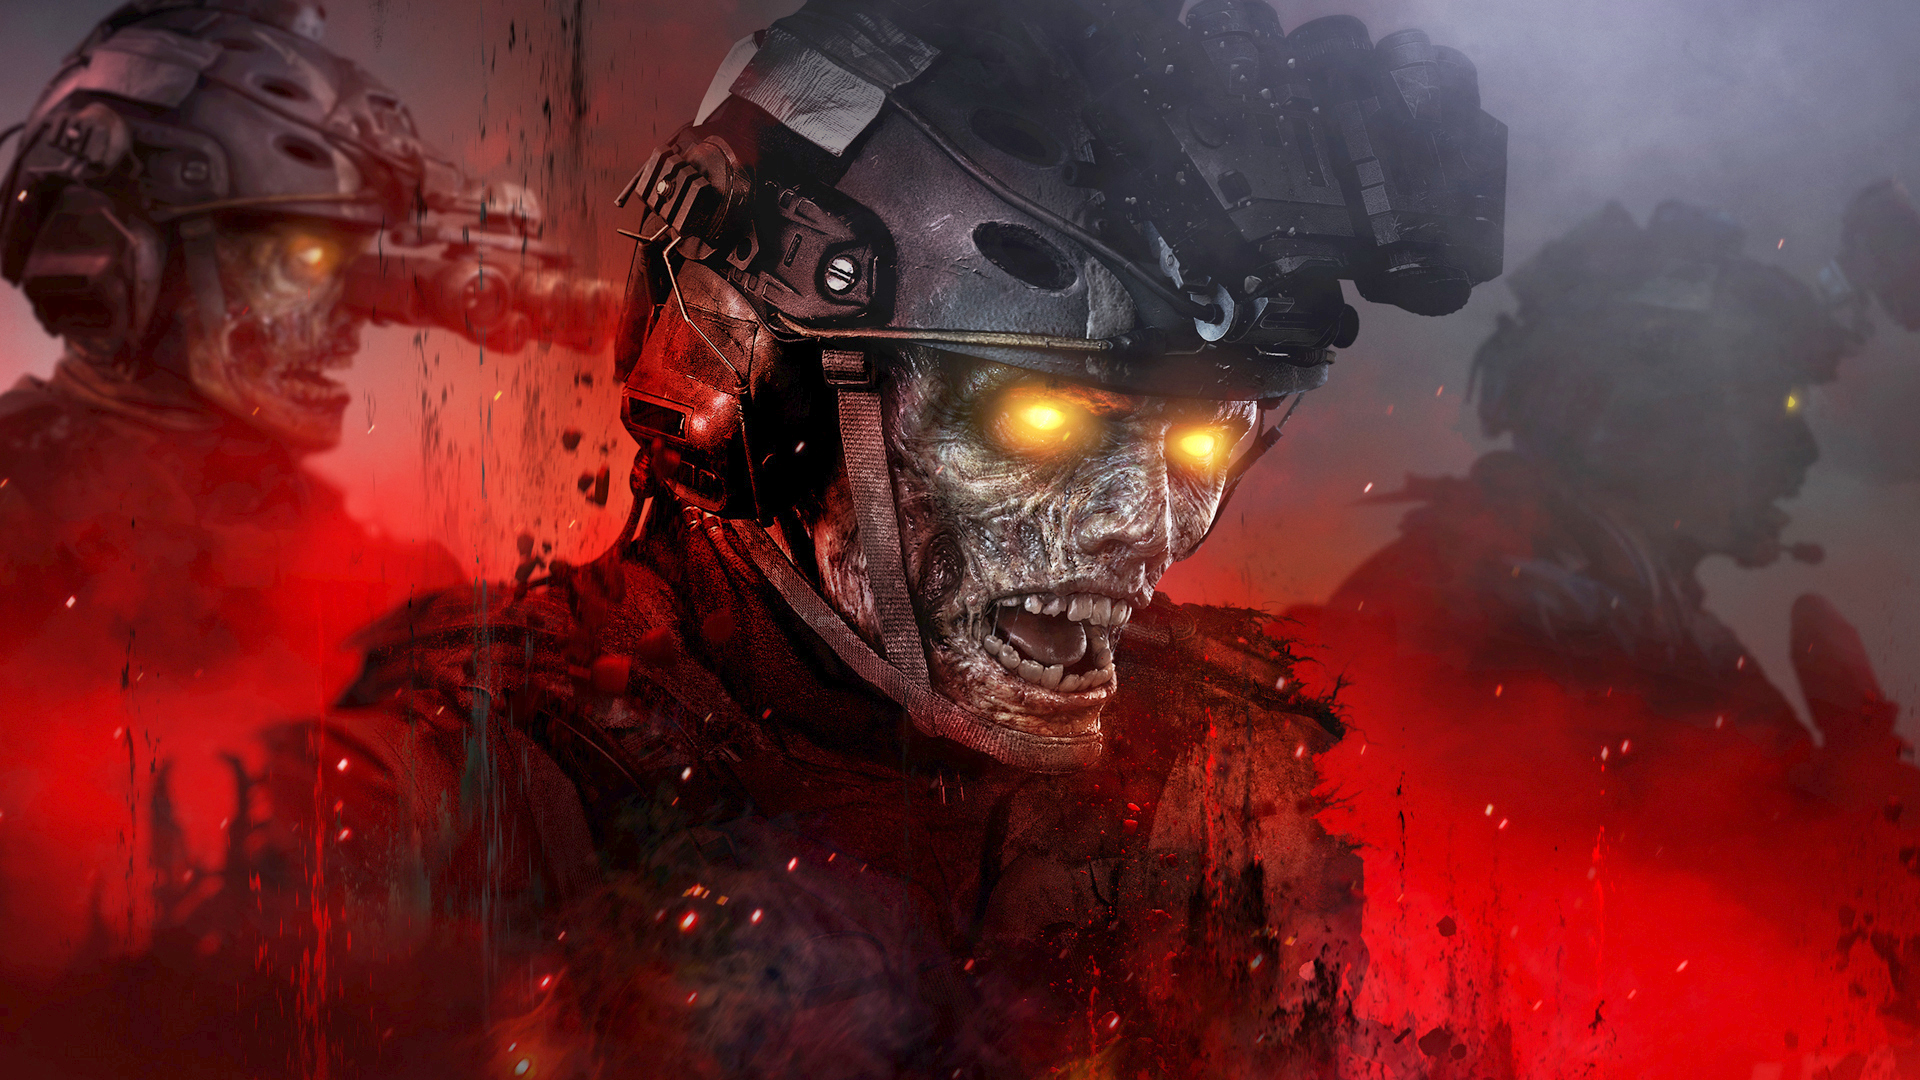
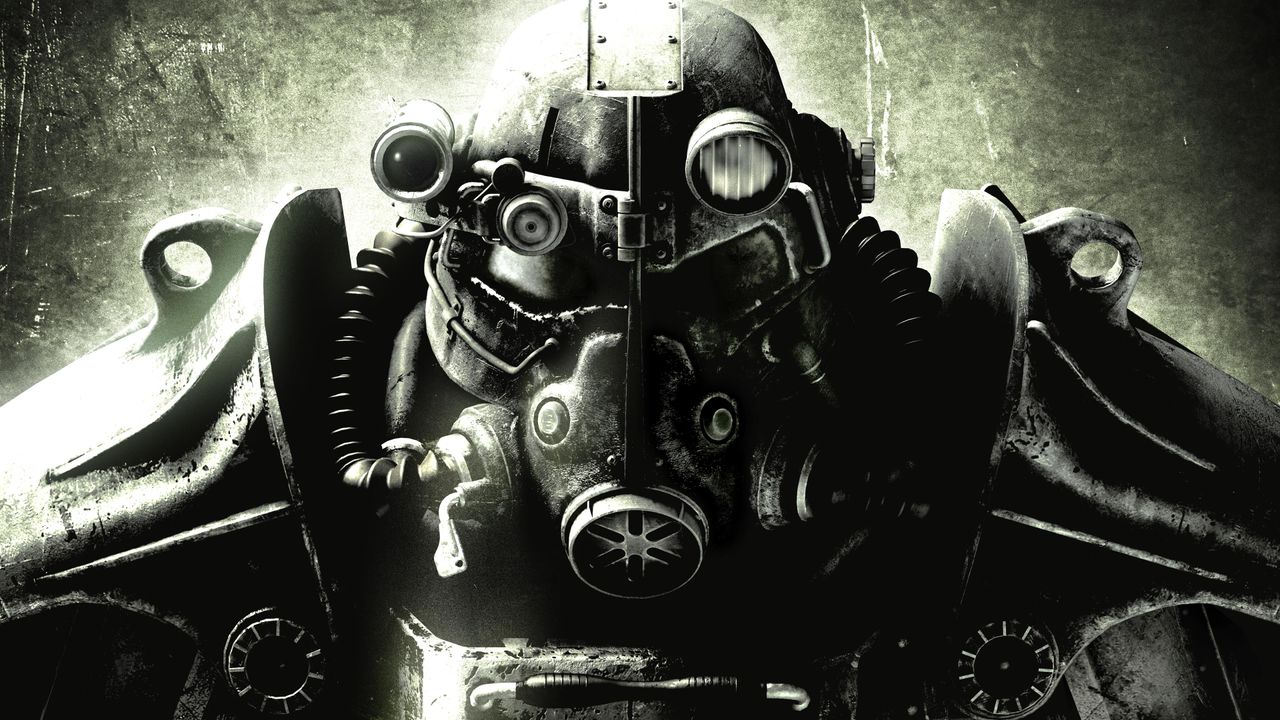
The Gormgant boss is the most challenging part of the new Act 4 mission in Modern Warfare 3‘s MWZ. Bad Signal sees you delve into the Dark Aether Rift, a challenging mode centred around a spooky version of the Al Bagra Fortress island from Al Mazrah, where you have to break four seals by killing a tonne of zombies.
Once you’re done, you’ll have to escape the island, but before you can, Gormgant rears his big ugly head and starts trying to eat you. This is a very challenging boss, not least because you have to fight your way through the entire Bad Signal mission first before you can even attempt him. Still, there are some things you can do to make him a bit easier, most of which, sadly, involve prepwork beforehand. Here’s how to defeat Gormgant in MWZ.
How to defeat Gormgant
You’ll first need to break the four seals to summon Gormgant (Image credit: Activision)
Shoot his glowing purple sections for extra damage (Image credit: Activision)
You can also shoot his mouth while he’s firing his beam (Image credit: Activision)
It’s best to keep your distance from Gormgant to avoid getting grabbed or smashed (Image credit: Activision)
Before you try to undertake the new Bad Signal mission that sees you fighting Gormgant, you should make sure you’re fully prepared. Pack-A-Punch your weapon to at least level 2—there’s a level 3 machine inside the Dark Aether Rift at the centre of the fortress if you gather enough Essence while in there also.
Make sure to use a Rare or Epic Aether Tool as well, and drink some Perk-A-Colas. I recommend Speed Cola, Jugger-nog, and Stamin-Up for increased health and sprint speed, then Deadshot Daiquiri, since it’ll be helpful in hitting Gormgant’s crit spots while he’s flailing around. You could also drink a Quick Revive in case squadmates go down near Gormgant and you need to pick them up fast.
Otherwise, here are some tips to defeat this big jerk worm:
Shoot his glowing bits: Gormgant’s crit spots are the purple glowing sections along the length of his body, but you can also shoot his mouth. Similar to the Megabomb, blasting his face hole when he’s firing a beam or doing certain other attacks will stun him. This is especially useful if he swallows one of your team, since if you shoot his crit spots enough, they can escape before he hurls them into the ground.Bring an LMG or Assault Rifle: While double Tyr remains the meta killing tool for Megabombs and crit spot bosses, you’ll also have to contend with lots of zombies while you’re fighting Gormgant, so it’s better to bring something that’ll work for both. This is even more relevant if you’ve only got the means to Pack-A-Punch one weapon to a decent level.Carry extra Self-Revives: Having a few second chances is always helpful when doing difficult content, especially as self-revives in MWZ automatically fill your empty slot after you use one. Of course, it’s necessary to bring a full squad to fight Gormgant, or even six if you can wrangle multiple teams together, but either way, more lives equals more chances at success. Keep the hell away: Gormgant’s worst attacks happen when you’re close to him, so maintain some distance. If you’re nearby he might grab or slam his head into you, both of which are an instant down. Also be on the lookout for when he burrows underground, since chances are he’ll come up underneath and swallow one of you, or at the very least, you’ll need to reposition to get away from him.Shoot the fly swarms: Gormgant will periodically fire out purple fly swarms that track to you and deal a lot of damage. The good news is you can shoot these, so make sure to blast them before they cause too much trouble.
It’s a long boss fight, and might take multiple attempts as you adjust to his attacks, but once you’re done you’ll get the Locked Diary and complete the Act 4 mission.

