Completing The Lion’s Crest will be one of your first tasks if you’ve pre-ordered Kingdom Come: Deliverance 2. Once you complete the prologue and find yourself free in Troskowitz, this quest will let you obtain the Brunswick Armor and weapon pre-order bonuses for the game—if you didn’t pre-order, sadly you’re out of luck unless they add it for everyone later.
You can start the quest properly by speaking to Scribe Gaibl in the building to the west of the tavern, marked by the Scribe quill and ink symbol. This learned scholar will give you The Lion’s Crest riddle to solve, which will in turn lead you to Brunswick’s Armor via treasure maps. Gaibl also gives you the crafting diagram for Brunswick’s Poleaxe, which, if you help blacksmith Radovan in the Wedding Crasher’s quest, you’ll get a chance to forge. If you’re looking for some Frankfurt Steel to do this, you can get some from the Cave in Apollonia by solving the first of the treasure maps.
Though you may want to undertake The Lion’s Crest straight away, you’ll need to grab a shovel and a weapon, to dig up treasure and fight bandits and wolves respectively. I’d also get some food and Saviour Schnapps, since you’ll be out in the wilds exploring for a bit.
The Lion’s Crest riddle solution
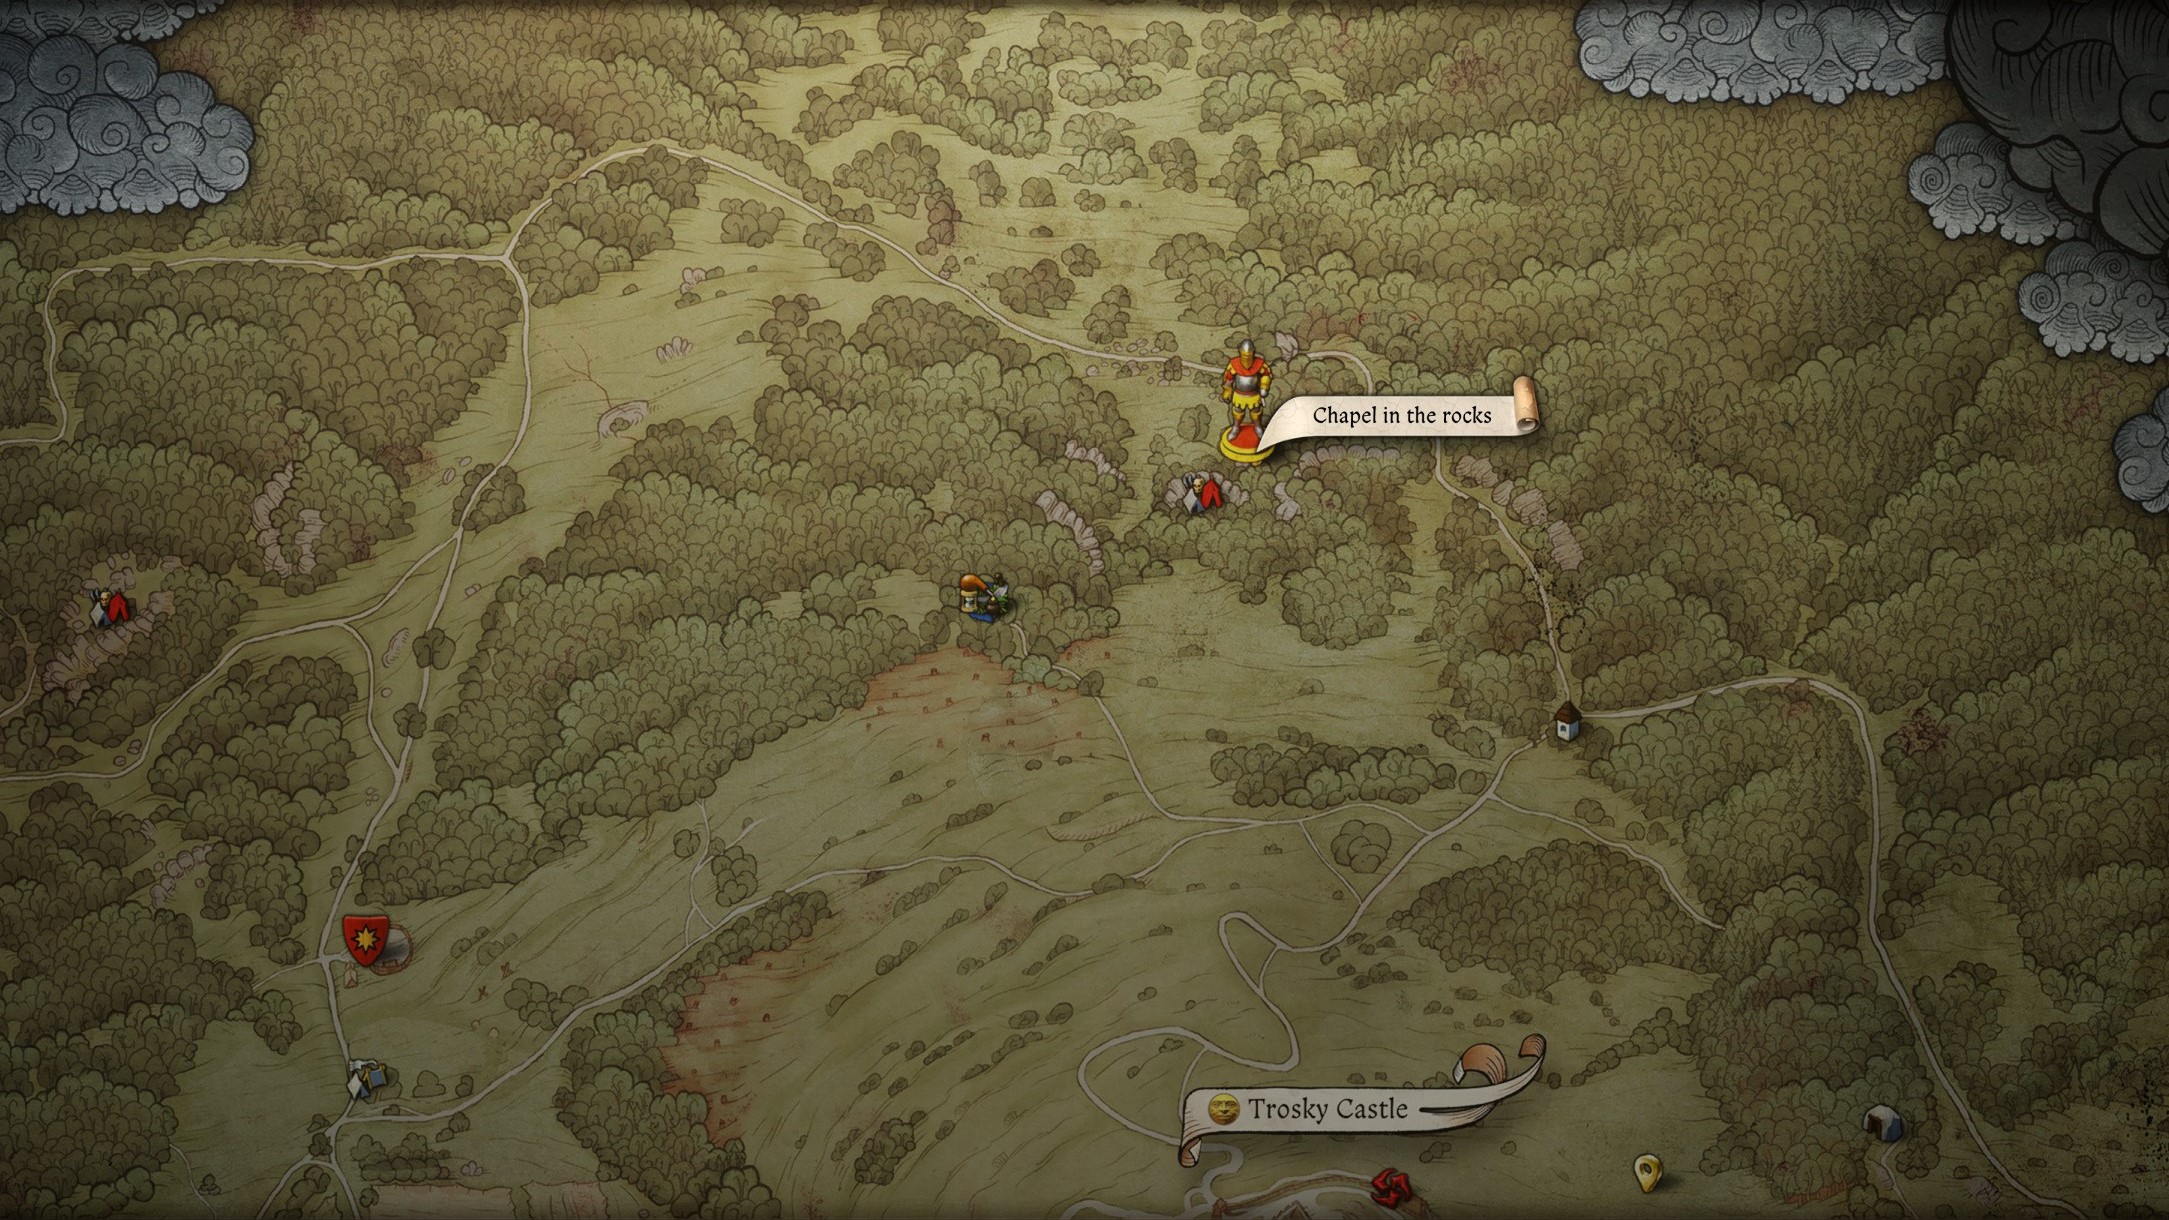
To get the first two maps leading to the Brunswick armor and weapons, you first need to solve The Lion’s Crest riddle. Long story short, the location you’re looking for is the Chapel in the Rocks to the north of Trosky Castle. If you’ve just started out at Troskowitz after the prologue, you’ll want to buy a shovel from the Troskowitz trader—or steal one from the cemetery to the east of the town—as you’ll be needing it. To find the chapel:
- From Troskowitz, head north past Trosky Castle and follow the trail until it forks at a shrine in the woods
- Take the left road until you’re parallel with the point shown on the map above
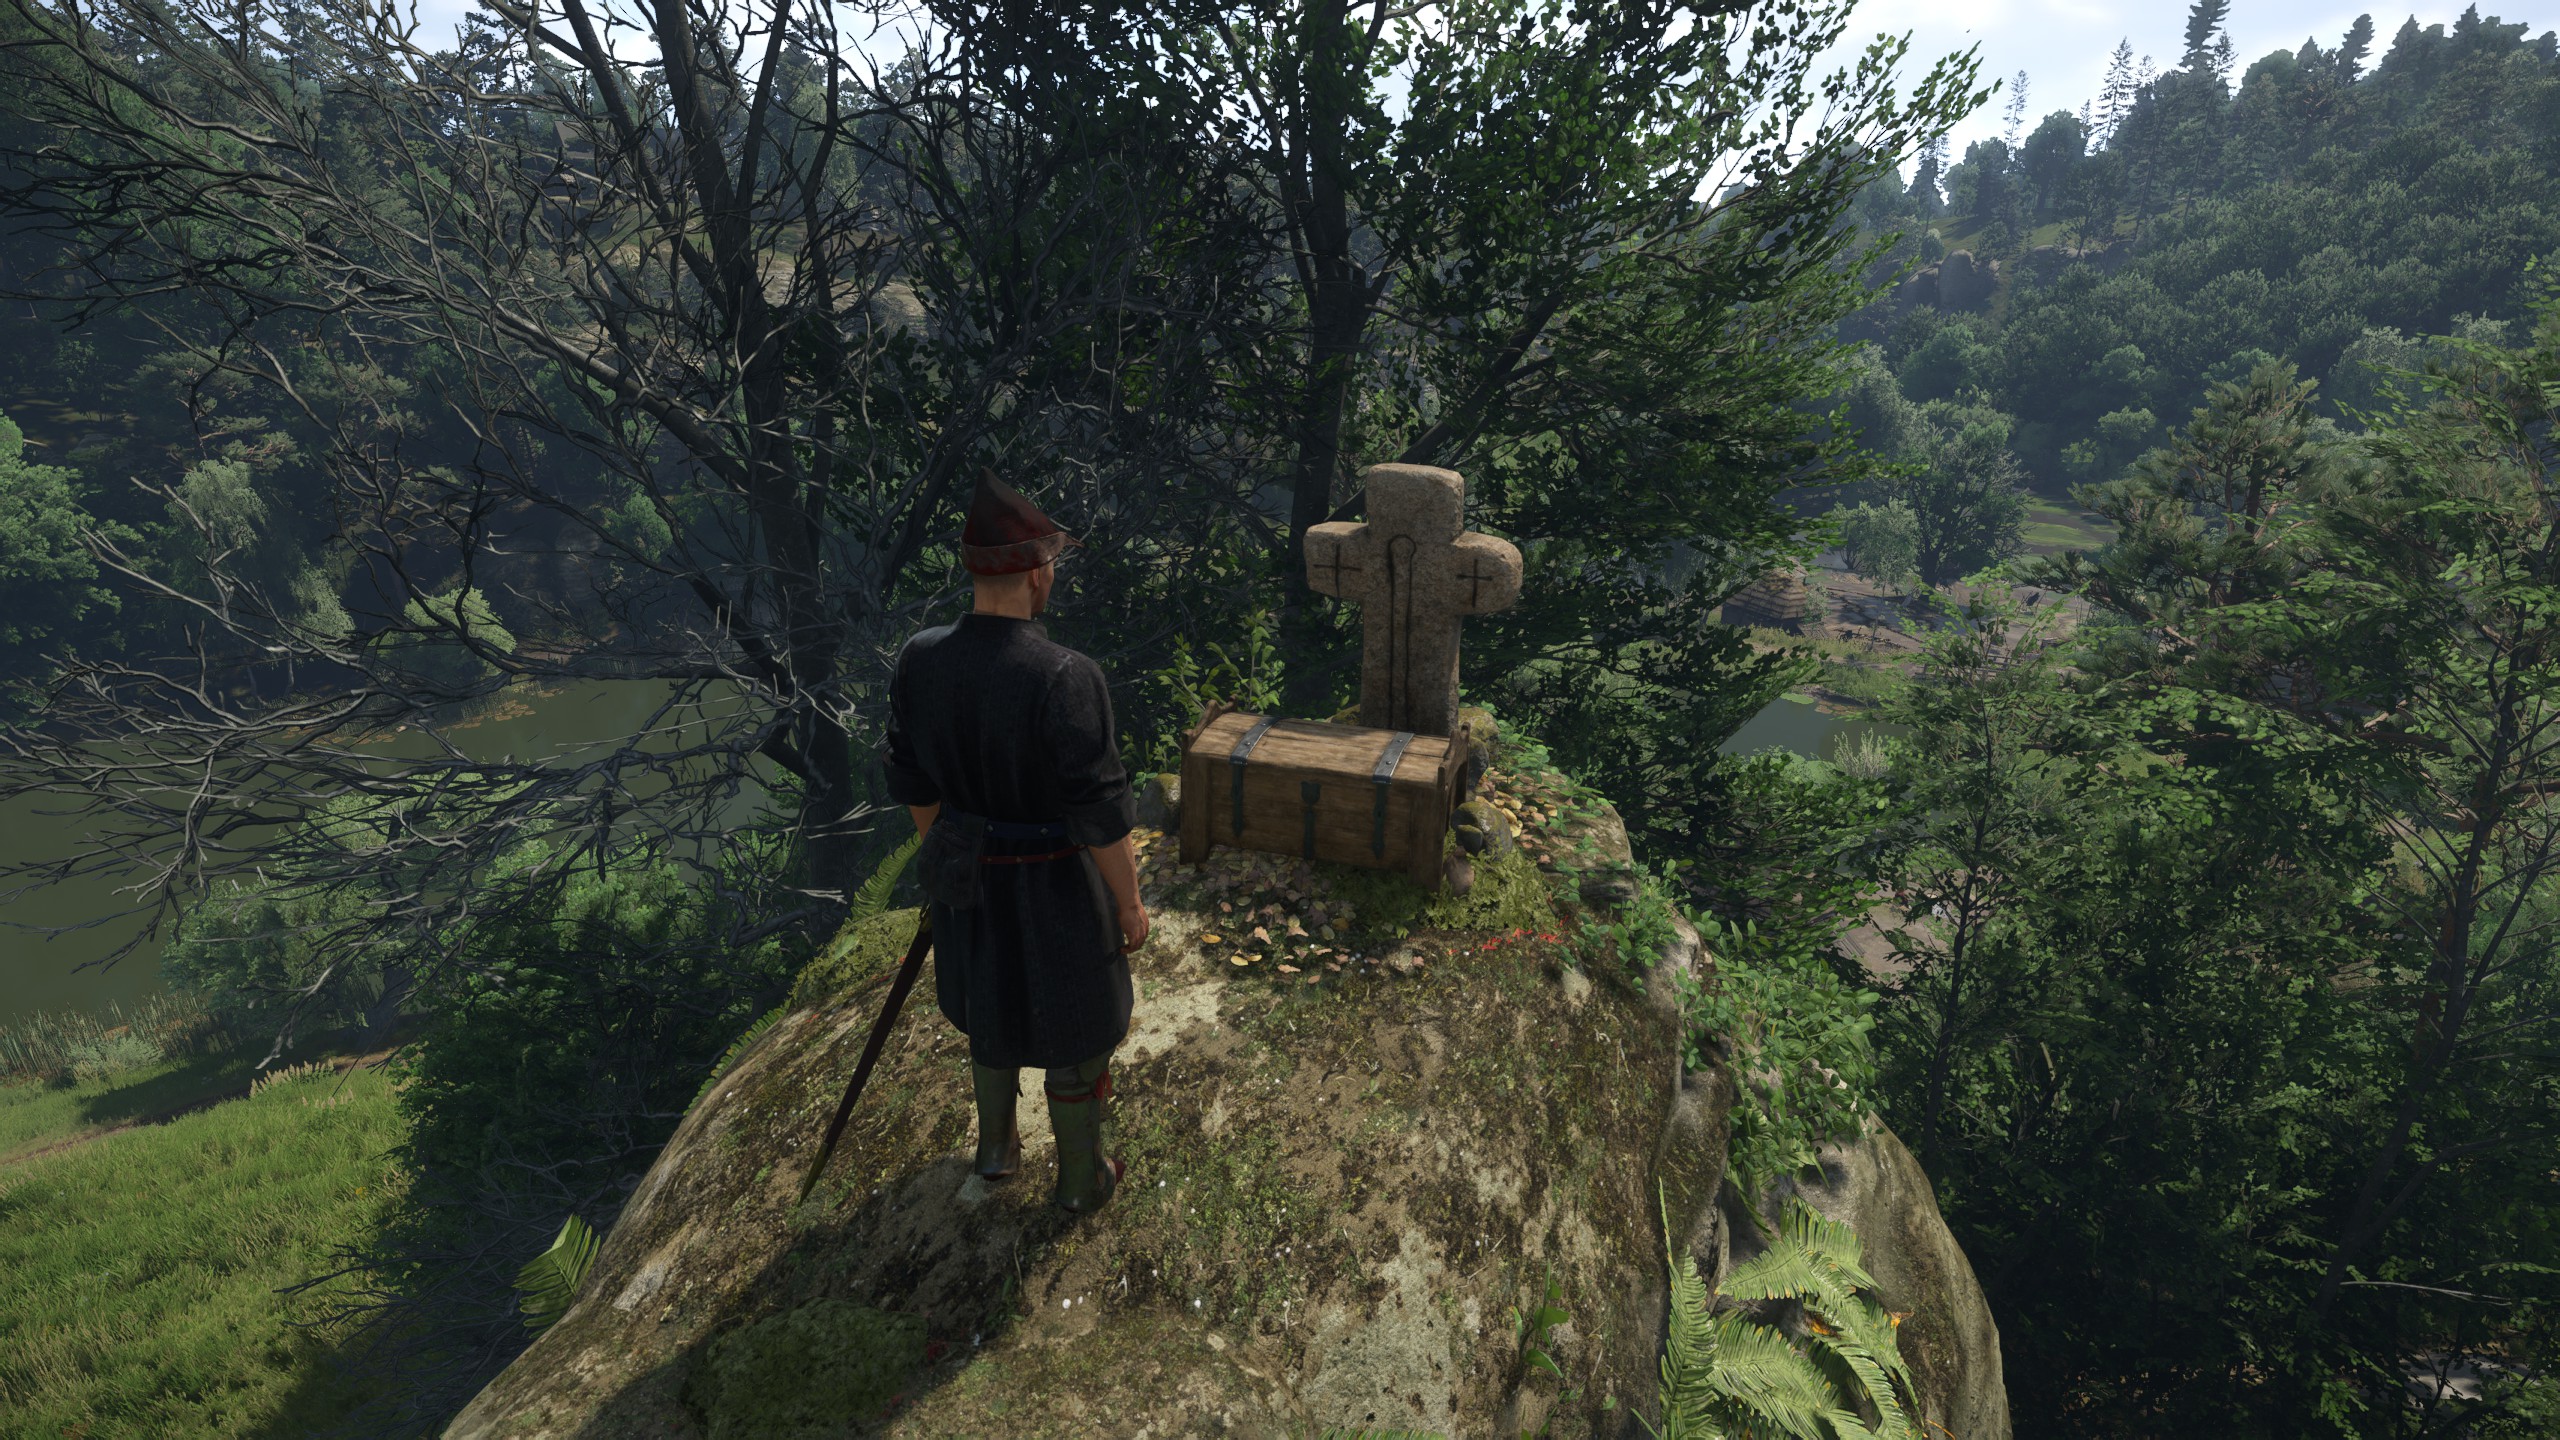
- Head south from the road and look for a small space enclosed by rocks, containing a stone cross and some candles.
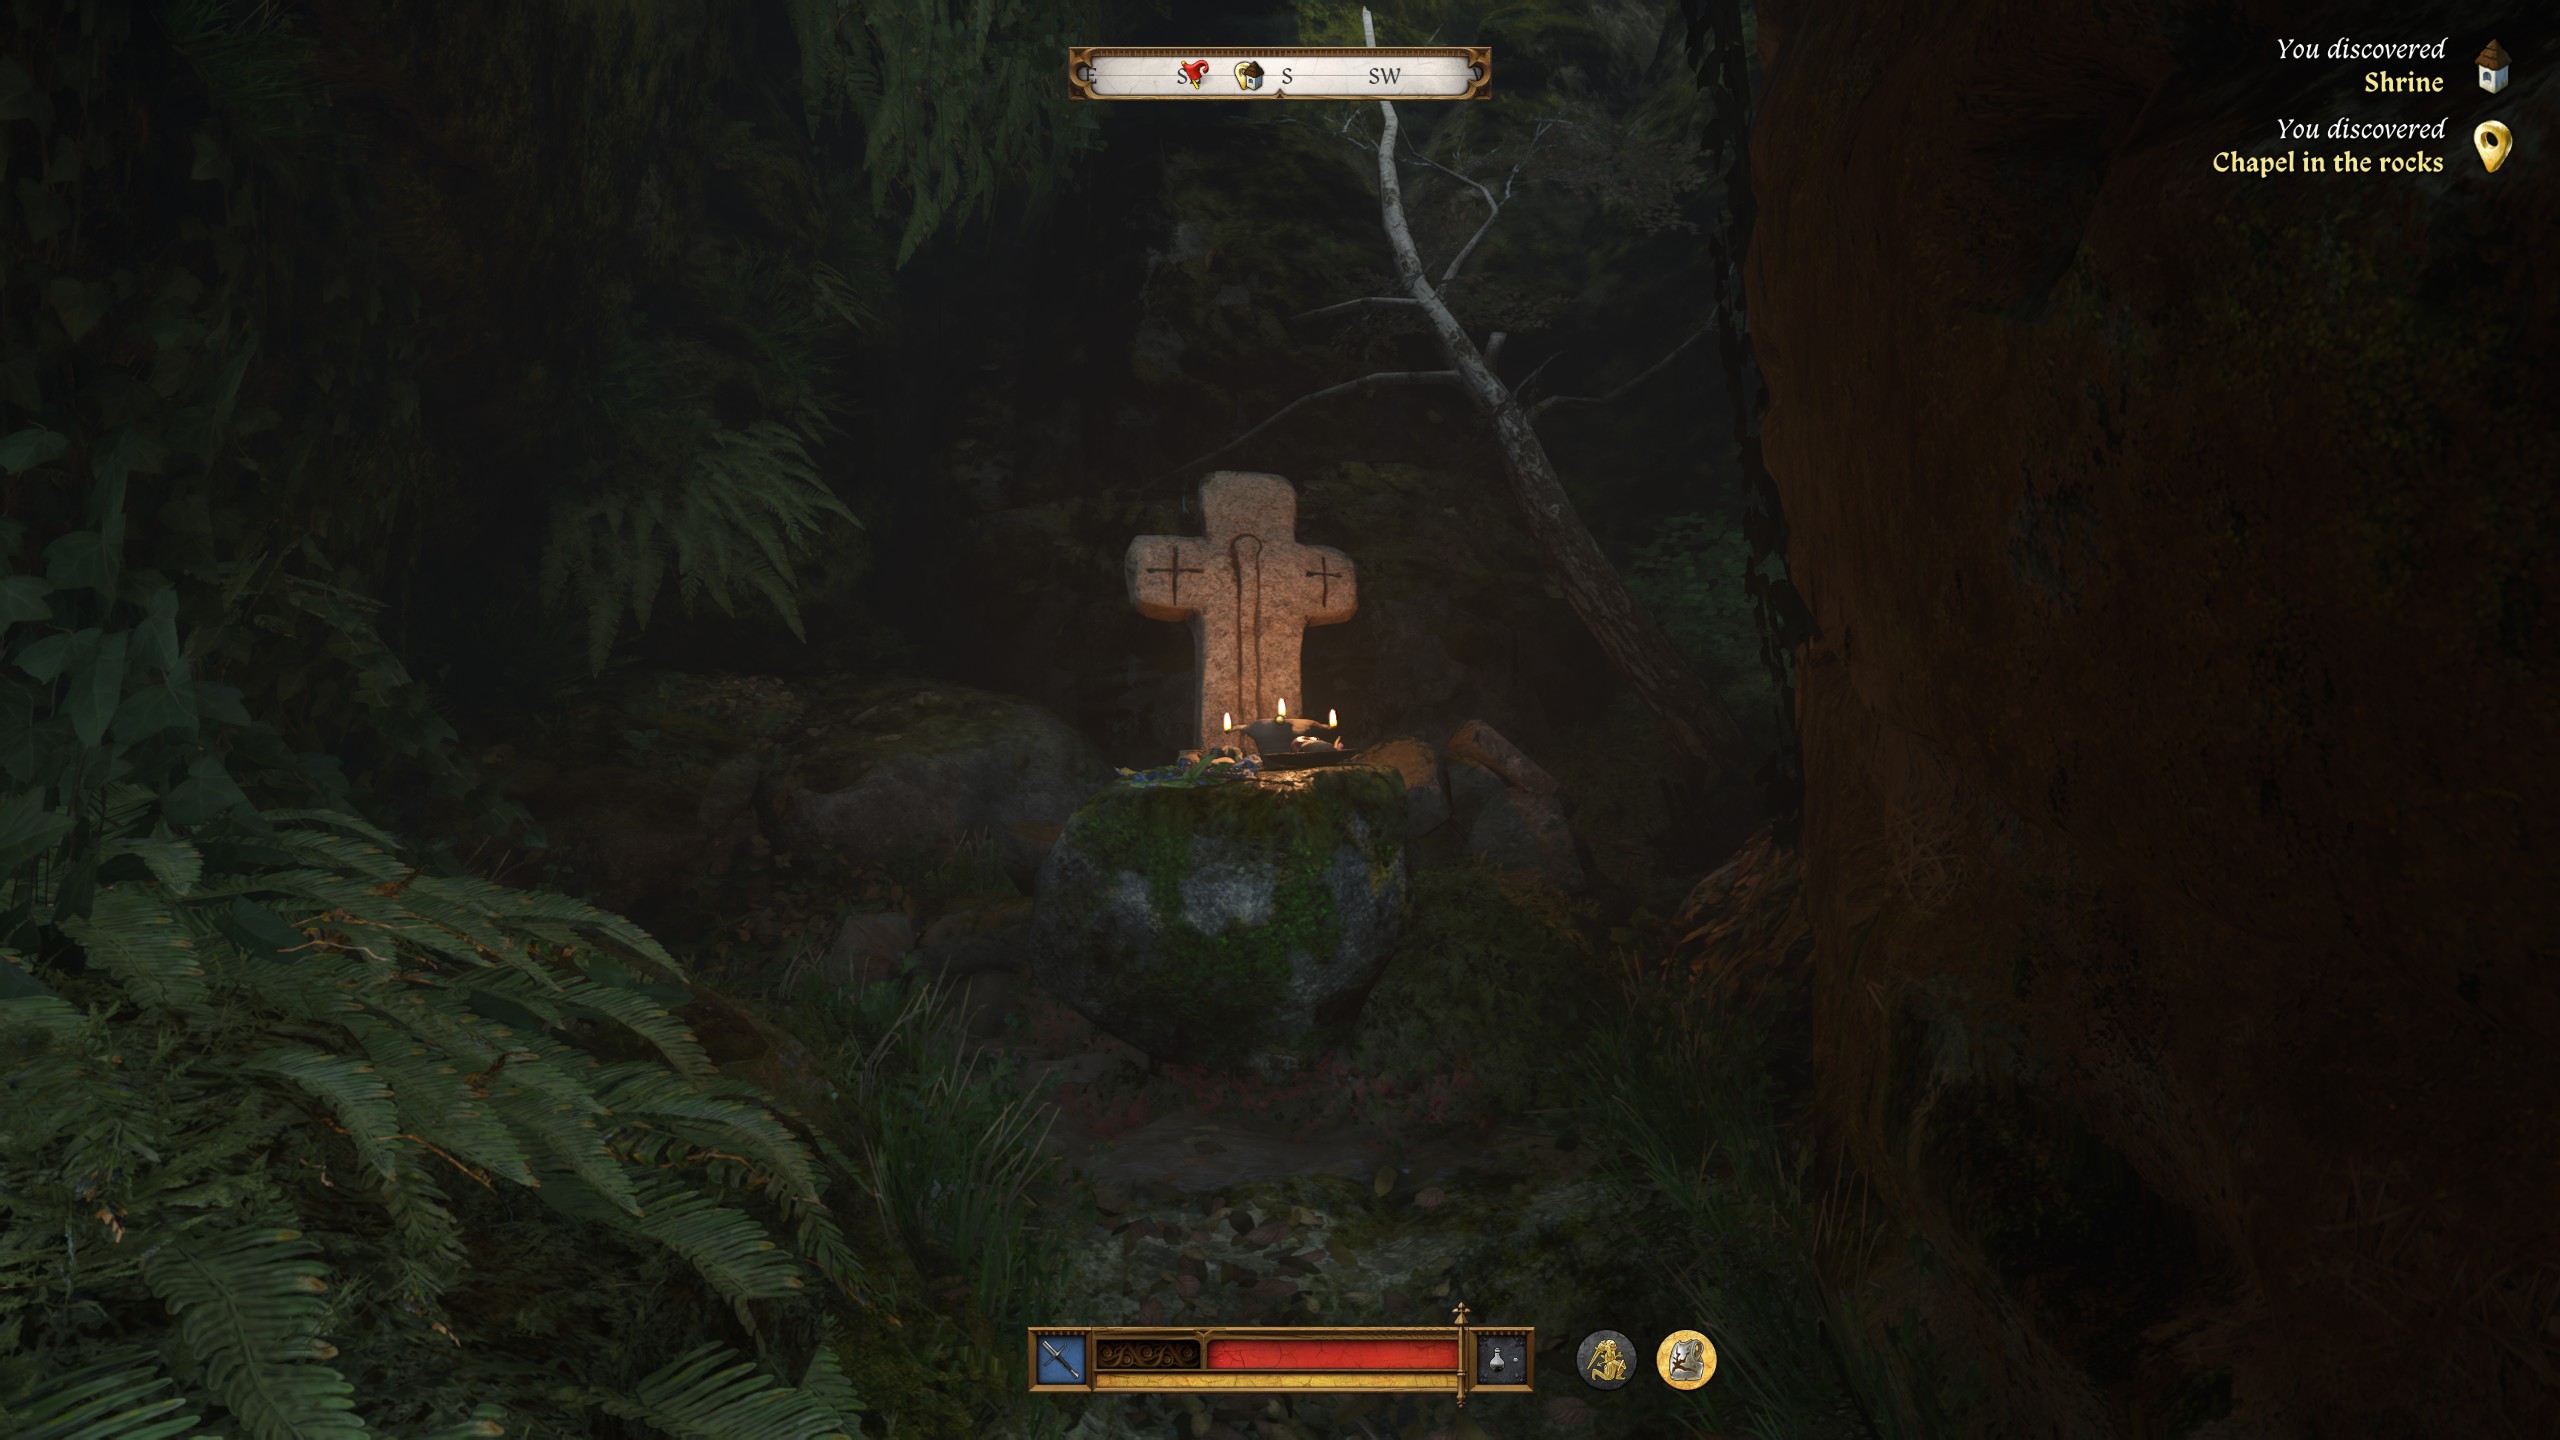
You need to interact with the cross to push it aside and then dig below it with your shovel. This reveals a small chest containing:
- Brunswick’s Gauntlet
- Brunswick’s Dagger
You’ll also get Brunswick’s Map I and II, as well as the Fragments of the Bible skill book and some other bits and pieces. Now you’re ready to begin the hunt for the rest of the gear.
Brunswick’s Map I solution
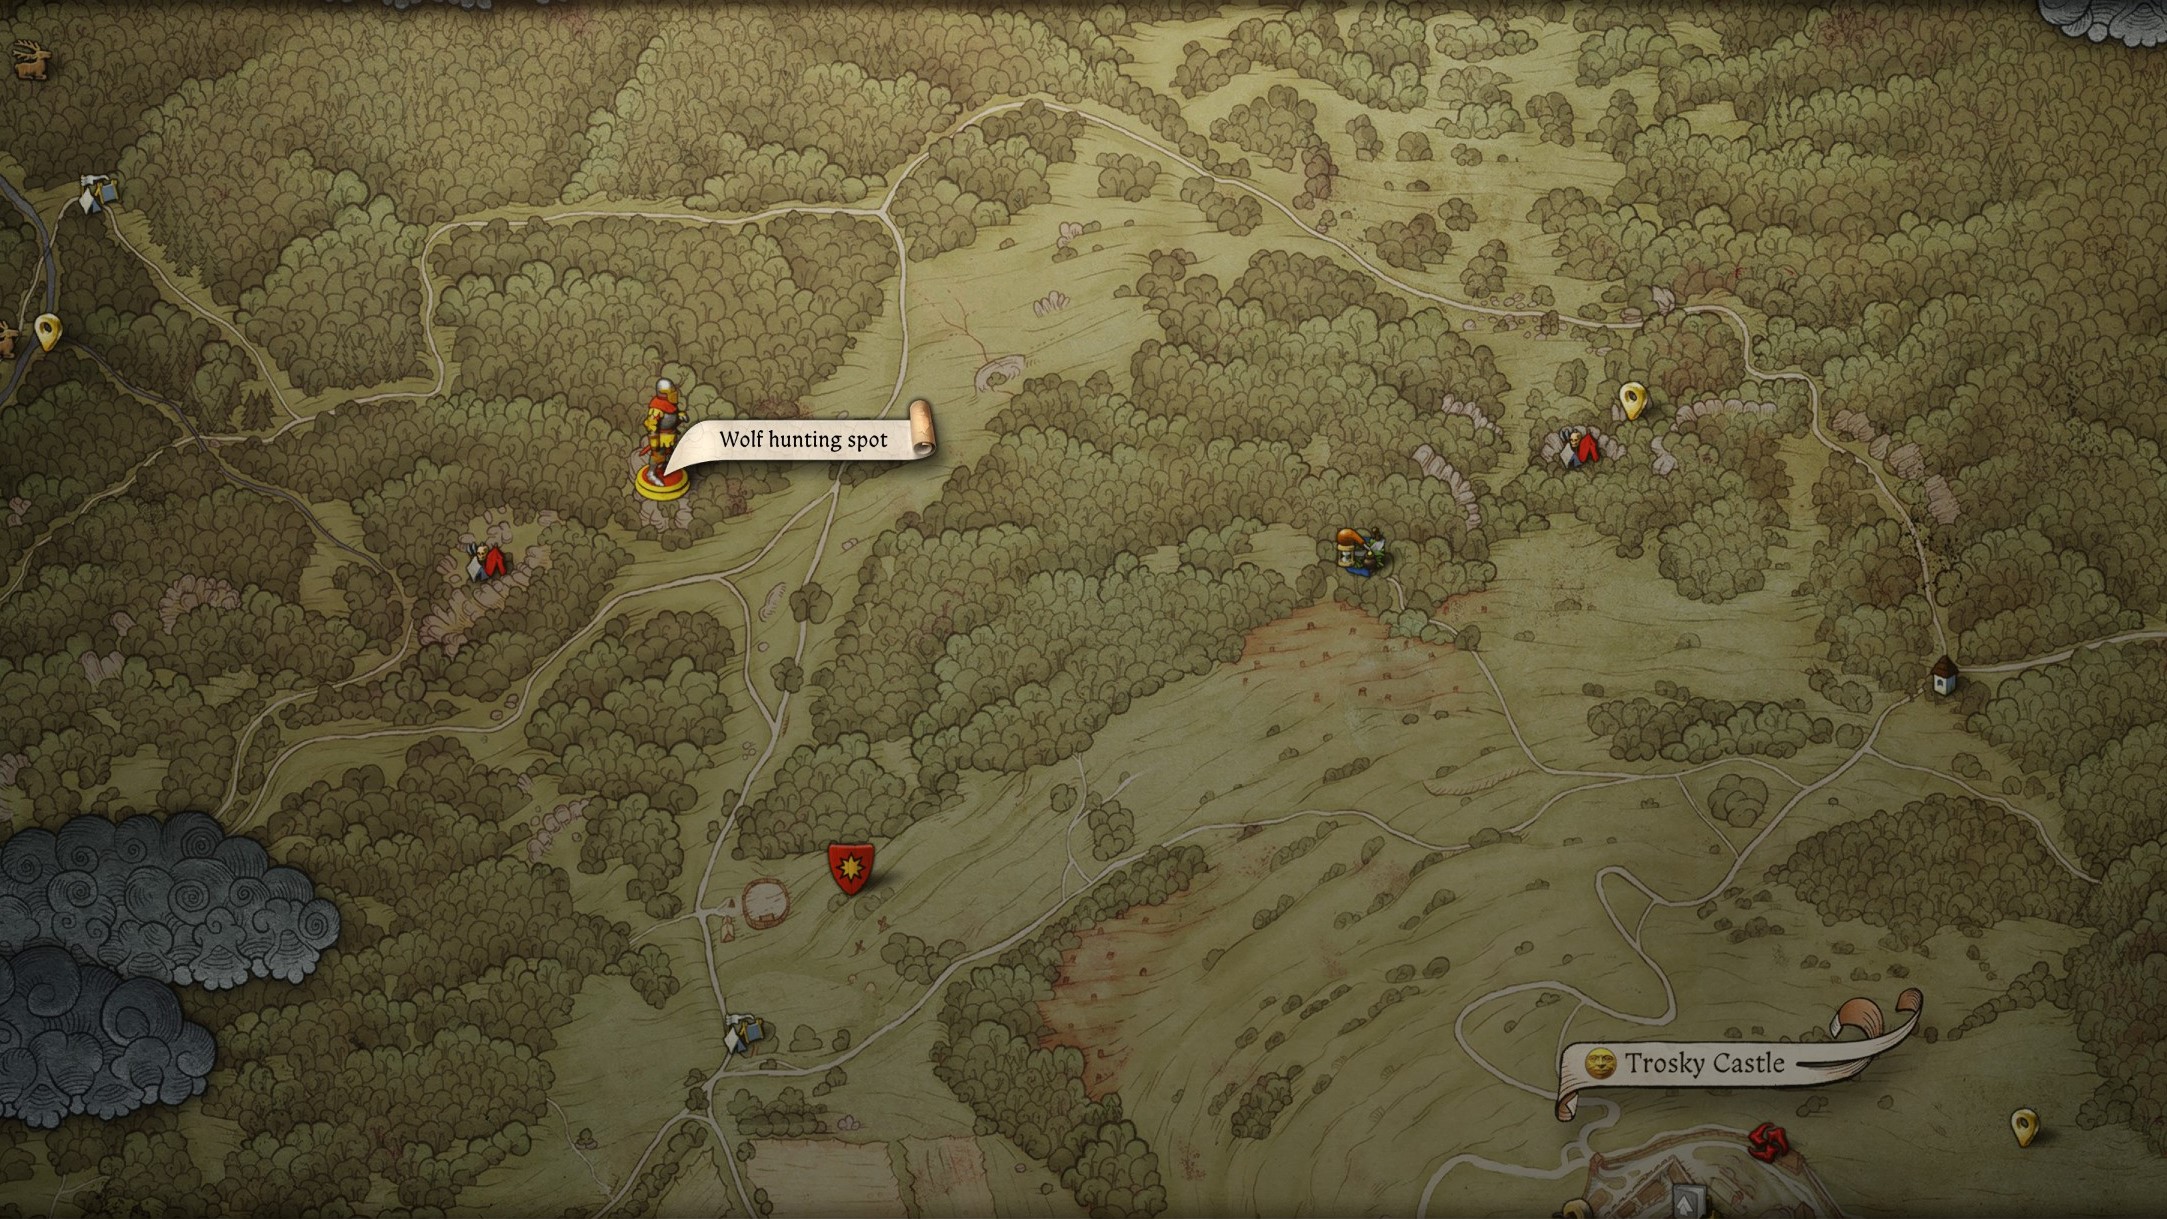
The first Brunswick map points to the Wolf Hunting Spot to the west of the Chapel in the Rocks. For more context, this is located directly north of Tachov. You’ll want to be relatively well armed for this, since you’ll have to fend off a pack of five or so wolves. Perhaps it’s even worth finding Mutt for some backup before you do. Either way, remember that you can still parry wolves by pressing the right mouse button when the green shield appears.
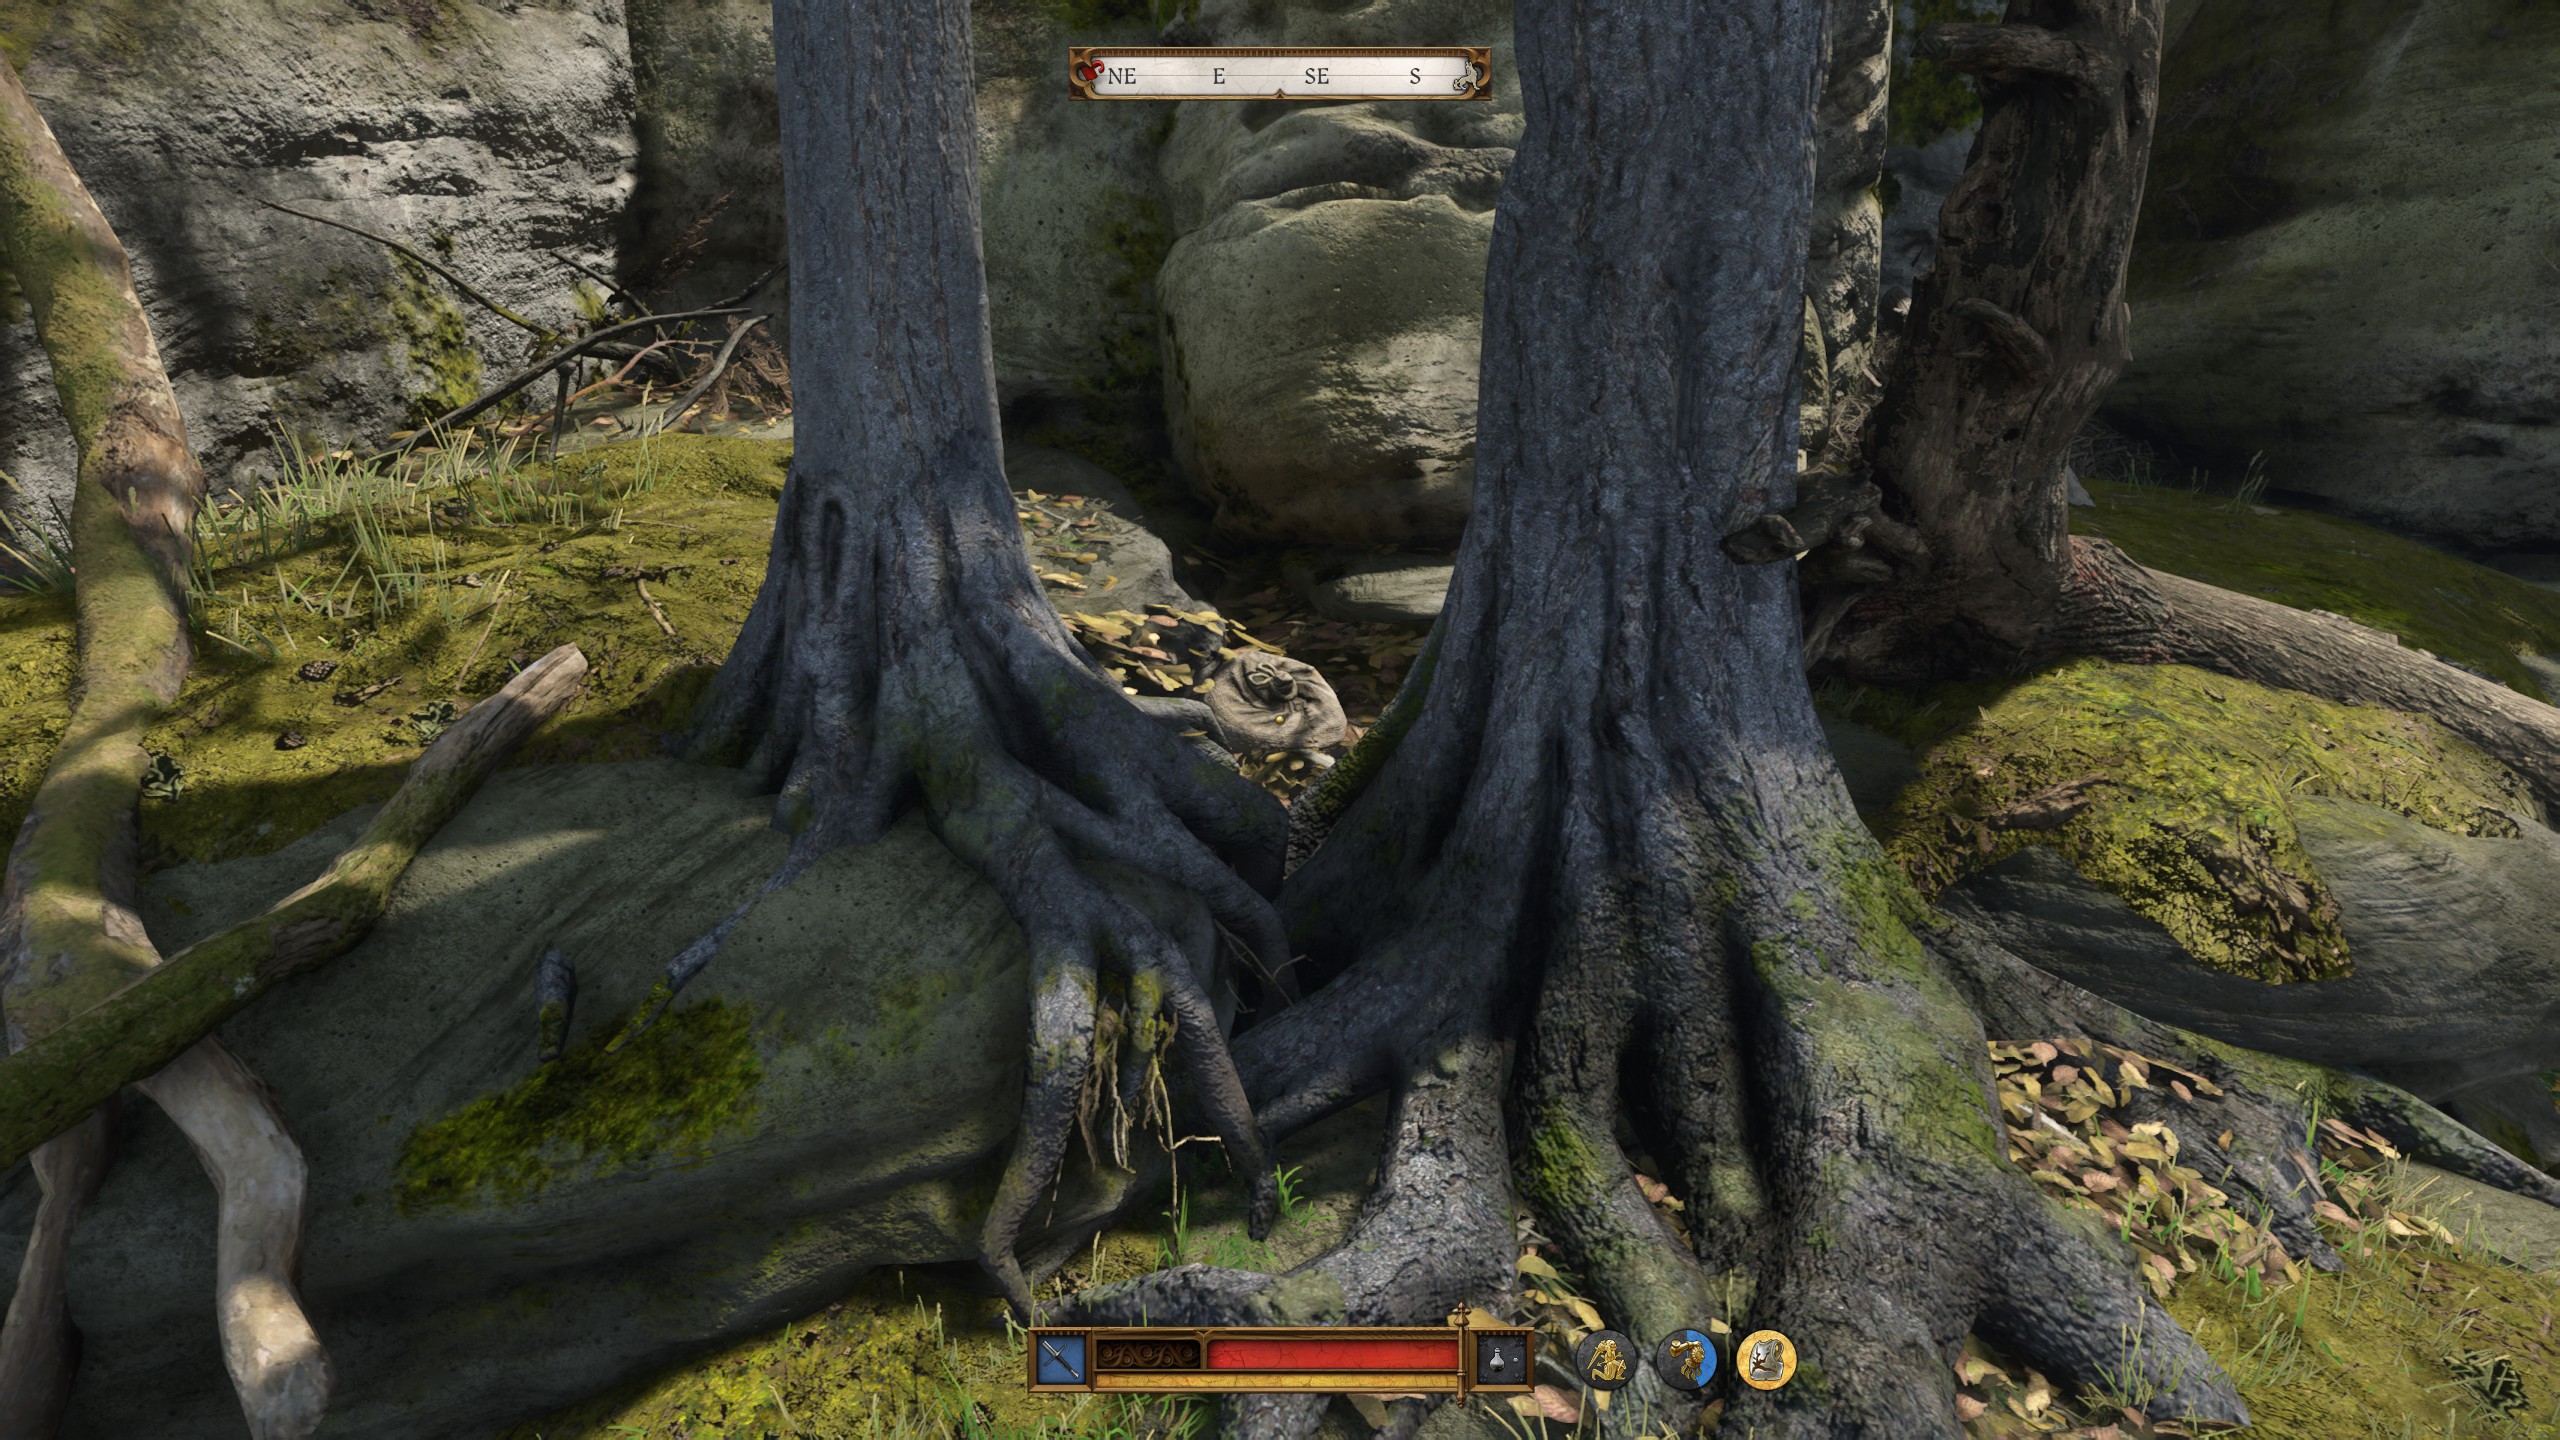
Once they’re dealt with—killing a few should make the rest flee—look at the caves in the rocks where the wolves were making their lair, and just next to them you’ll spot two trees with a sack between them. Open this to get:
- Brunswick’s caparison
- Brunswick’s plate leg armour
- Brunswick’s chainmail coif
You’ll also get Brunswick’s Map III after opening this.
Brunswick’s Map II solution
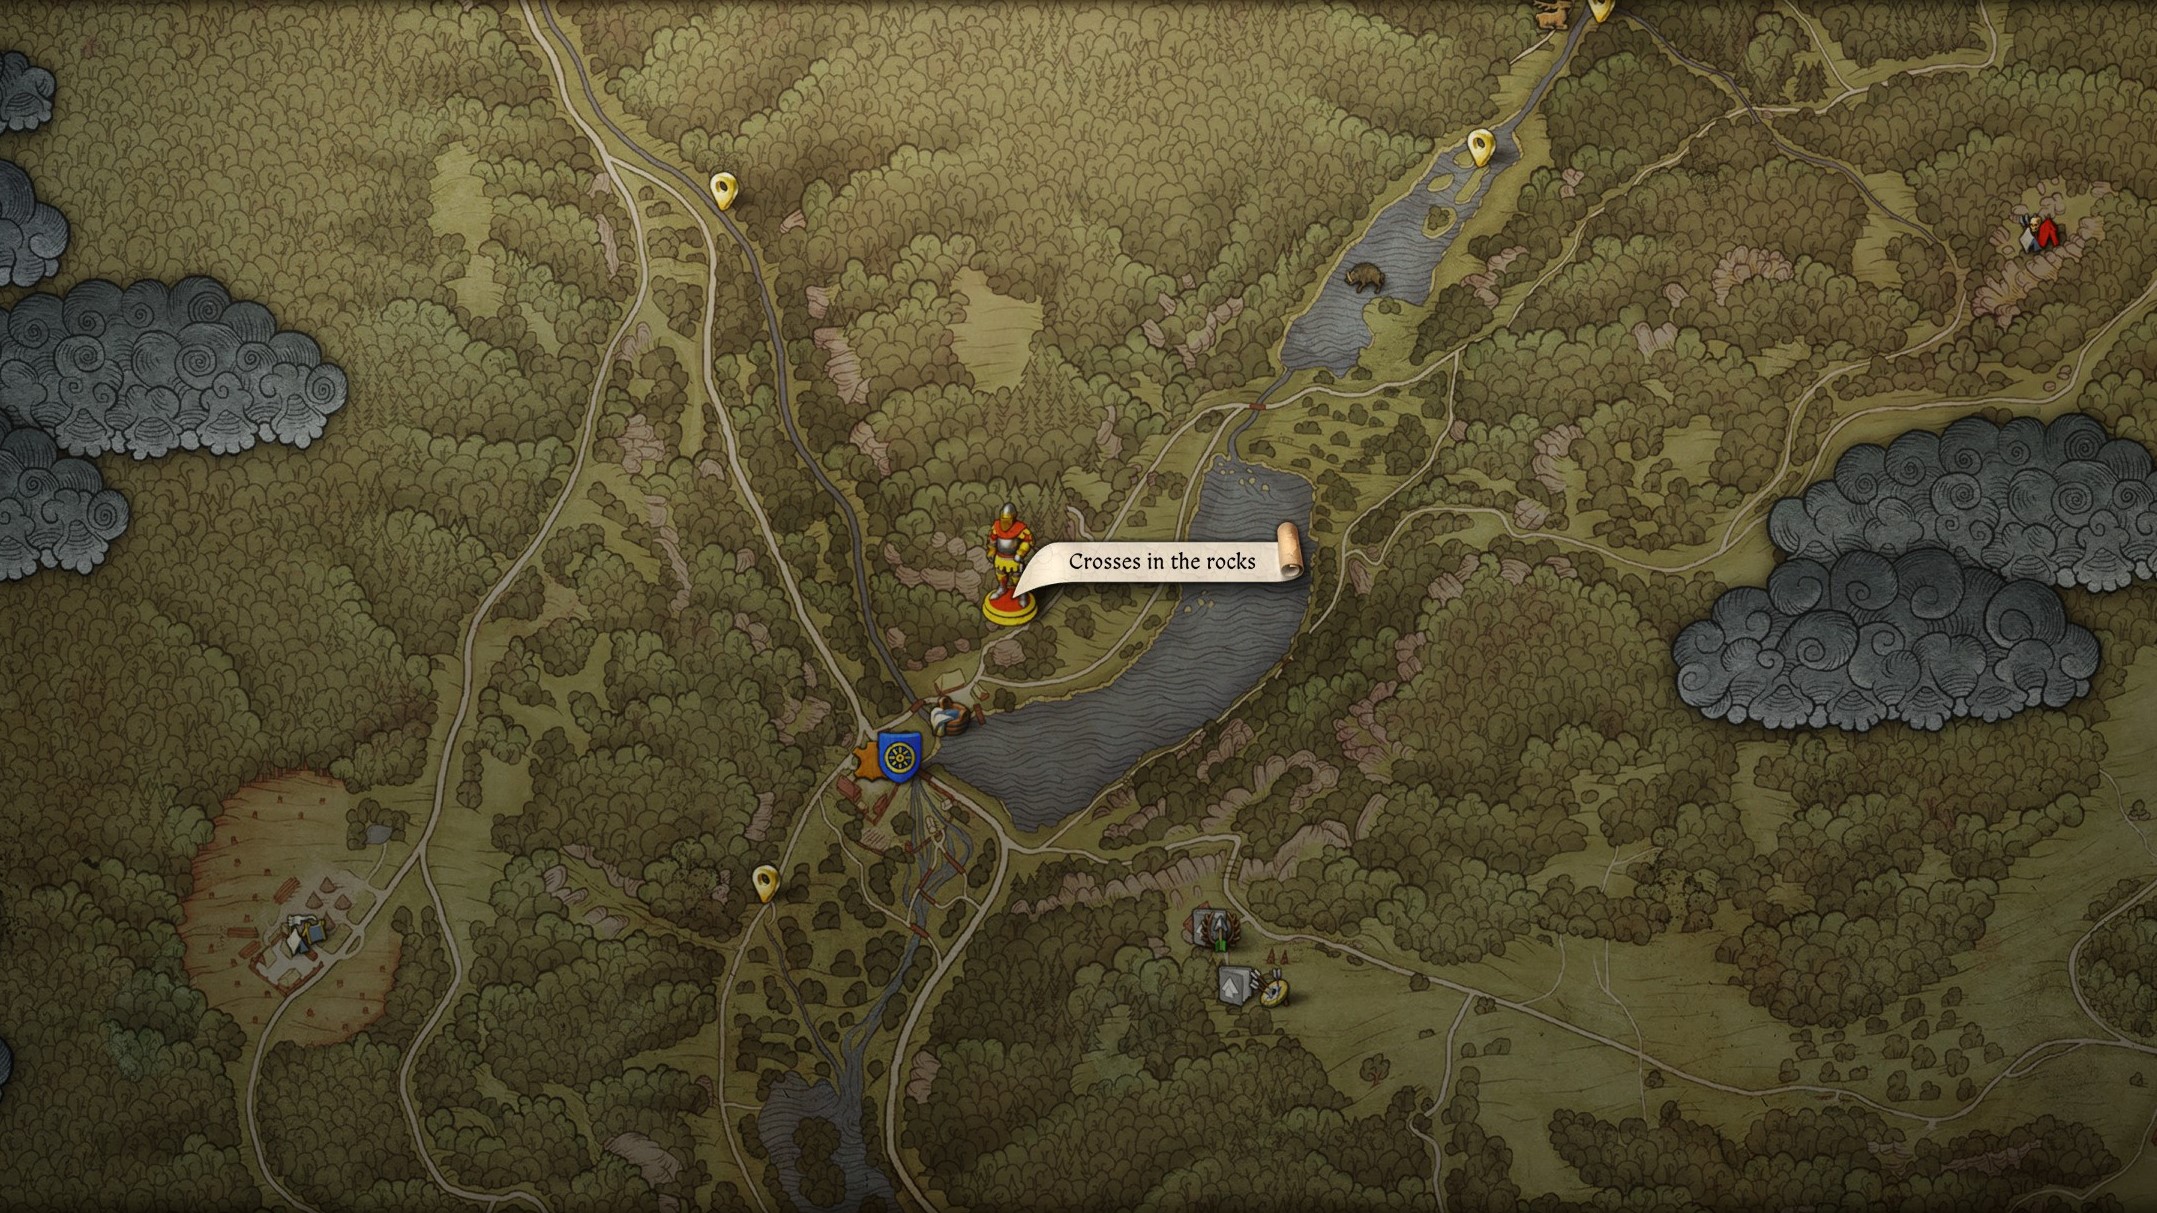
The second Brunswick map leads to the Crosses in the Rocks location along the west side of Vidlak Pond. This body of water is to the south-west of the Wolf Hunting Spot. Once you find the Vidlak Pond village at its southern end, take the path along its western edge and climb into the rocks at the point marked above. Look around for a cross on top of a big rock with a sloped fallen tree trunk allowing you to access its top.
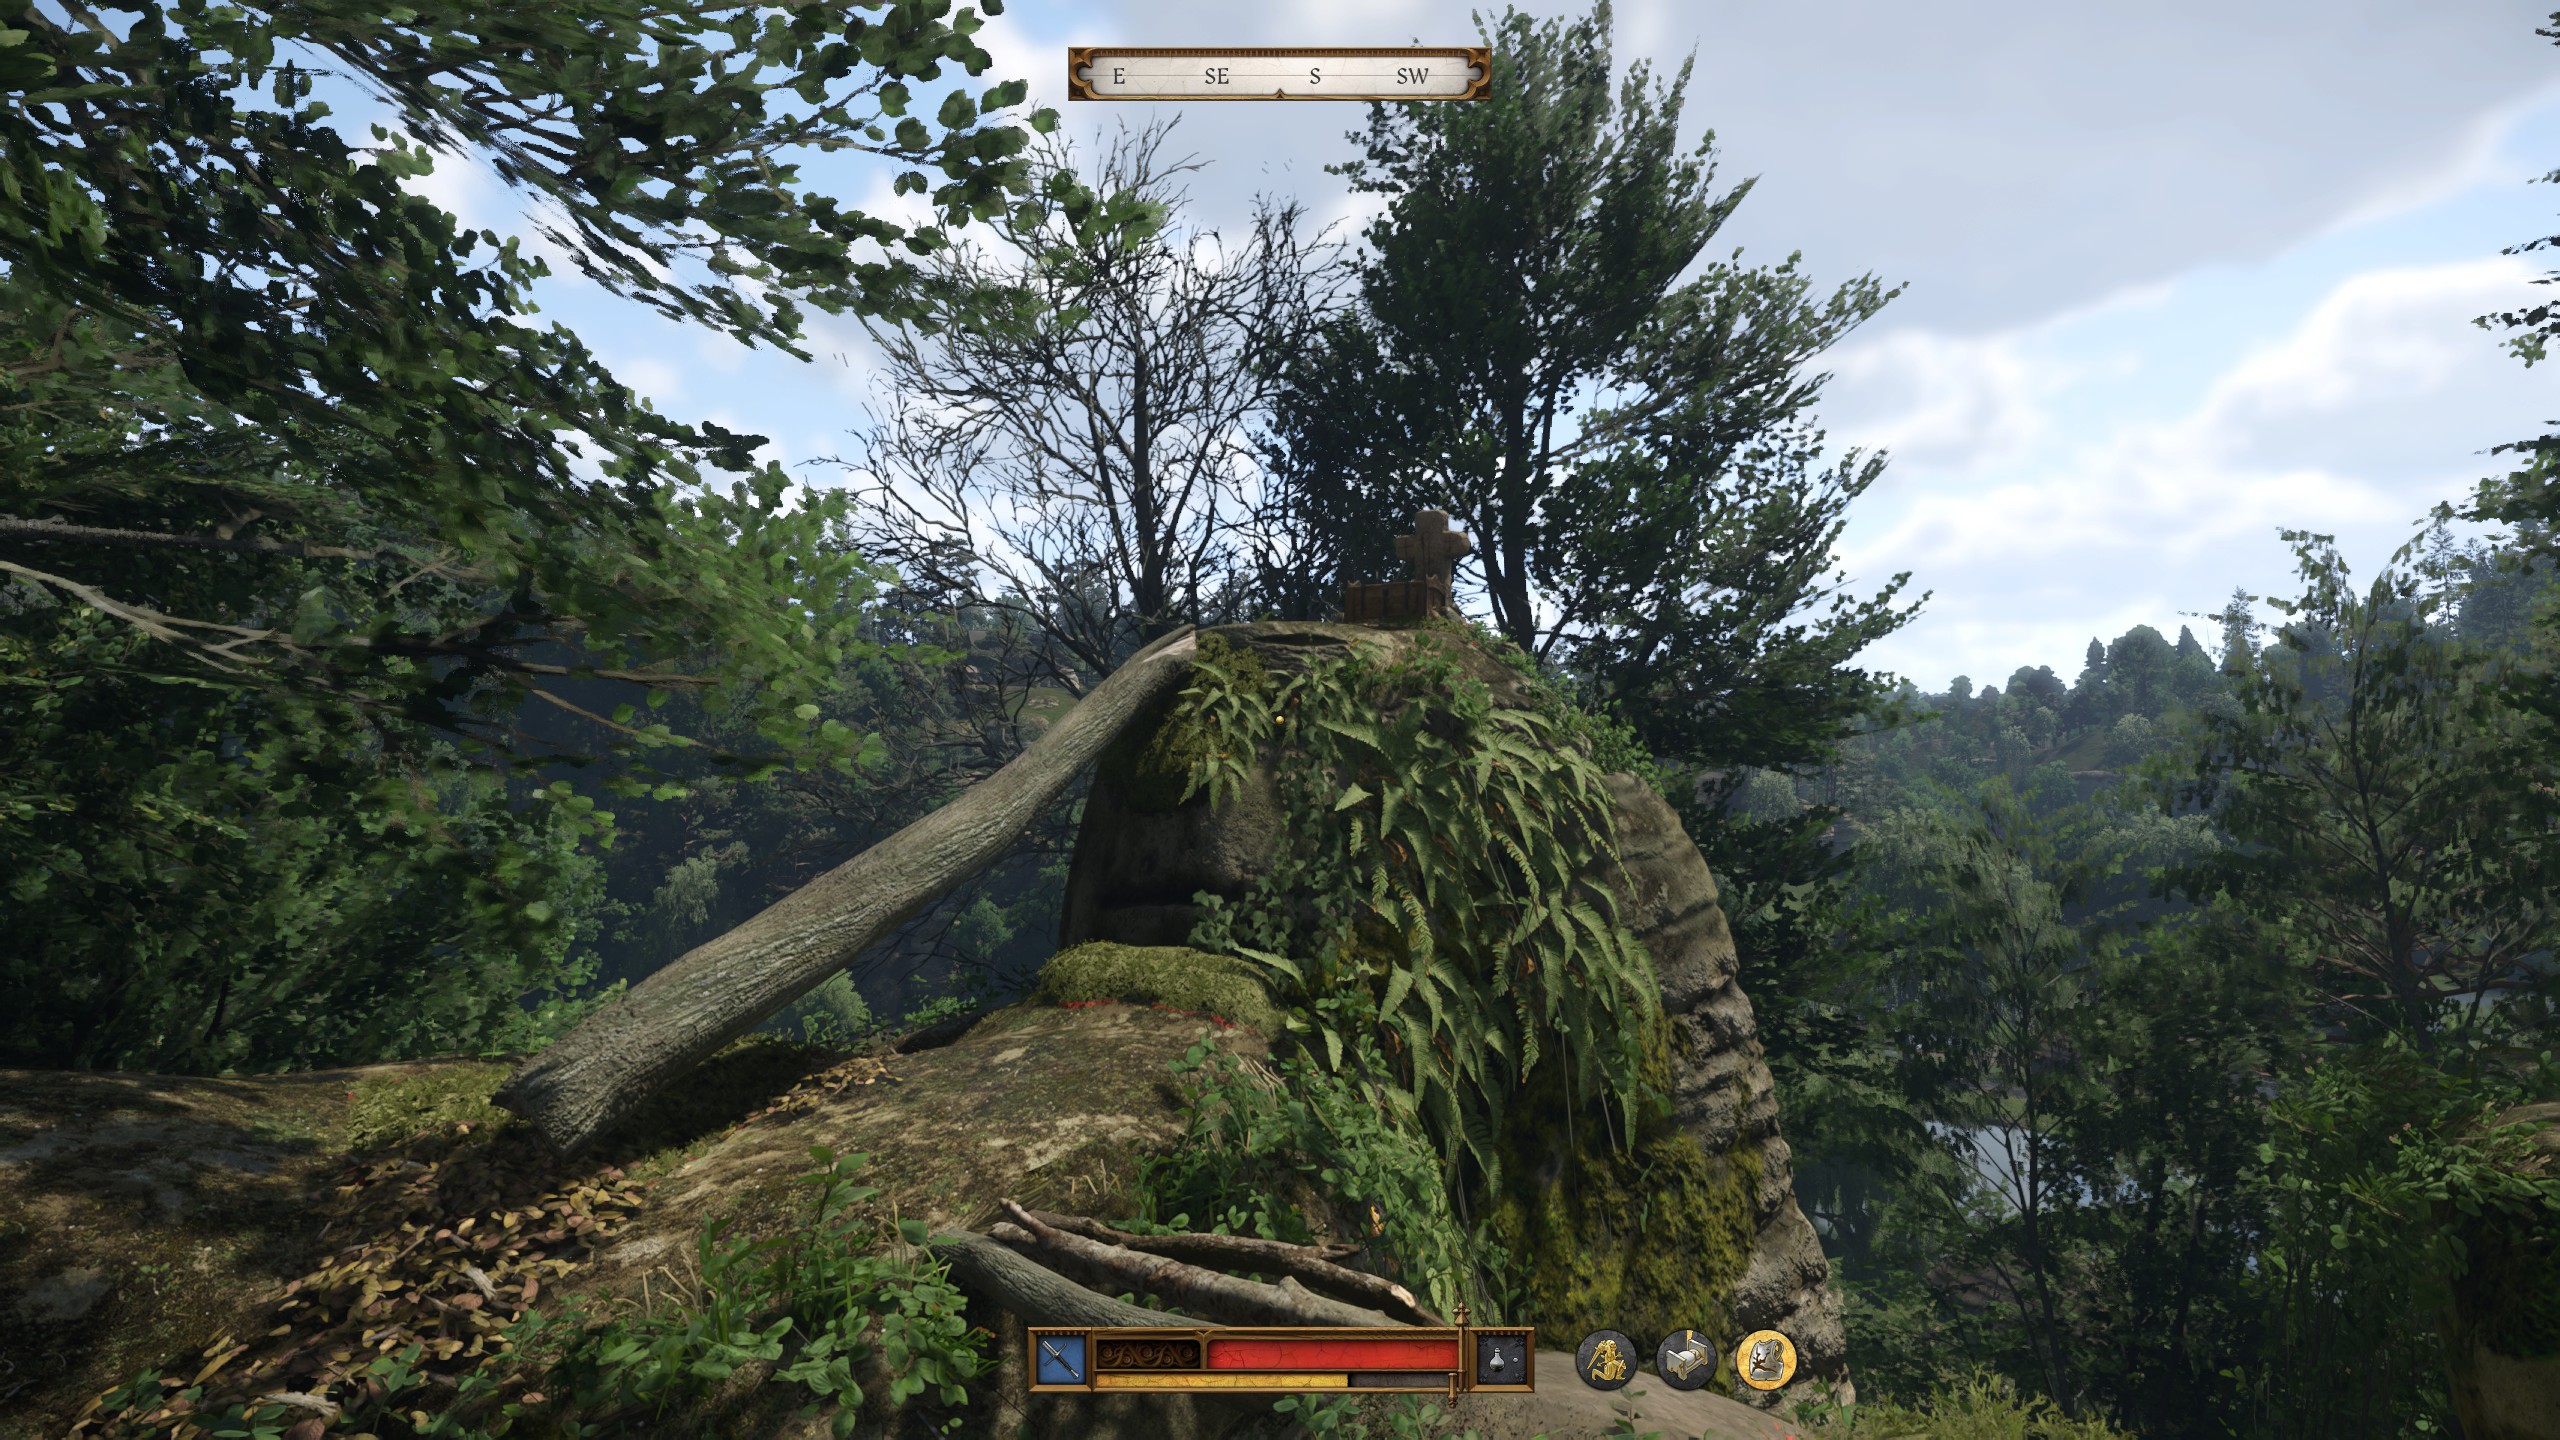
Open the chest below the cross to get:
- Brunswick’s Plate Sleeves
This also gives you Brunswick’s Map IV.
Brunswick’s Map III solution
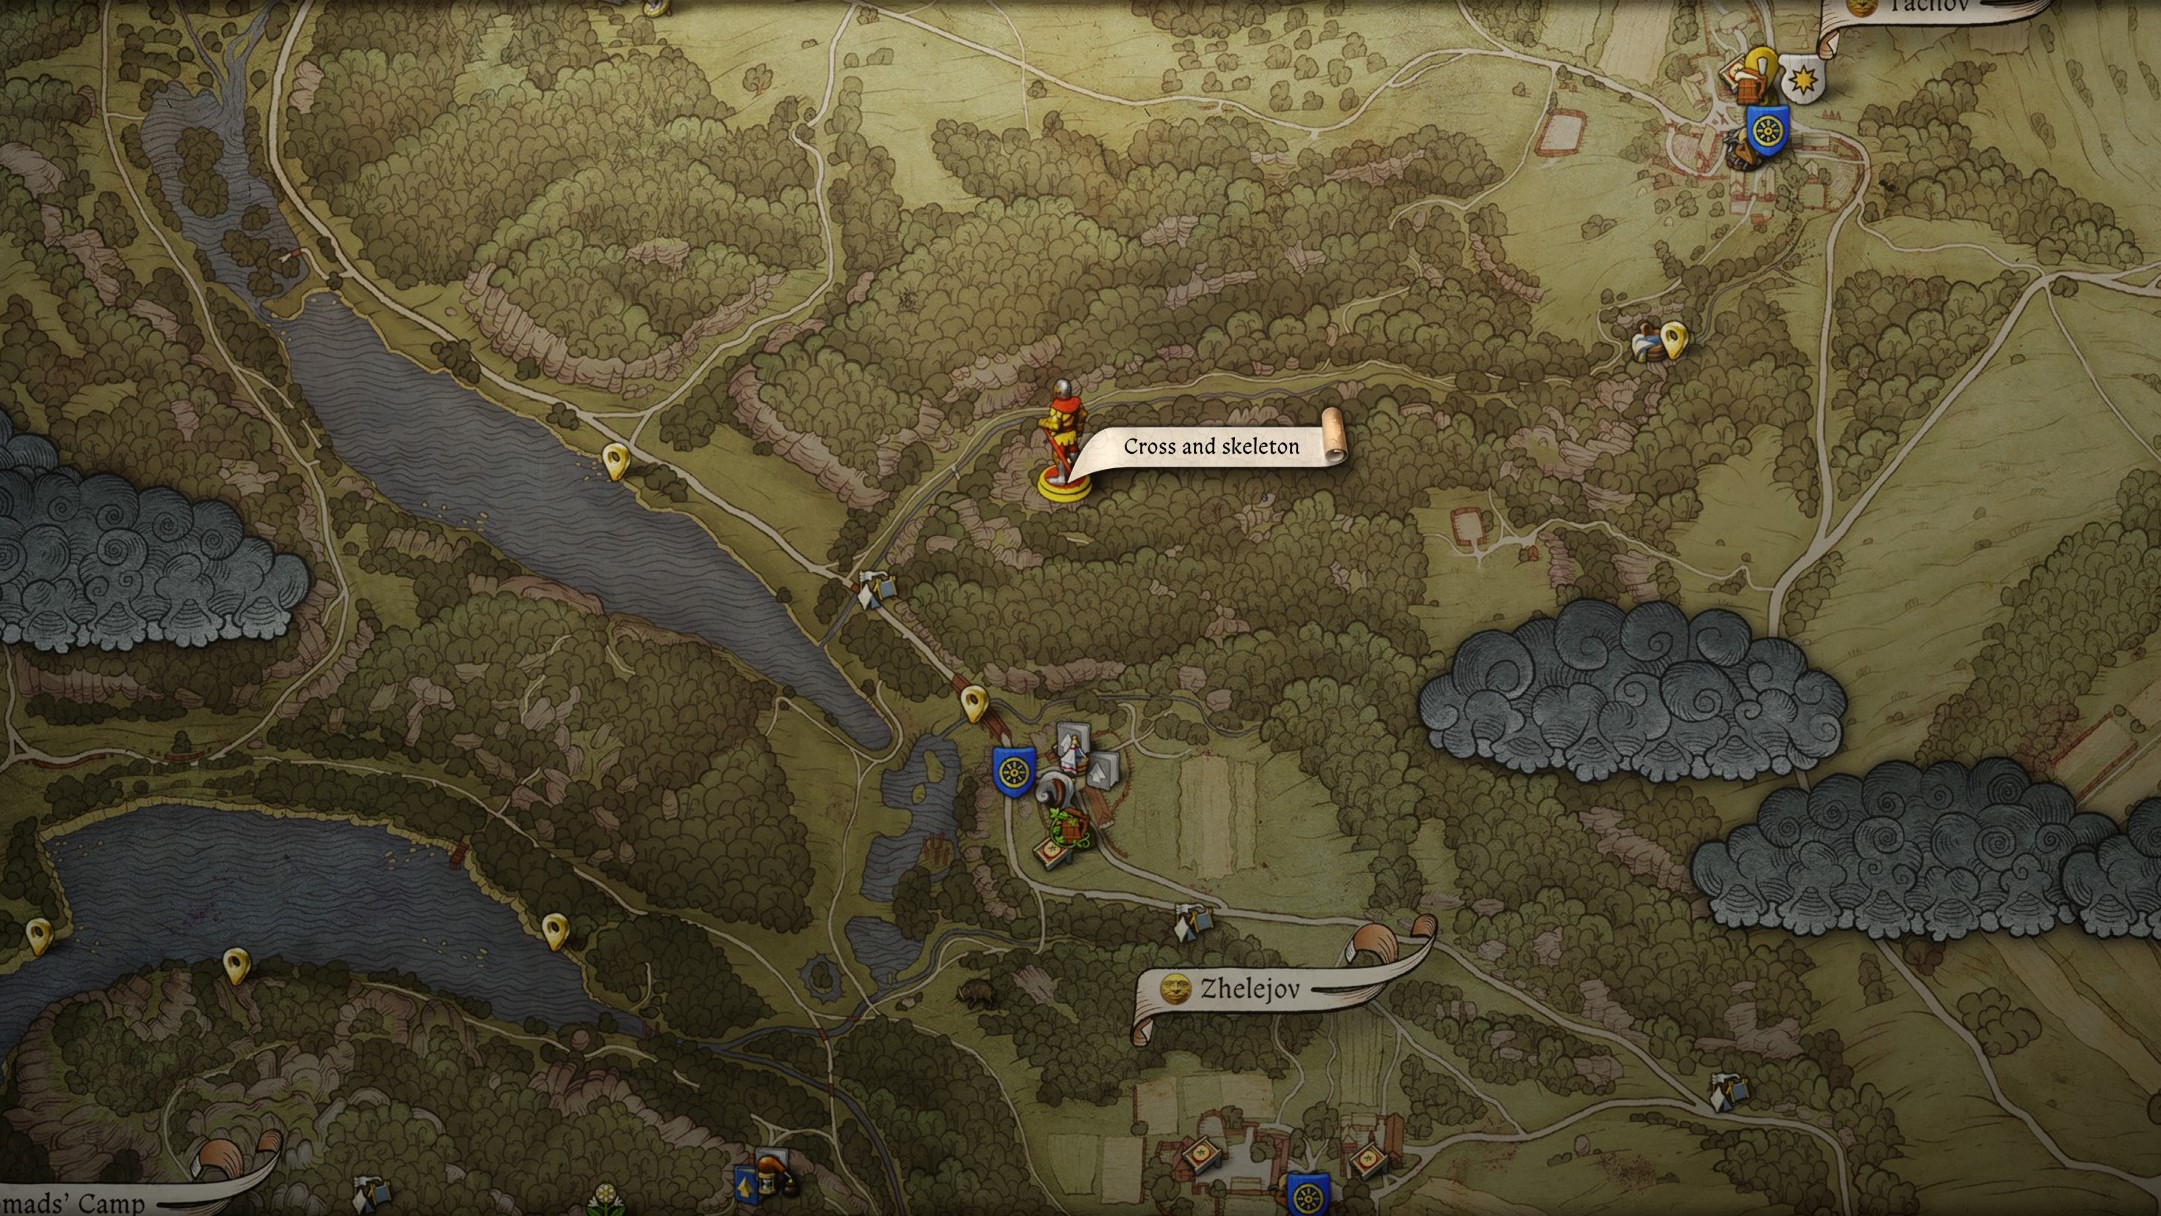
The third Brunswick map points to the Cross and Skeleton location in the forest to the north of the Zhelejov Wagoners Inn. This is to the south-east of Vidlak Pond. Head north across the bridge out of town then turn right onto the forest track after the camp by the road. Take another right on a small trail up into the cliffs and keep an eye out to your left until you spot a cross on top of a rock. Further back from this, you’ll find a skeleton with a cross lying against a tree.
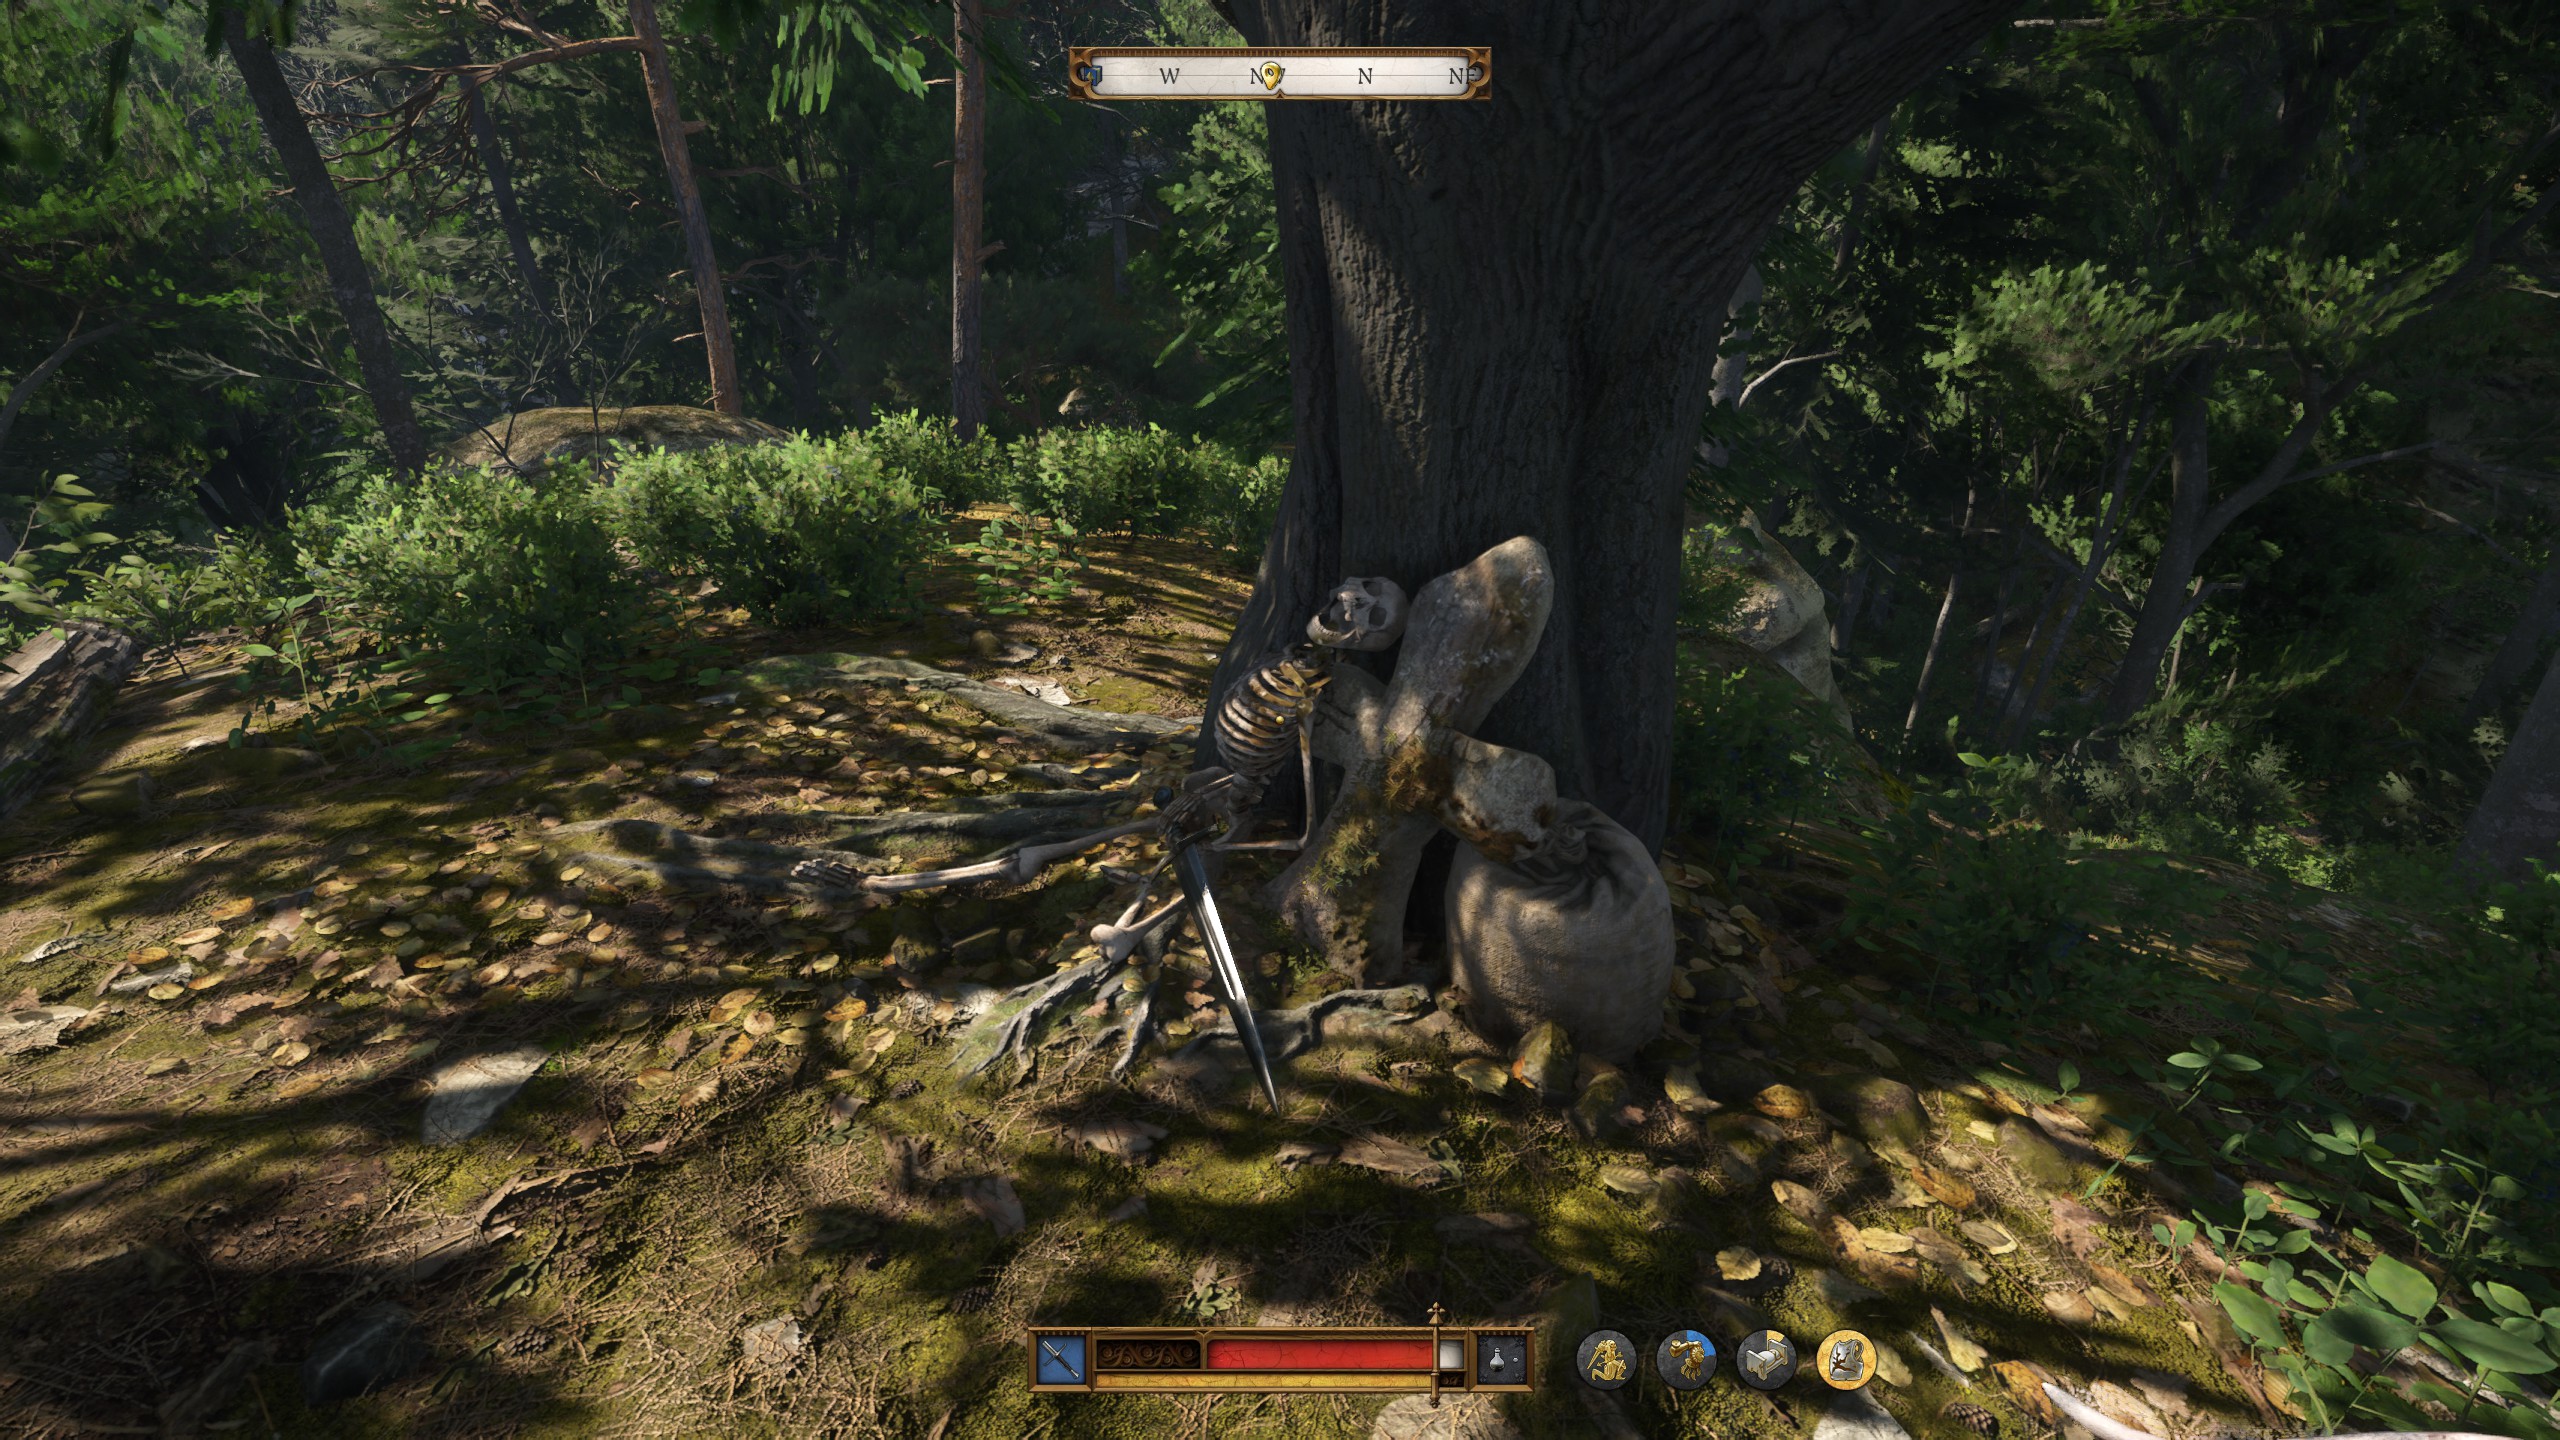
Loot the skeleton’s sack to get:
- Brunswick’s Brigadine
Brunswick’s Map IV solution
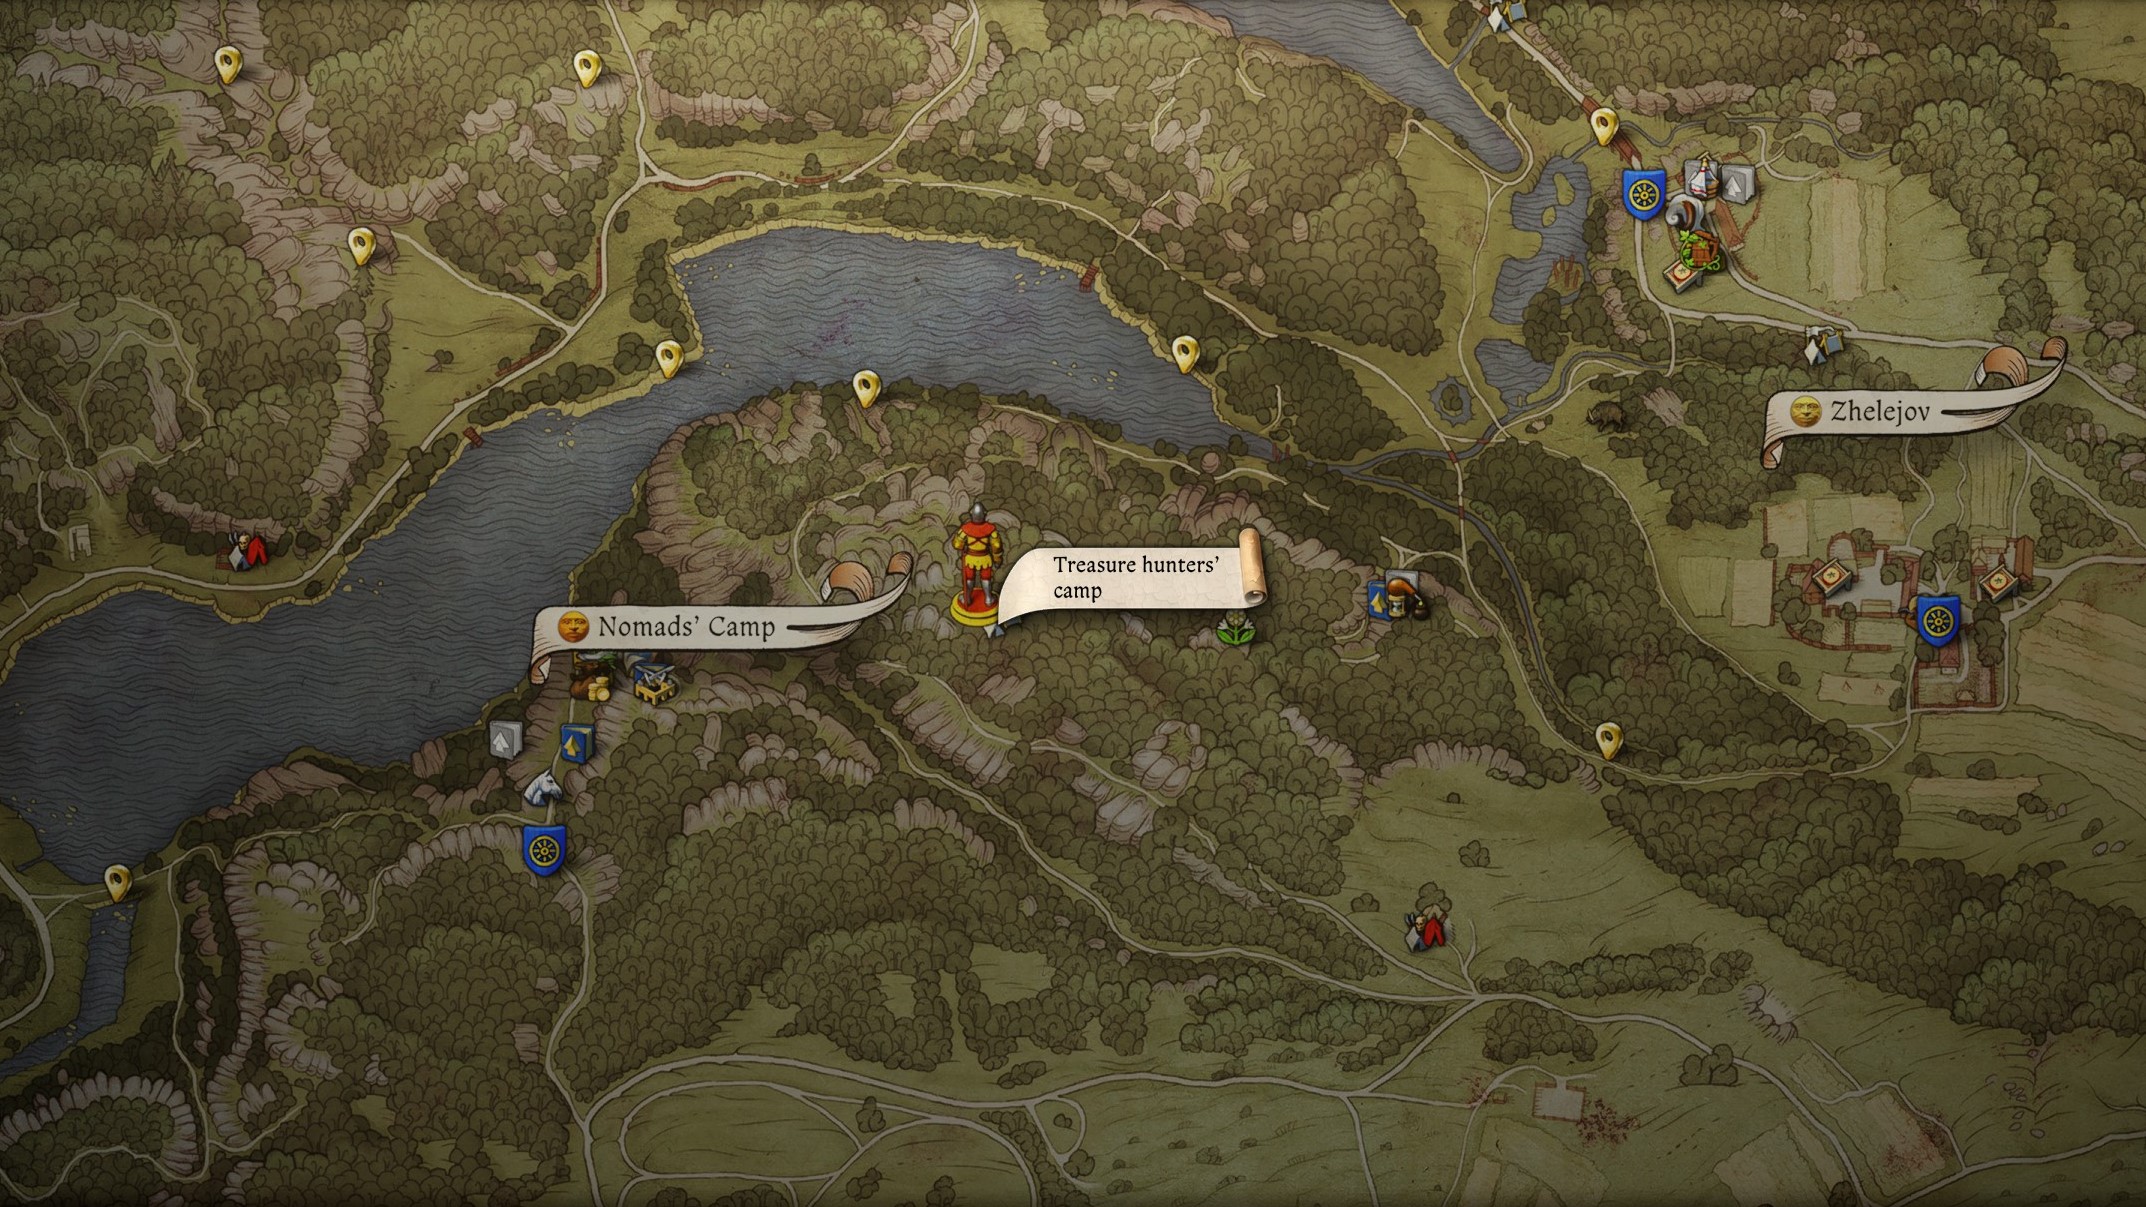
The final Brunswick map indicates the Treasure Hunter’s Camp location on the top of the hill to the east of the Nomad Camp, and west of Bozhena’s Shack from the prologue. This one is pretty easy to find, though you’ll have to deal with three bandits in the camp itself. I suggest waiting until nighttime and either sneaking past them or dispatching them stealthily with that Brunswick Dagger you got earlier.
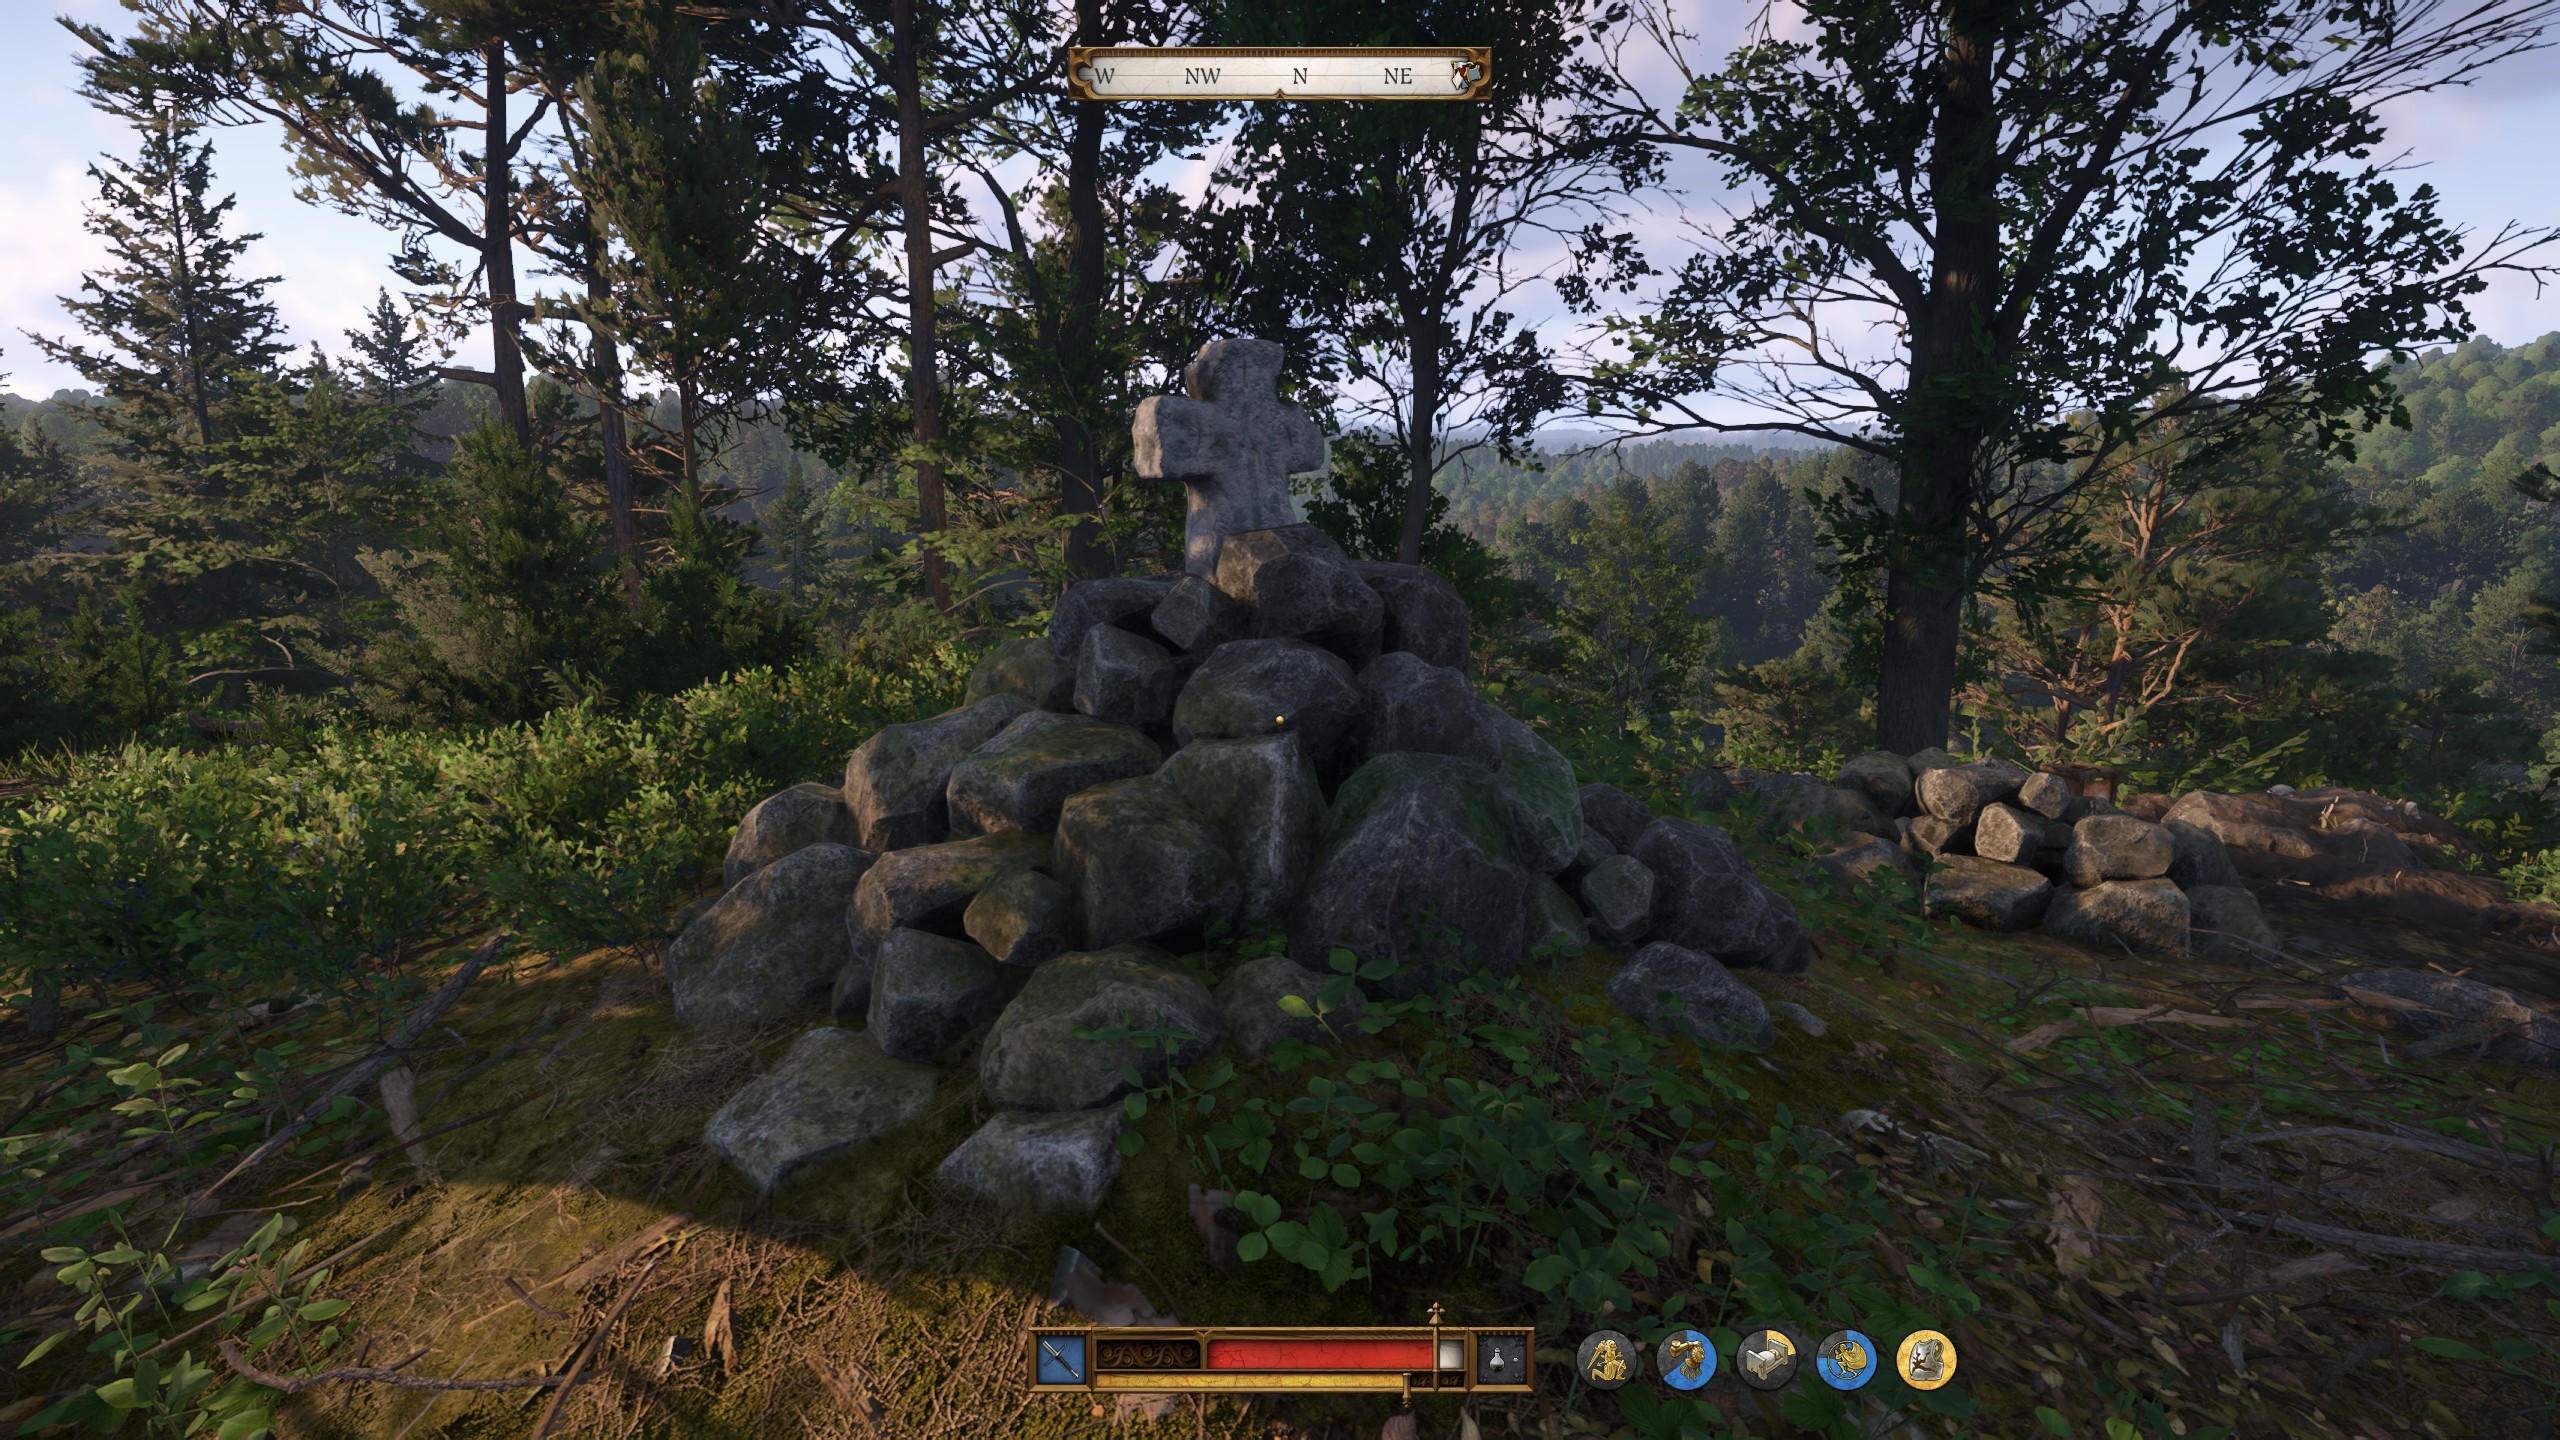
Your objective is the cairn with the cross at the end of the camp. Open this to get:
- Brunswick’s Bascinet
Also make sure to loot the Golden Chalice by the open grave just next to where the cairn is located. With that, you’ve found all the pieces of Brunswick’s Armor. Now go out and whack something with a sword to celebrate.
KCD2 console commands: How to use cheats
KCD2 money: Grab every Groschen
KCD2 Saviour Schnapps: Save your game lots
KCD2 horse: How to get a free mount