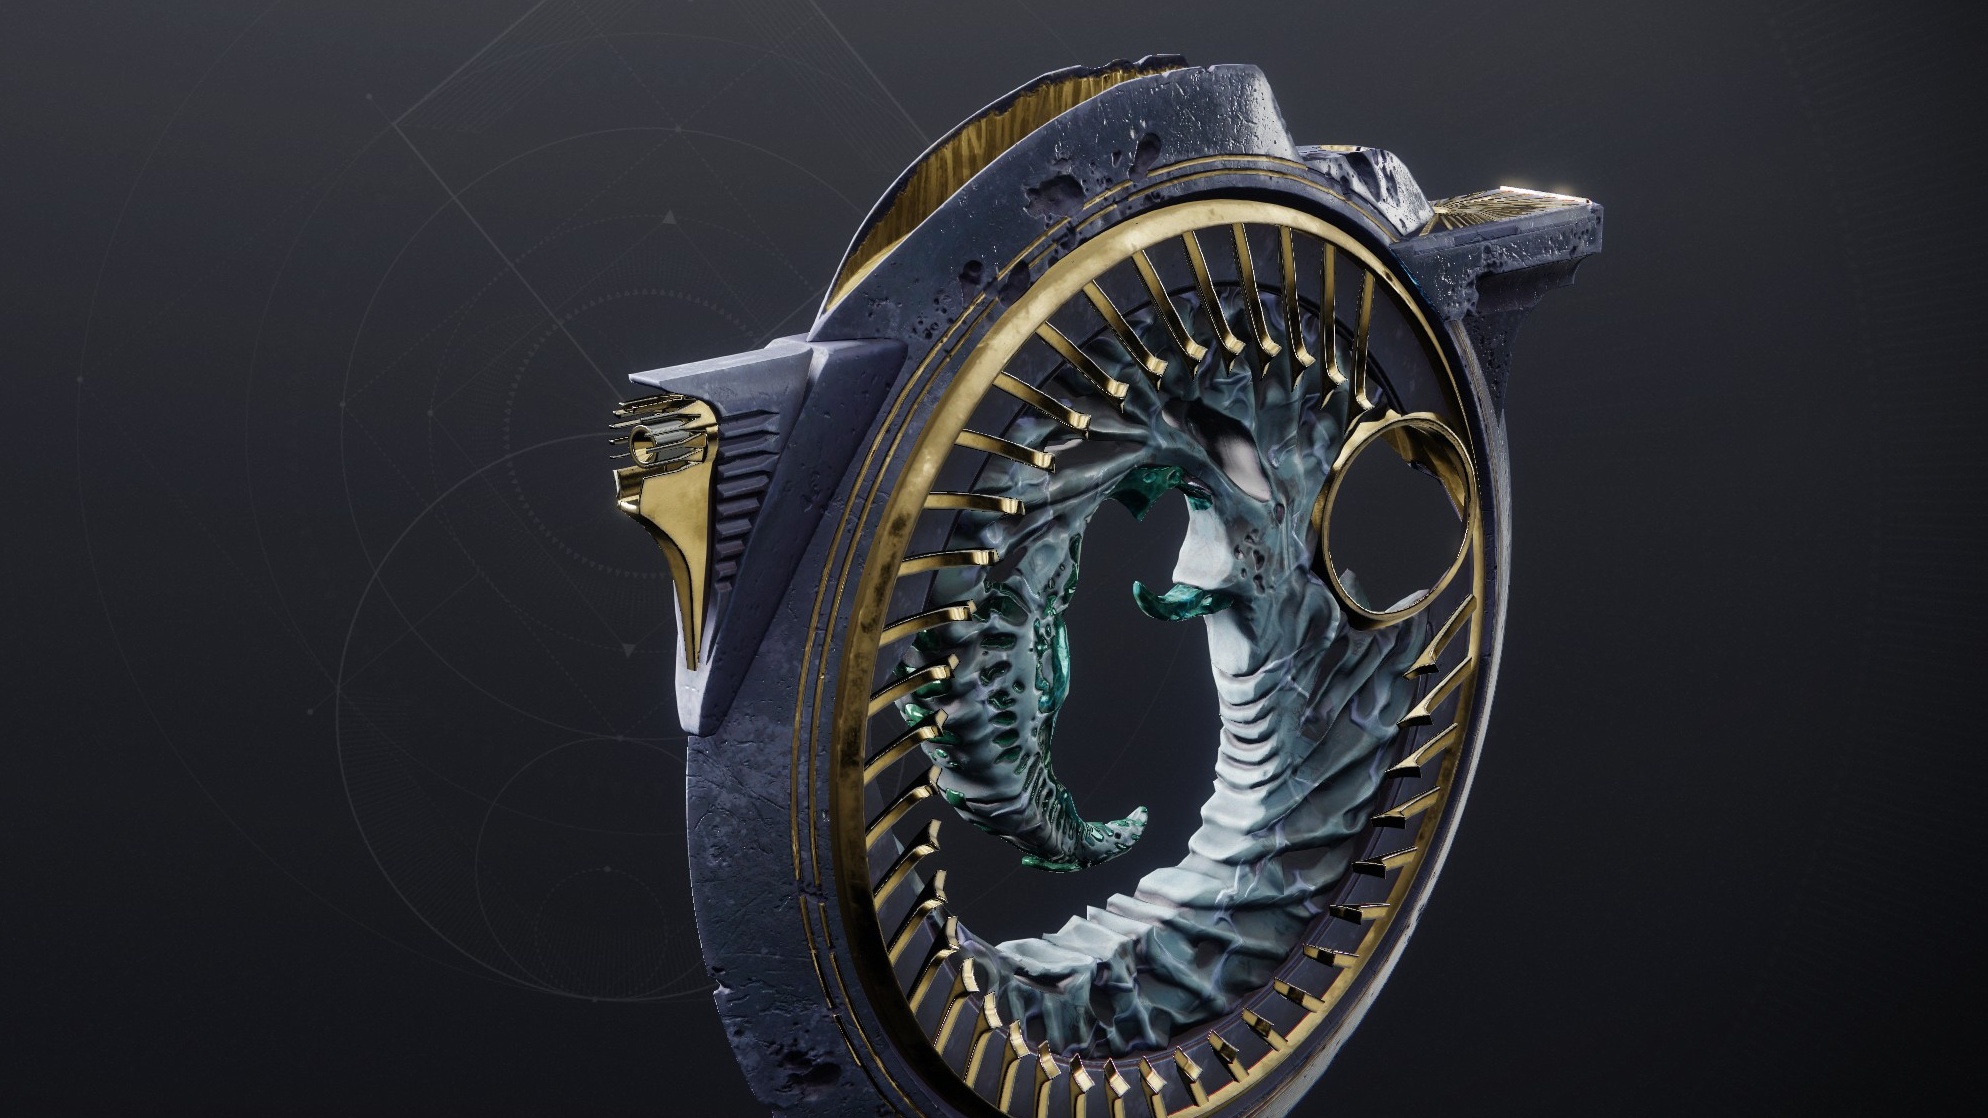
We knew Barrow-Dyad was coming, but even so, this is a surprise. Bungie revealed the new exotic Strand SMG in a preview stream before last week’s launch of Destiny 2’s new episode, Heresy. What nobody expected was just how it would arrive in the game—as part of an elaborate secret quest culminating in a new exotic mission, Derealize. That mission is available now, with Heresy’s week two reset, but first you’ll need to actually find it.
Unlocking Derealize, and thus earning Barrow-Dyad, can be pretty involved—especially if you don’t know where to go. Here then, I’ll lay out all the steps you have to follow to unlock the mission, as well as a few tips to bear in mind when you run it.
Finding the Taken Blight
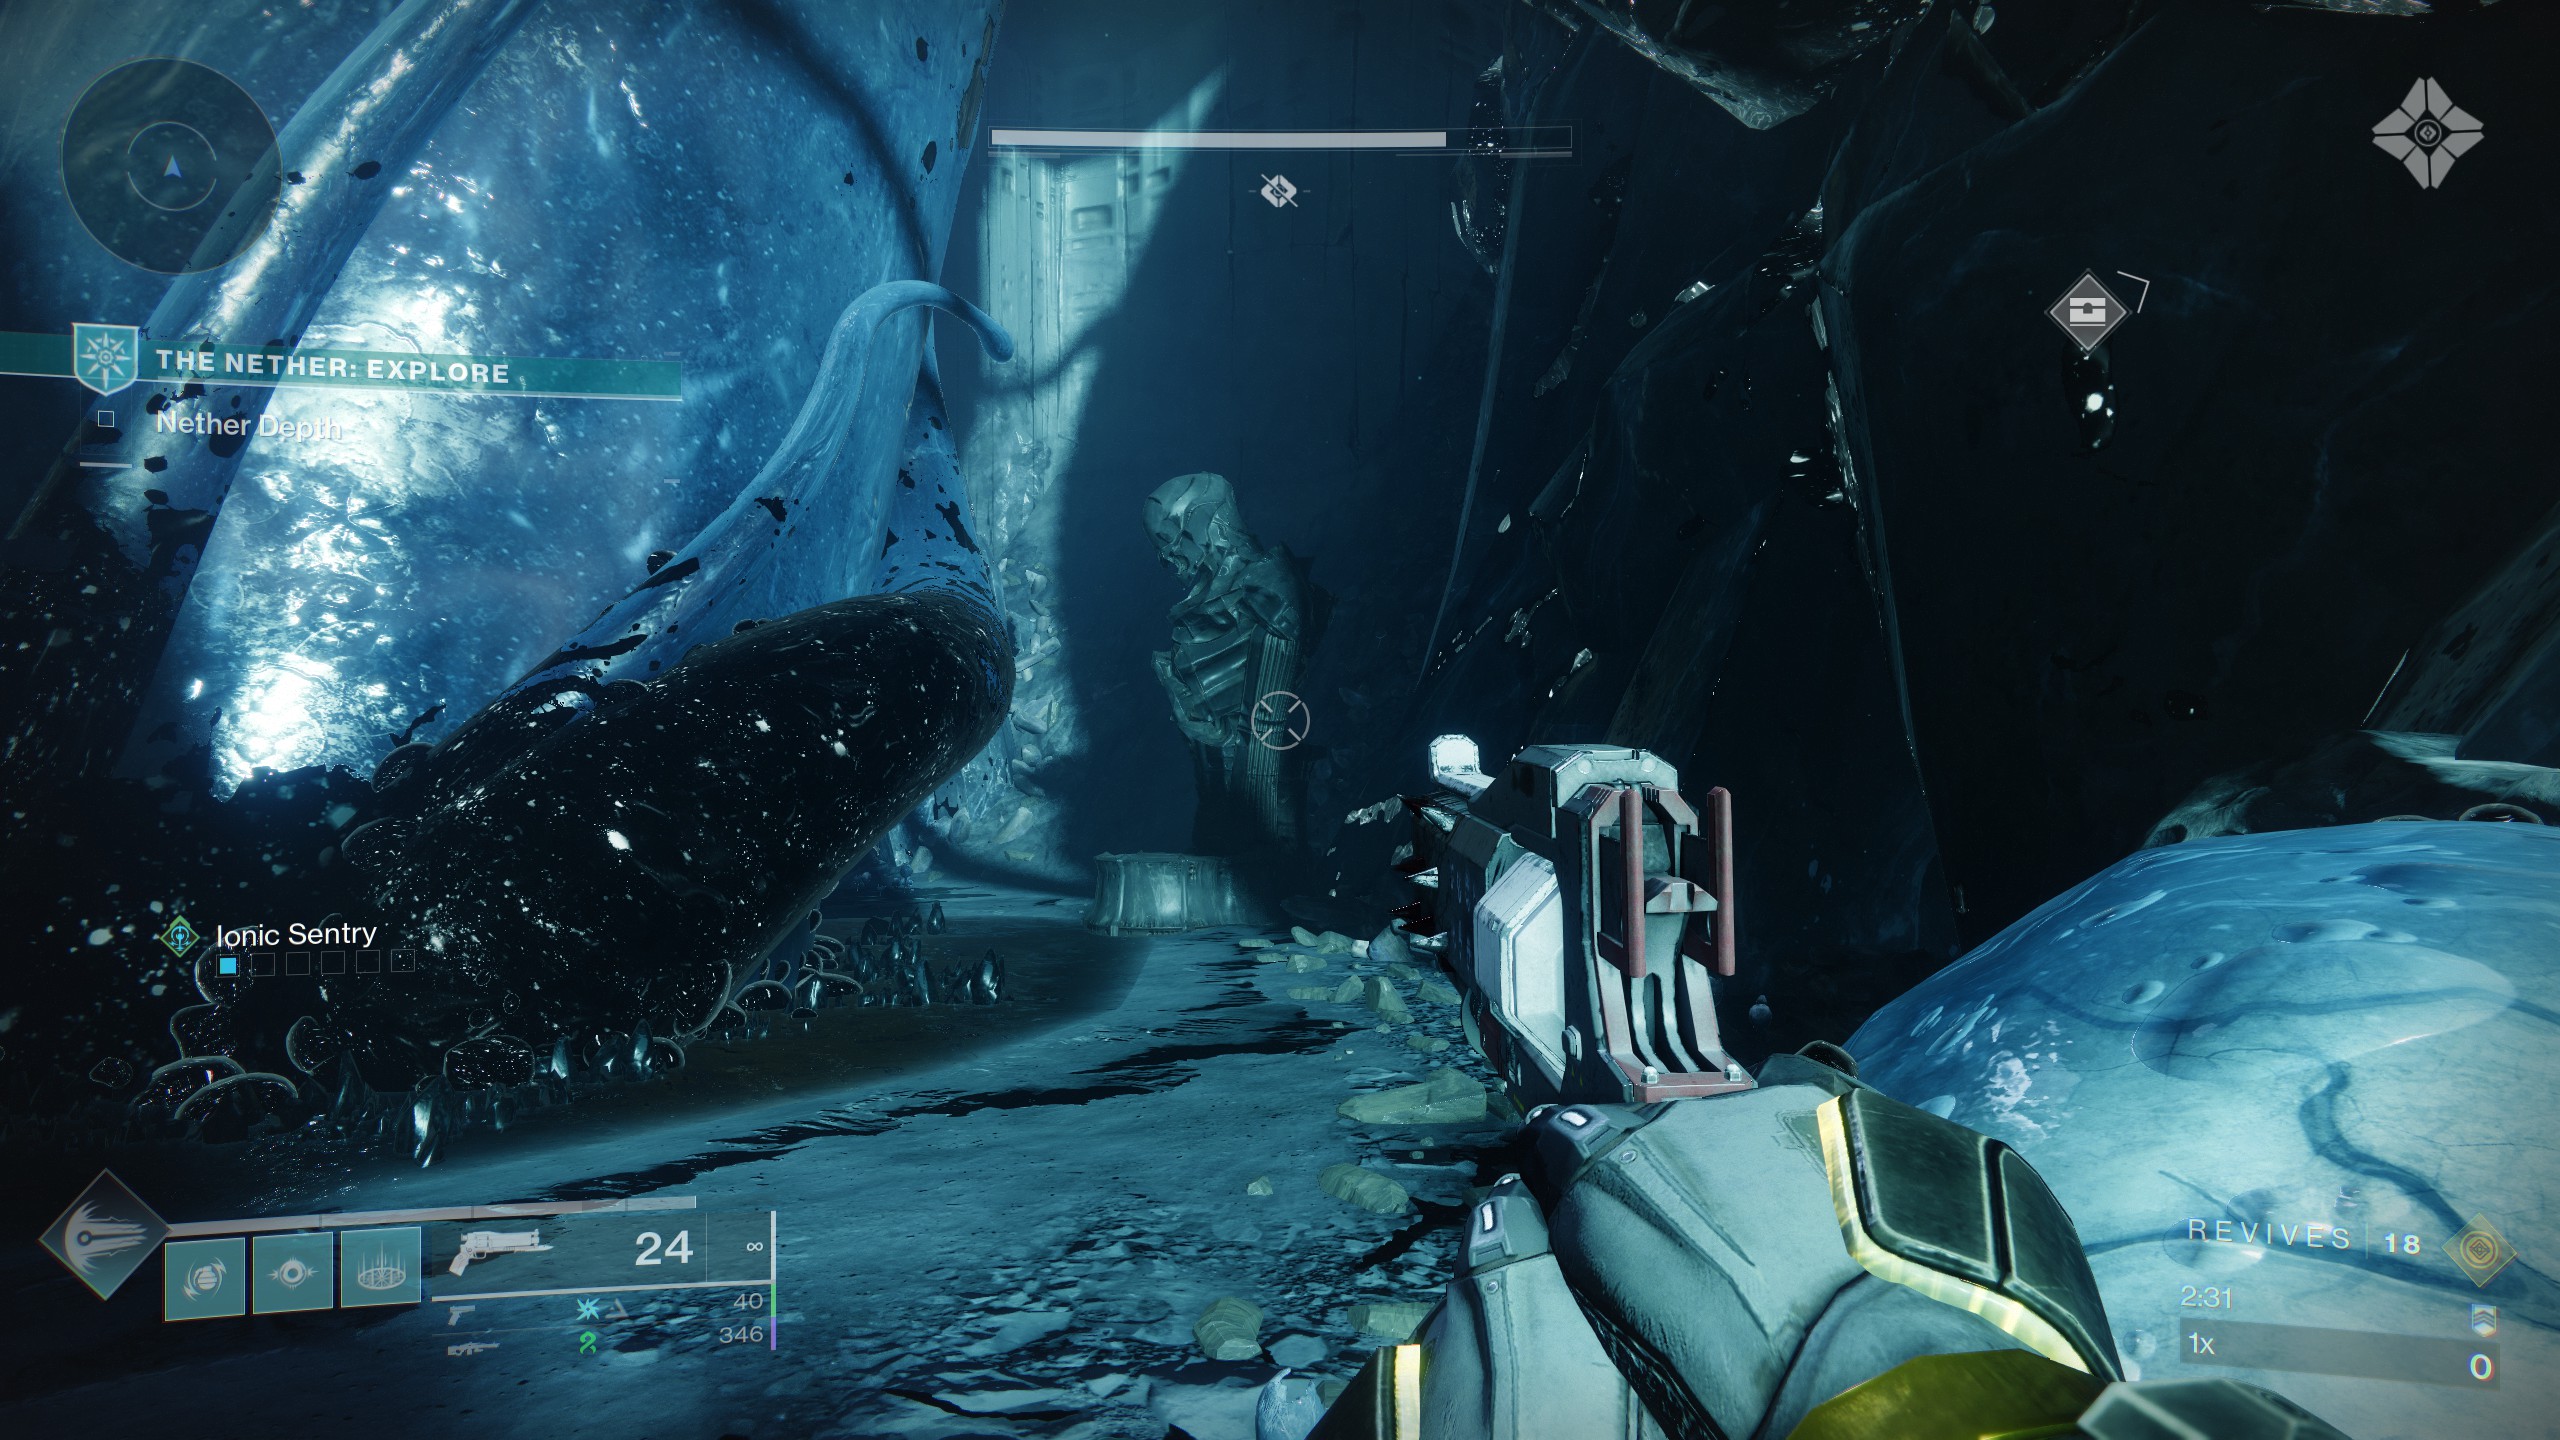
There’s no quest marker to follow just yet—this is the bit that Bungie left players to find for themselves. To start the quest that will eventually unlock the Derealize exotic mission, you need to head to Heresy’s new Nether activity. Once you’ve landed on the Dreadnaught, you’re looking for a Taken blight.
For me this was the most annoying step of the entire thing—there should be a blight in each area, but sometimes it just wouldn’t appear where it was supposed to spawn. In the end, the one that spawned for me was in the Hall of Souls, in the room facing the central plinth—the one you load into when launching the King’s Fall raid.
Based on what other players have said, there’s also one in the Mausoleum, along the right-side wall when you turn around from the spawn position. And in the Trenchway, near where the Taken wizard event triggers to the left of spawn. This latter one seemed very inconsistent for me. In the end, I just reloaded the activity until I landed in the Hall of Souls.
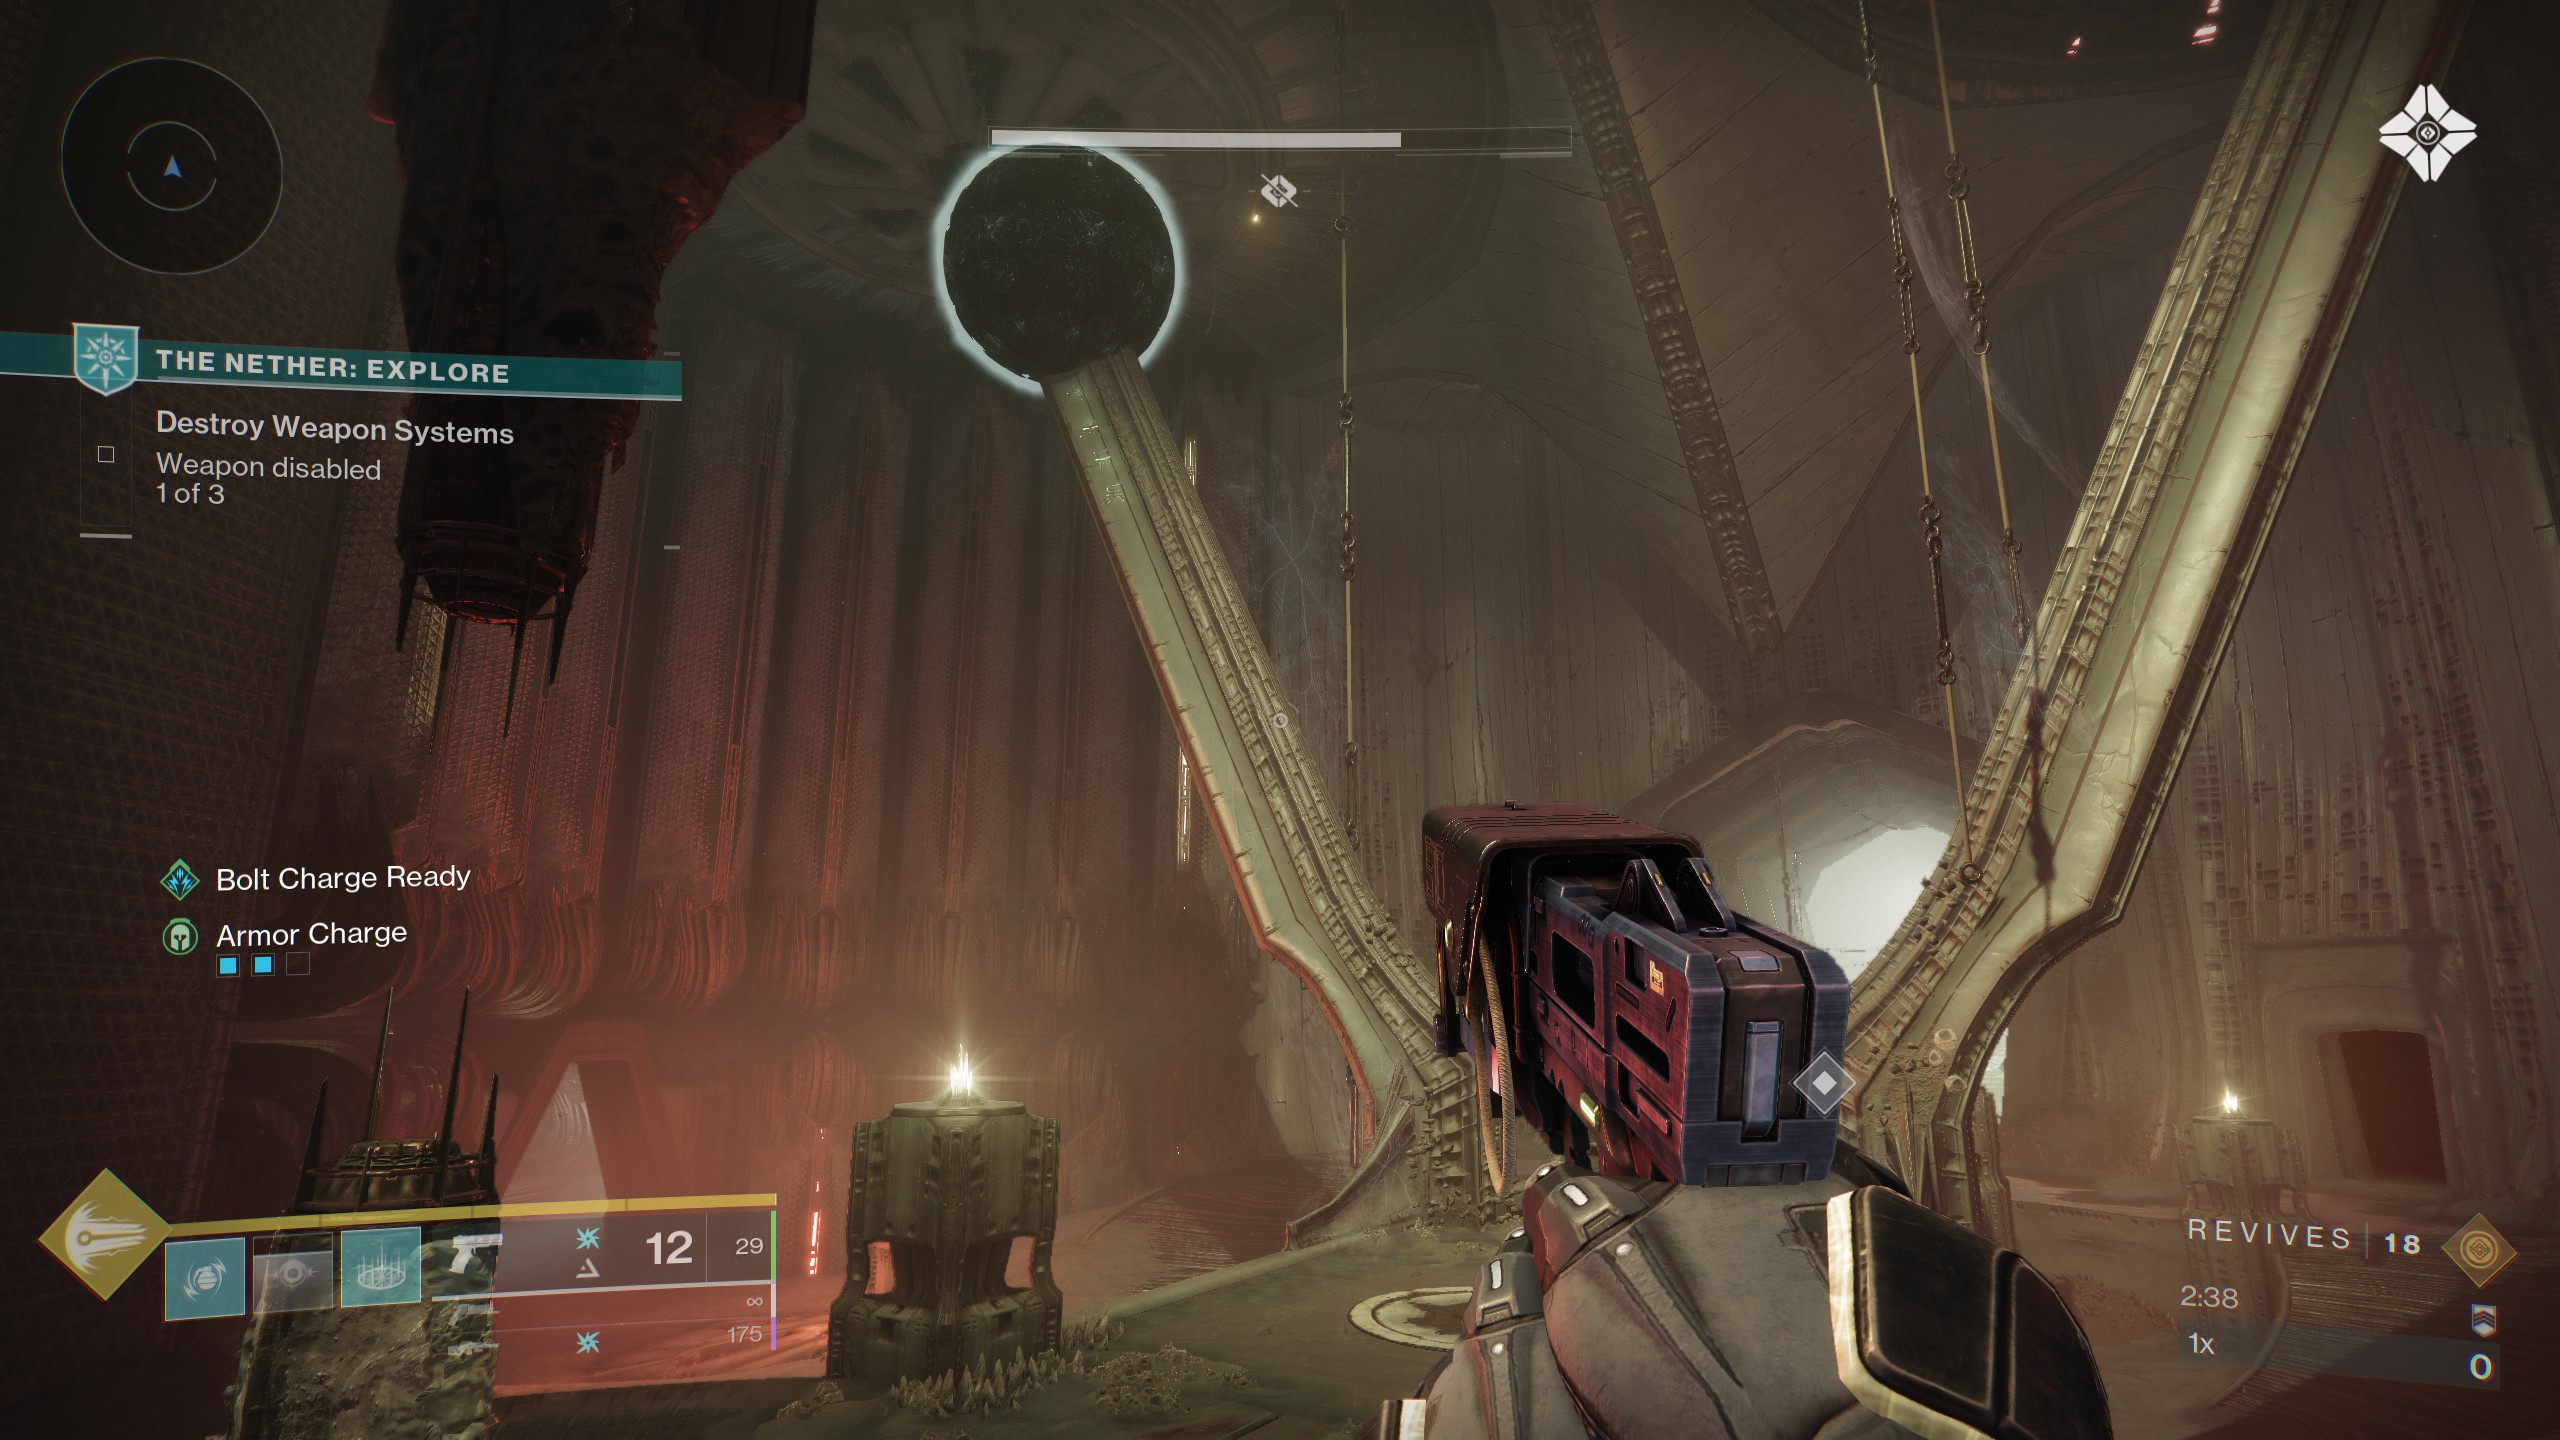
Once you’ve found the Blight, jump into it. You’ll spawn into a new room with an energy barrier down the middle.
Step onto the plate on the floor, and face the direction of the symbol that appears on the barrier. In the bottom-left corner of the screen, your message feed will tell you a direction. For me, the barrier displayed an eye symbol and the message read “Something whispers to the right…”
Keep looking at the symbol and move off the plate in the direction you’re given—in my case strafing right. This teleported me to the other side of the barrier, where a collectible sits on a pedestal. Grab the collectible—a Taken Osseous Fragment—and return to orbit.
Taken Osseous Fragments
Head to Eris’s apartment in The Last City, and over to the Shaping Slab. This will give you a new quest, The Taken Path. Your first step is to unlock and equip the Scotopic Rune in the Shaping Slab’s Runic Enhancement menu. This costs Sigil Shards and requires you to be at Nether Enhancement Level 2 to equip—meaning you may need to farm some Nether completions if you aren’t yet able to fulfil the criteria.
Once the Scotopic Rune is equipped, it’s time to collect more Taken Osseous Fragments. The quest first directs you to Sorrow’s Harbor on the Moon.
- Head to the K1 Lost Sector, which will be suspiciously empty of enemies.
- Find the Taken dome about halfway through the Lost Sector, and shoot the small blight above it.
- Inside the dome was the same plate puzzle as before. Step on and face the symbol, and then step off in the direction you’re given.
- Taken will now spawn. Kill them to reveal a new fragment.
The next step of the quest takes place in the Cosmodrome’s Forgotten Shore.
- Enter the Veles Labyrinth Lost Sector—again, it’s quiet in there.
- Walk through the cavernous maze until you arrive at another dome, and shoot the blight above it.
- This time you’ll need to move through a sequence of portal plates—once again always stepping on the plate, looking at the symbol nearby, and stepping off in the direction you’re given.
- Surprise! Another bunch of Taken have spawned. Kill them off—you’ll need to work backwards through the Lost Sector and through the maze section again—and you’ll reveal another Taken Osseous Fragment.
The Three Curses
It’s back to the Shaping Slab now, where you’ll be given three new quests: Curse of Endurance, Curse of Urgency and Curse of Revenge.
For each one, you’ll need to travel to a specific location or activity, and pick up a Taken artifact. When you grab the artifact, a timer will start counting down—but it can be refreshed with every enemy you kill with the artifact. Eventually you’ll need to dunk the artifact in the marked location—usually after the associated activity’s completion.
Here’s the rundown of each specific quest:
- Curse of Endurance: Head back to Sorrow’s Harbor and you’ll see a waypoint leading to the artifact near the entrance to the Scarlet Keep. Simply kill the enemies that spawn, and dunk the artifact at the marker given. This one completed for me automatically because a bunch of Guardians were already doing it when I loaded in.
- Curse of Urgency: This one’s in the Hallowed Grove Lost Sector, near the Sludge landing zone in the EDZ. Here you’ll grab the artifact, run through the Lost Sector and destroy a Taken barrier at the end using the artifact’s super ability. The dunk spot is behind the barrier.
- Curse of Revenge: You’ll find this one in Nightmare Hunt: Pride on the Moon, which takes you through Skolas’s ship—the location of Destiny 1’s first secret exotic mission. You’ll find the artifact in the boss room, and you’ll be able to dunk it once Nightmare Skolas is killed.
The Thrall Statues
To finish off the three curse quests, you need yet more Taken Osseous Fragments. This new set can be acquired through the Thrall statues you can now find in each zone in the Nether. When you interact with a statue it spawns a miniboss nearby. Kill the boss and the fragment will spawn back on the statue.
Here’s the location of the three statues I found:
- The Mausoleum: Jump down into the eldritch pit at the back of the room—where you fight the zone’s boss. In the upper section, before you walk down the ramp to the boss arena, head to the left side—the statue is there.
- Trenchway: This one is near the event where you fight the two shielded Subjugators—on the left-hand side of the stairs if you look at the area from the platforms opposite. It can be hard to spot as it’s shrouded in shadow.
- Hall of Souls: Look to your right from the spawn point and you should see it pretty easily.
Do this three times—either as part of a full Nether run, or just reloading back into the Nether—and you’ll finally be done.
Now, in your director, in The Last City, you’ll see the prompt to launch the new Derealize mission.
Derealize
You can see Esoterickk’s runthrough of the mission above. It’s reasonably simple as a combat challenge—there’s no timer or revive limit here, and unlike in the Nether you do regenerate health normally. It’s an easy one to complete solo, but there is one puzzle that can take some work to figure out.
Derealize Hive symbol puzzle: After the first boss encounter, you’ll be trapped in a space similar to the portal room that kicked off the whole quest. To escape this, you’ll need to again do the plate-based teleportation puzzle that’s been required throughout The Taken Path. This time there’s a twist.
When you step on the plate, a 10-second timer will start. When the timer hits zero, you’ll be automatically teleported to a new room for 10 seconds. You’ll travel between four rooms like this, before being returned to the start.
Above the plate, this time you’ll find a code of four symbols. The trick here is to only step off the plate in the corresponding direction if its symbol matches the next one in the code—reading it from left to right. If it matches, step off in that direction. If it doesn’t, simply wait on the plate until the timer counts down and you’re automatically teleported to the next room.
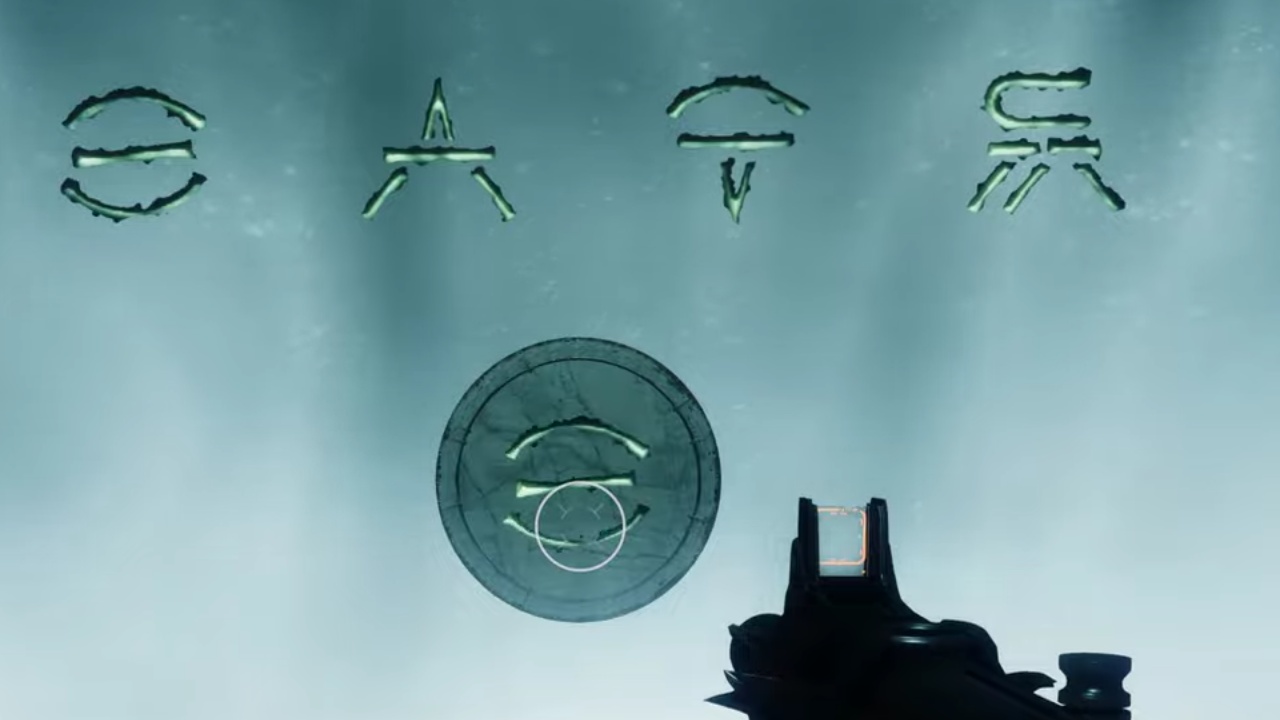
From what I can tell the code remains the same for everyone:
- First symbol: In the first room, step right.
- Second symbol: In the third room, step forwards.
- Third symbol: In the second room (after one full cycle), step backwards
- Fourth symbol: In the fourth room (after one full cycle), step left.
You’ll know if you’ve done something right, because the code will remove any symbol you’ve correctly activated. If you mess up, it will instead reset and display the full code. If this happens, just wait. After you’re teleported through all four rooms, you’ll be taken back to the start to try again.
Beyond that, you’re really just repeating mechanics that you learned in the prelude to the quest itself—the main other thing to watch out for is the sealed green barrier during the mission’s main jumping puzzle. You’ll need to destroy three purple crystals to lower it.
Eventually you’ll end up at the boss room, where you’ll finally unlock Barrow-Dyad. Then, when you defeat the boss, you’ll be given a new quest to unlock the catalysts that are available to craft.