It’s funny really; Nvidia’s getting a lot of stick right now (and rightly so) for its erroneous reporting and missing ROPs on some of the latest 50-series cards, but honestly, the biggest problem for me as a semi-pro system builder (that’s what I’m calling my career, shut-up), is the fact that there are no cards out there.
Want an RTX 5090? Well, I hope you can pony up $5,000 because that’s the price the scalpers currently have them set at. Only a small increase on the RRP of, let me check, oh yes, 150%. Great. Love that. Real sigma, giga-chad energy going on there, nice. Still, I’d be bereft of much joy if, given the opportunity, I didn’t take one of them top-tier flagships out for a spin. In a rig that’s arguably not overkill enough for this card.
And that’s the thing with this goliath of a GPU. No matter what you do, what system you stick it in, it doesn’t feel like it’s enough. Even with AMD’s flagship 9950X, a beefy motherboard, 64 GB of DDR5, and enough storage to make even the most enthusiastic of backlog gamers weak at the knees, it still feels underwhelming. And this thing has 10 RGB fans plus a curved OLED screen on the CPU cooler, like, what? Apparently I’ve developed an inferiority complex because of a graphics card. Fantastic.
The good news then is that this build was super simple to put together, and despite my concerns using a PCIe 4.0 riser, honestly, performance is just beyond belief. Definitely at 1440p and certainly at 4K. In fact, it makes UHD gaming finally viable, even without DLSS. But then it ought to for over five grand. Is this one of the best gaming PCs of all time? Errr, at this price tag, best value? Absolutely not, but if you somehow manage to find an Nvidia RTX 5090 in stock, at a retail price, and have the expandable cash, a rig like this will undoubtedly make you one seriously happy human.
The specs
Total: $5,188 / £5,071
What, a, price tag. I’m pretending you can get stock of that RTX 5090 for that final build cost there. If you’re in 2026 and it still isn’t available, please do write in, and I’ll update this piece accordingly. Still, the overall premise for this build was fairly straightforward. All singing, all dancing, RGB bonanza, complete with solid dependable components that could really showcase the RTX 5090, and let it rip and tear in our benchmark suite below. The glitz, the glam, and plenty of cooling to back it all up basically.
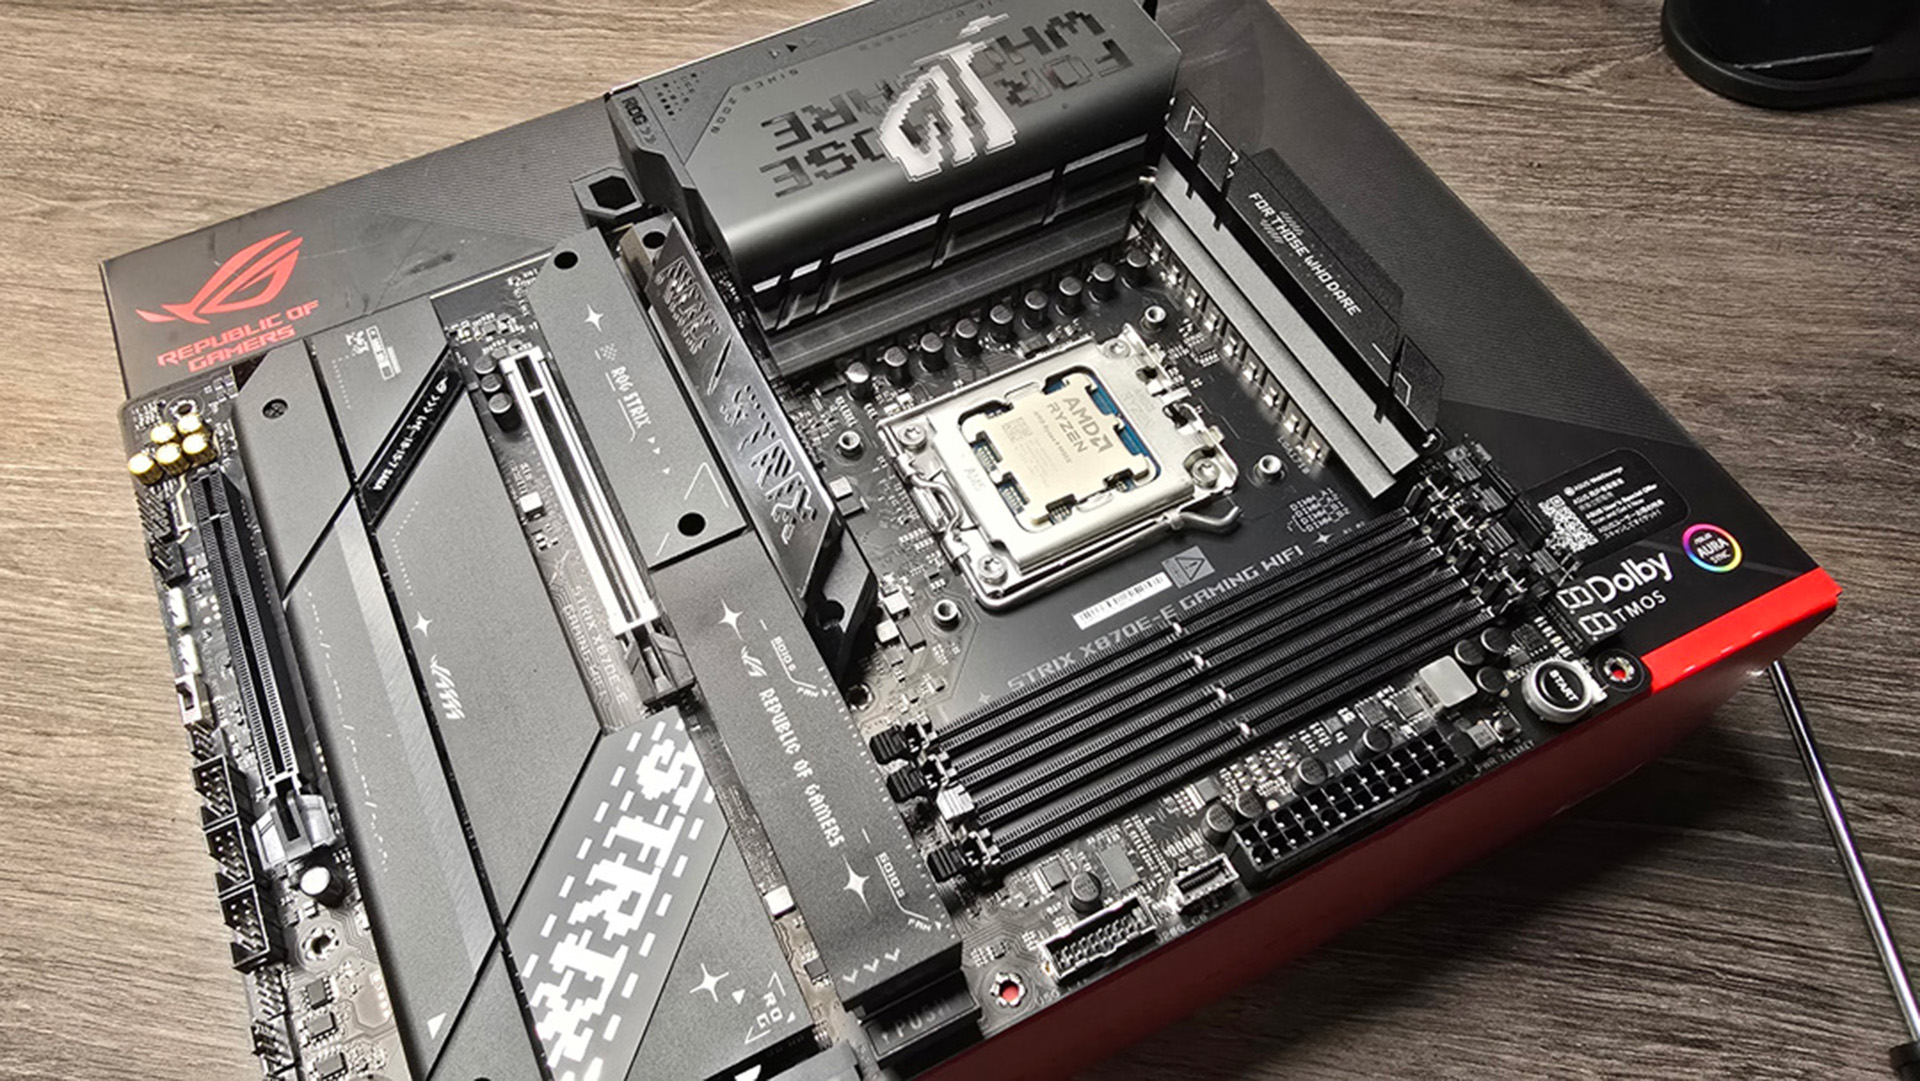
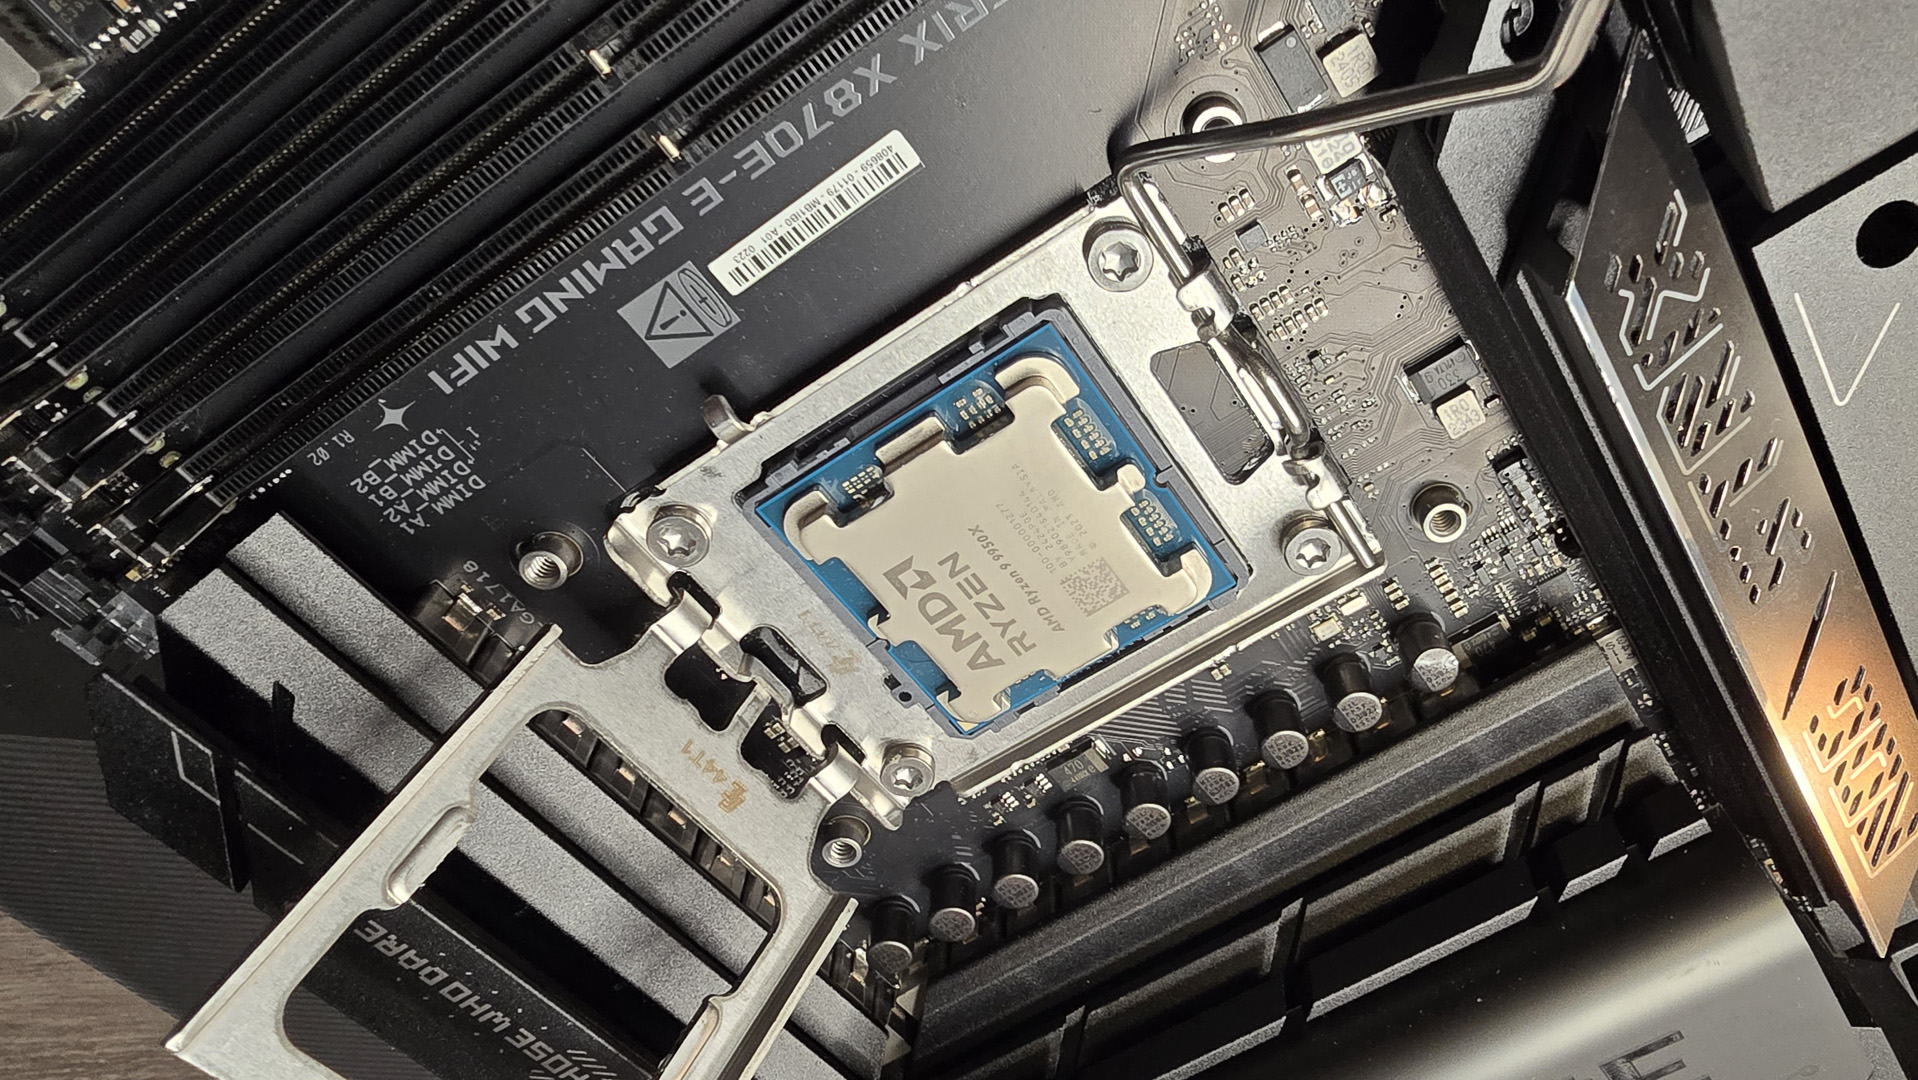
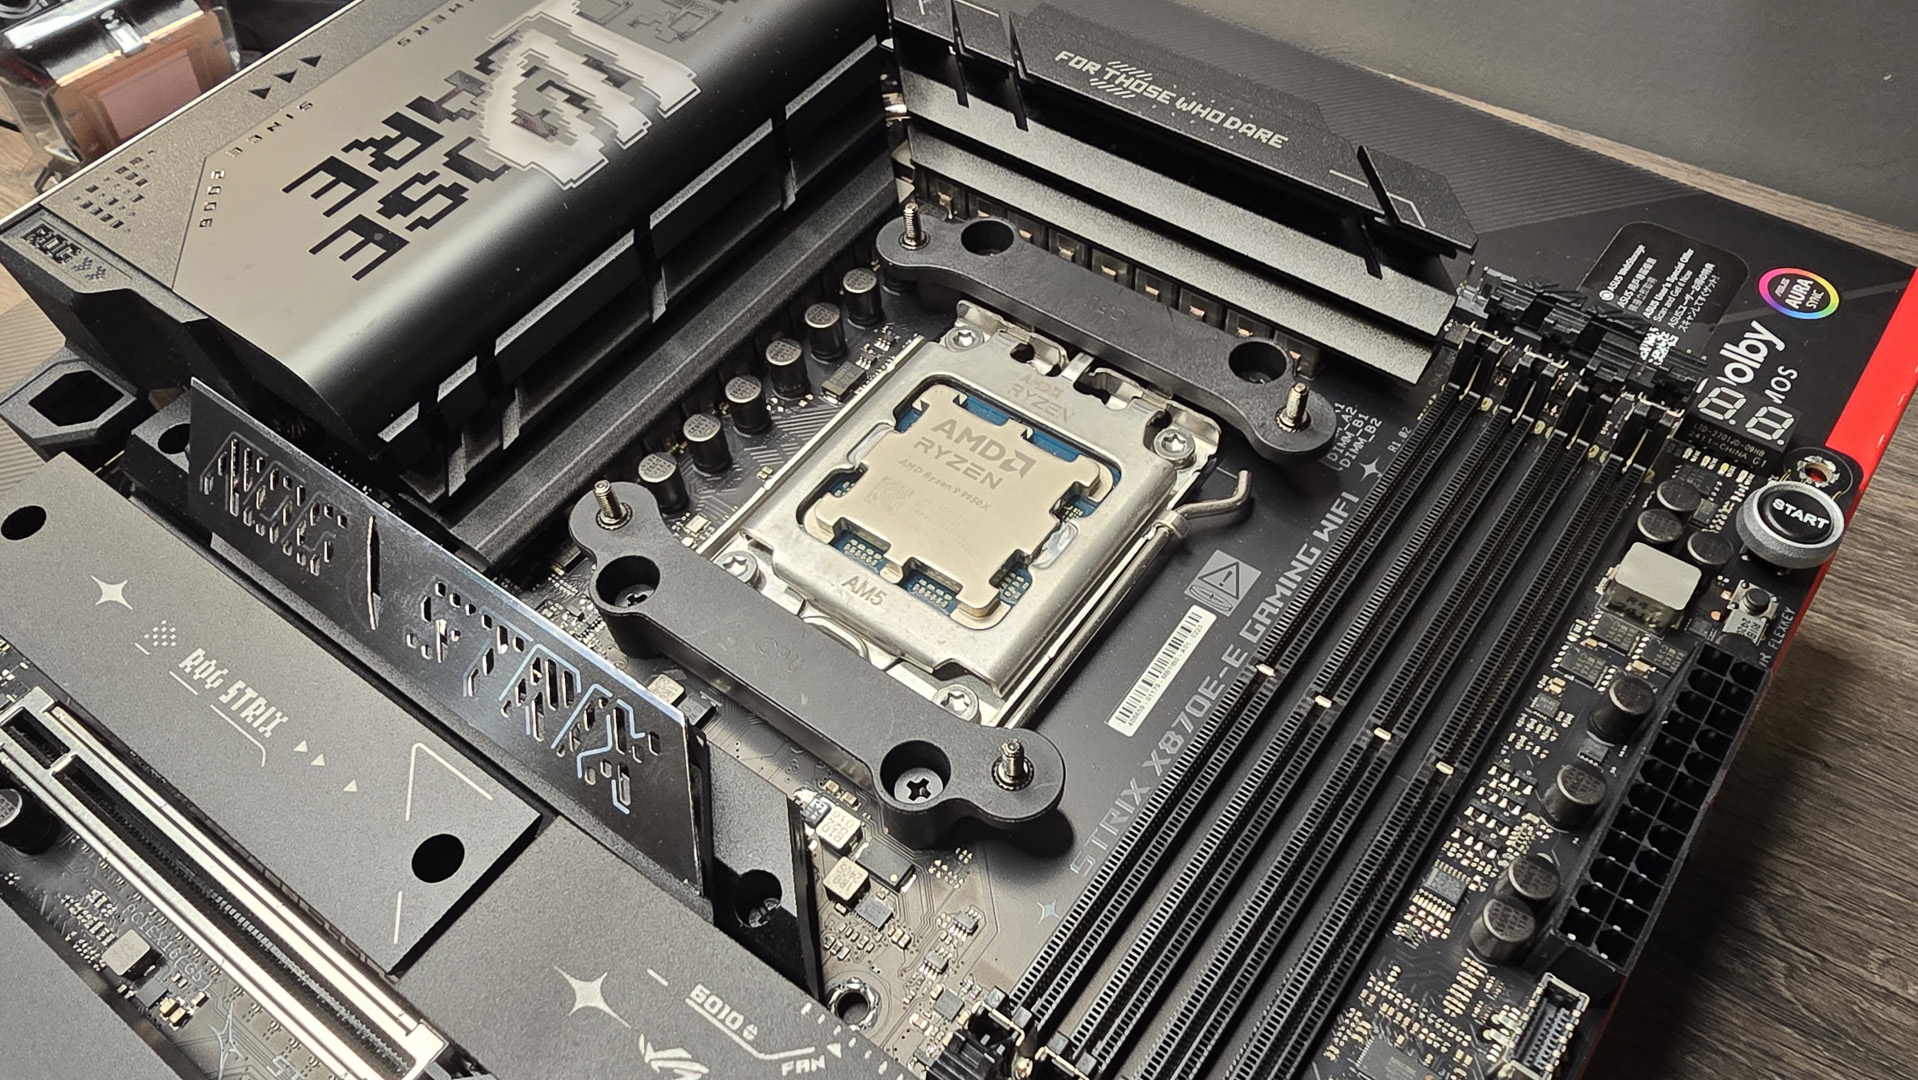
Out of the gate, I knew I wanted a top-tier processor to really bring home that performance and ensure there weren’t any major CPU bottlenecks holding back those frames. I landed with AMD’s Ryzen 9 9950X, complete with 16 cores, 32 threads, and a monstrous 5.7 GHz boost clock. It’s built off the back of TSMC’s 4 nm process for the main core complexes and delivers some outstanding productivity performance if rendering and streaming is your jam. I could’ve gone with the Ryzen 7 9800X3D, but honestly, V-Cache still feels very hit and miss for me, and really dependent on title as to whether you’ll benefit from it or not (the 9950X3D wasn’t out yet). So instead of that, opting for a chip with a naturally higher clock speed just felt right and should give you a better overall experience in all manner of software. Laws of averages and all that.
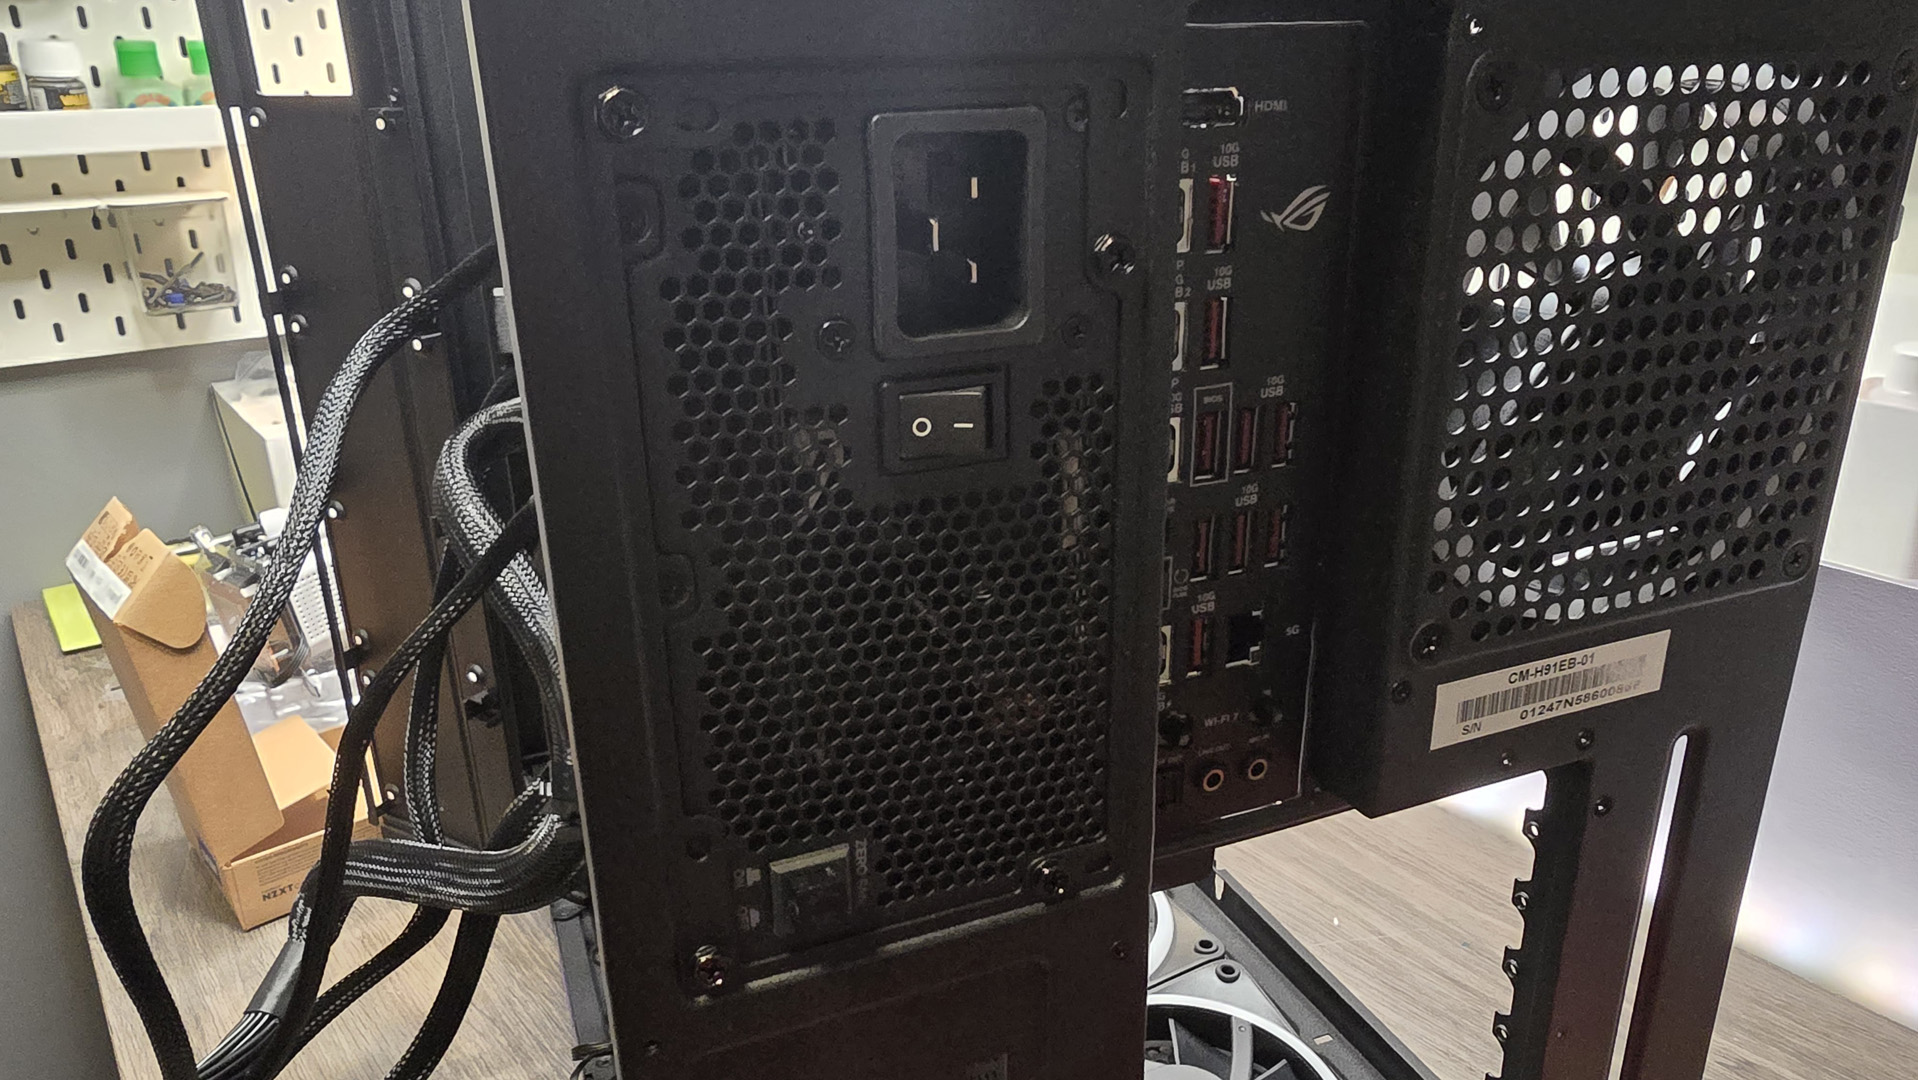
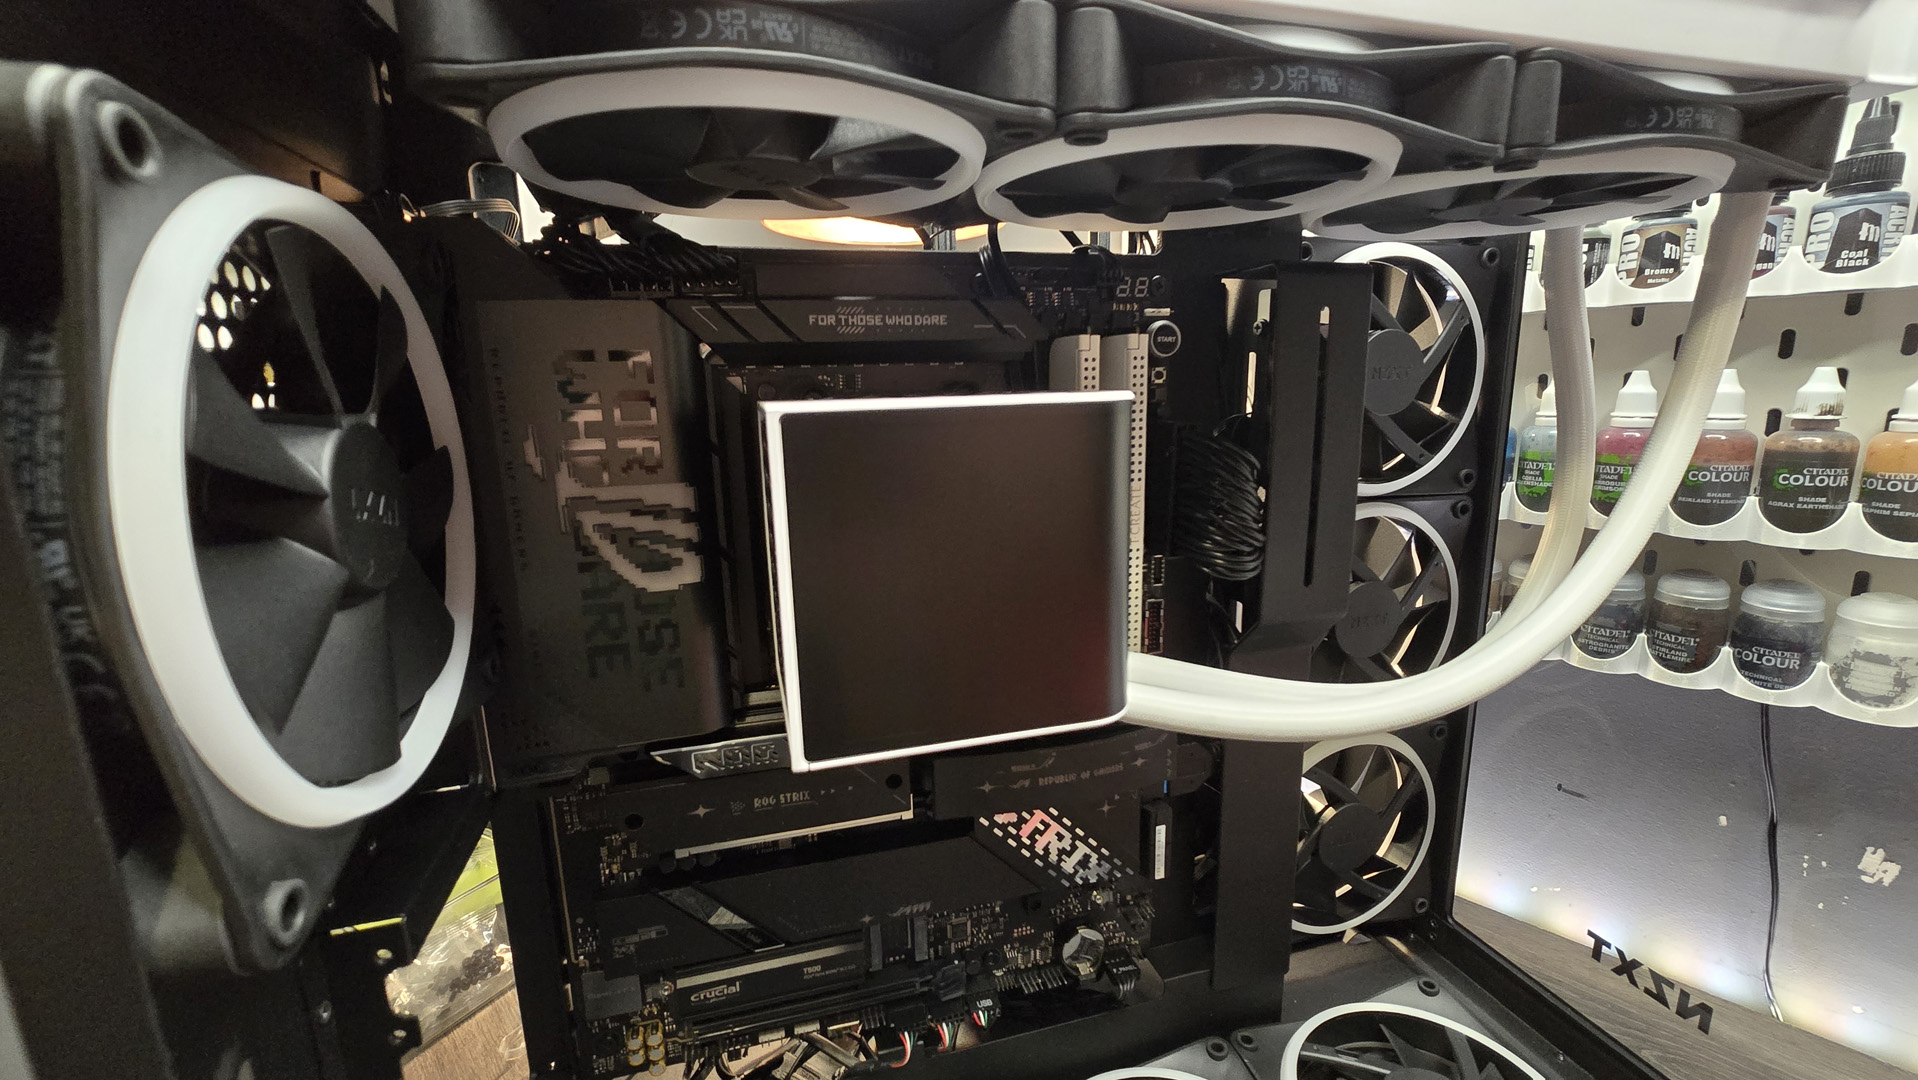
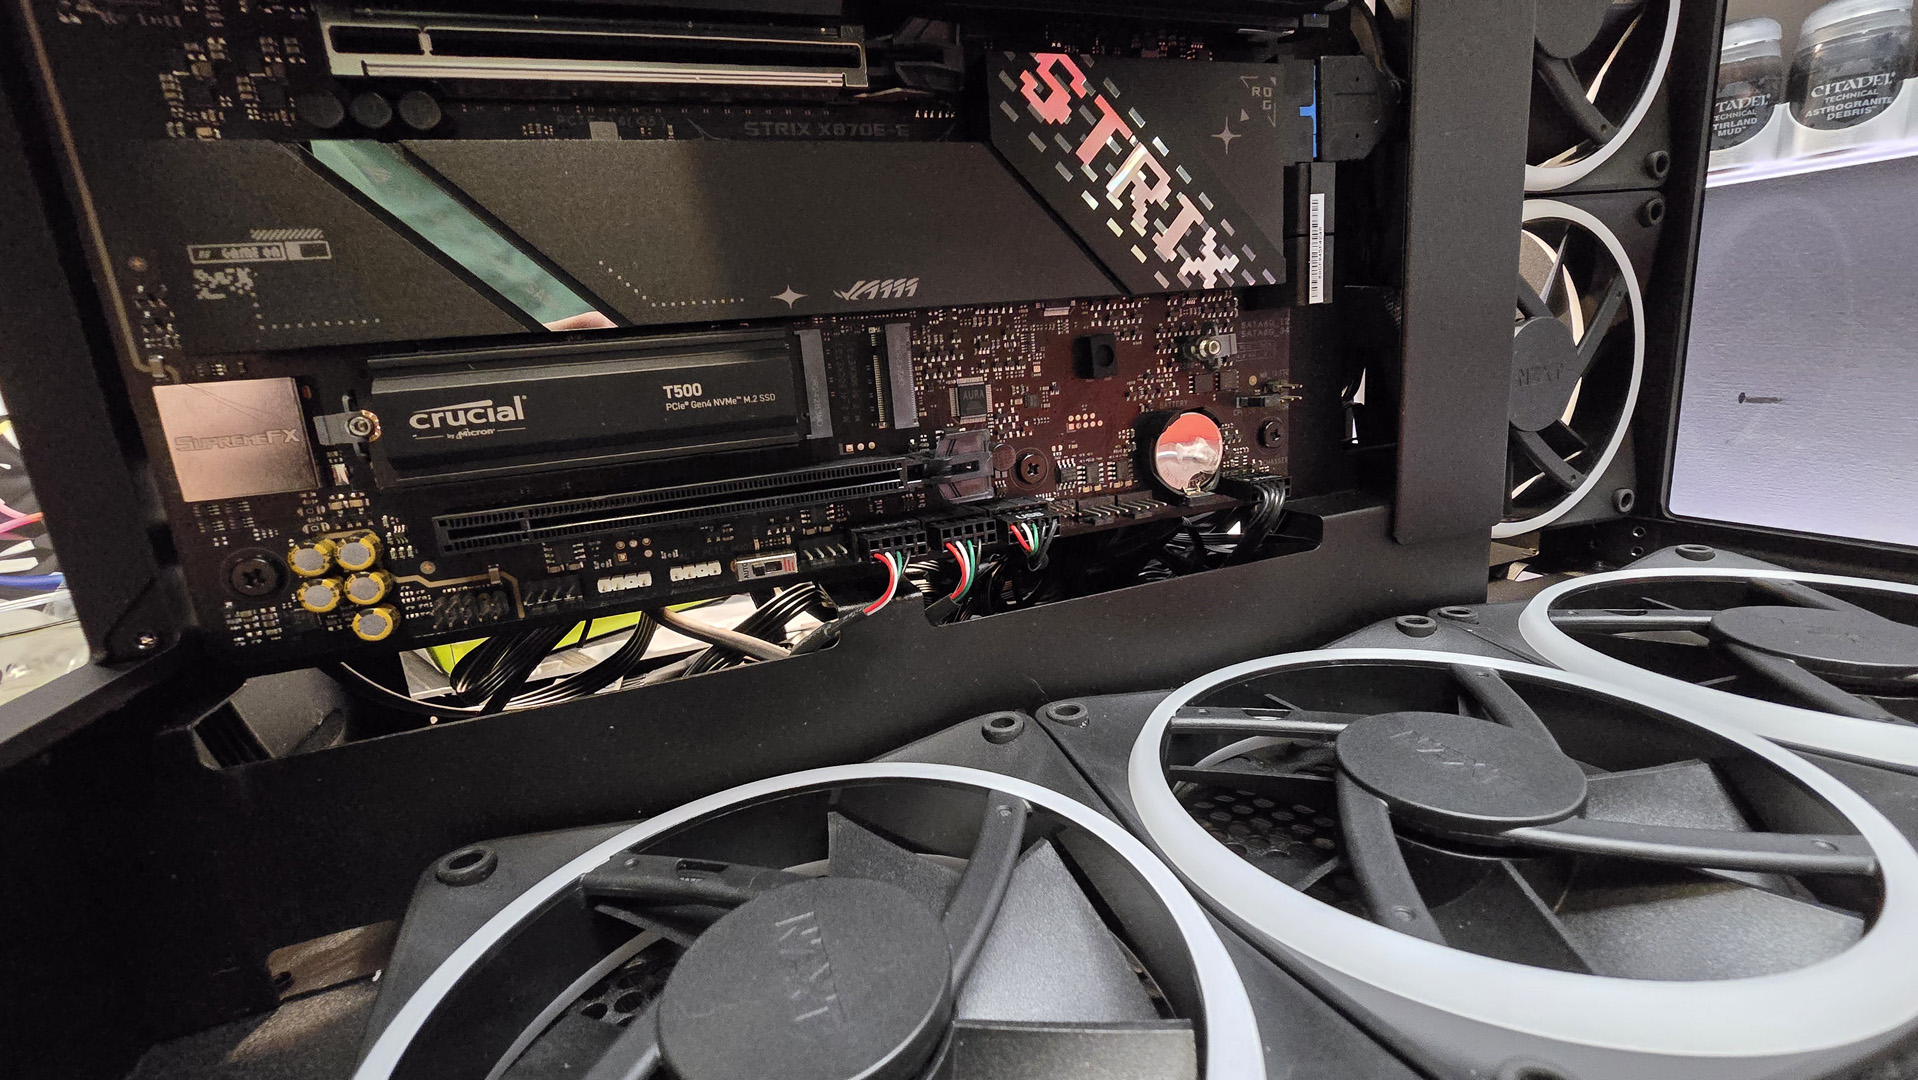
For the mobo, I went with the X870E-E from Asus. It’s a beautiful piece of kit littered with M.2 slots, plenty of “armor” plating, and some serious connectivity around the back too. Plus it looks phenomenal. You’ve got an 18+2+2 VRM setup, along with support for DDR5 up to 8,400 MT/s. M.2 support comes in the form of three PCIe 5.0 slots and two PCIe 4.0 slots. Admittedly a bit overkill for gaming, but maybe one day we’ll get titles that can take advantage of those wild sequential speeds. In particular, the quick-release heatsink on the 5.0 port on the right-hand side is an absolute treat too for ease of access. Asus generally has nailed down the M.2 mounting solutions these days; there’s no less than three different ways of securing your M.2 on this board. From toggle, to slidy latch, to another toggle. What a treat. Irony aside, rear I/O is wild too: 5Gb Ethernet, WiFi 7, nine USB Type A ports (of varying speeds), plus four USB Type C, and a HDMI for diagnostics.
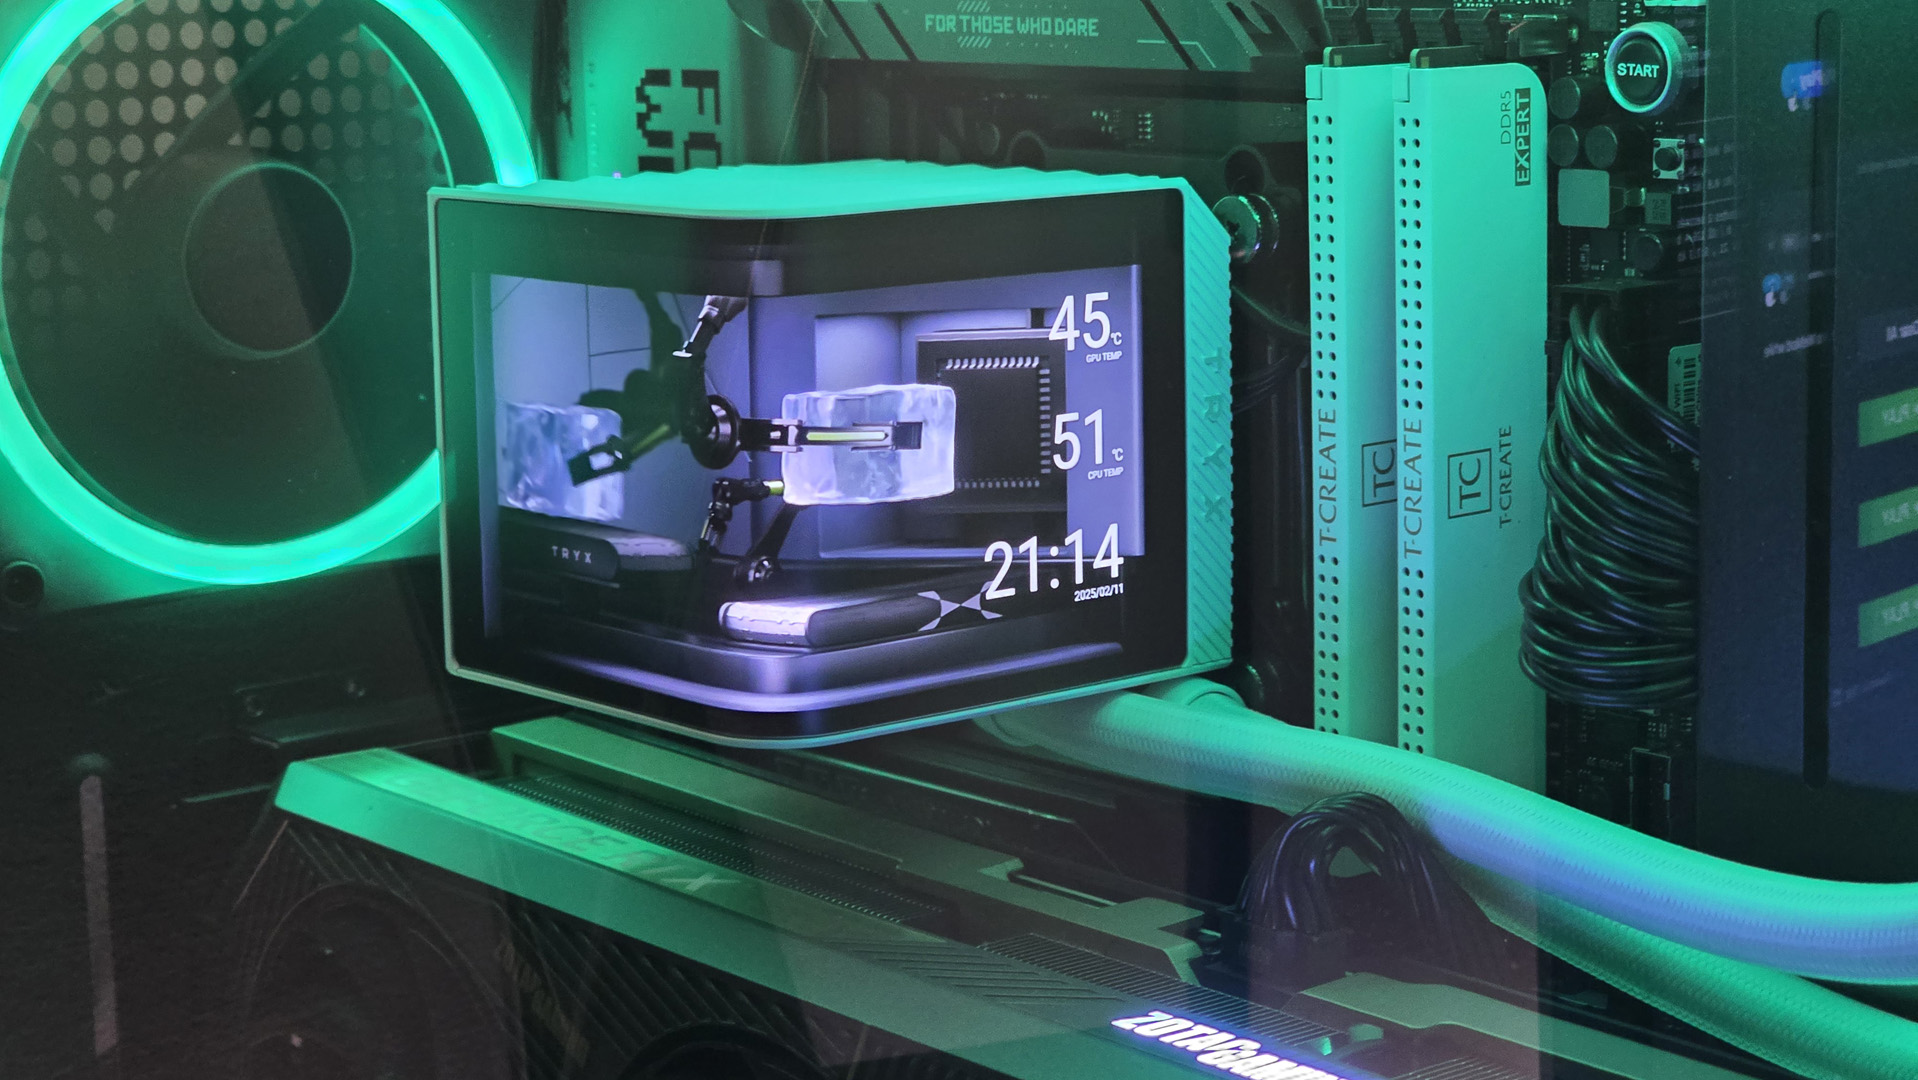
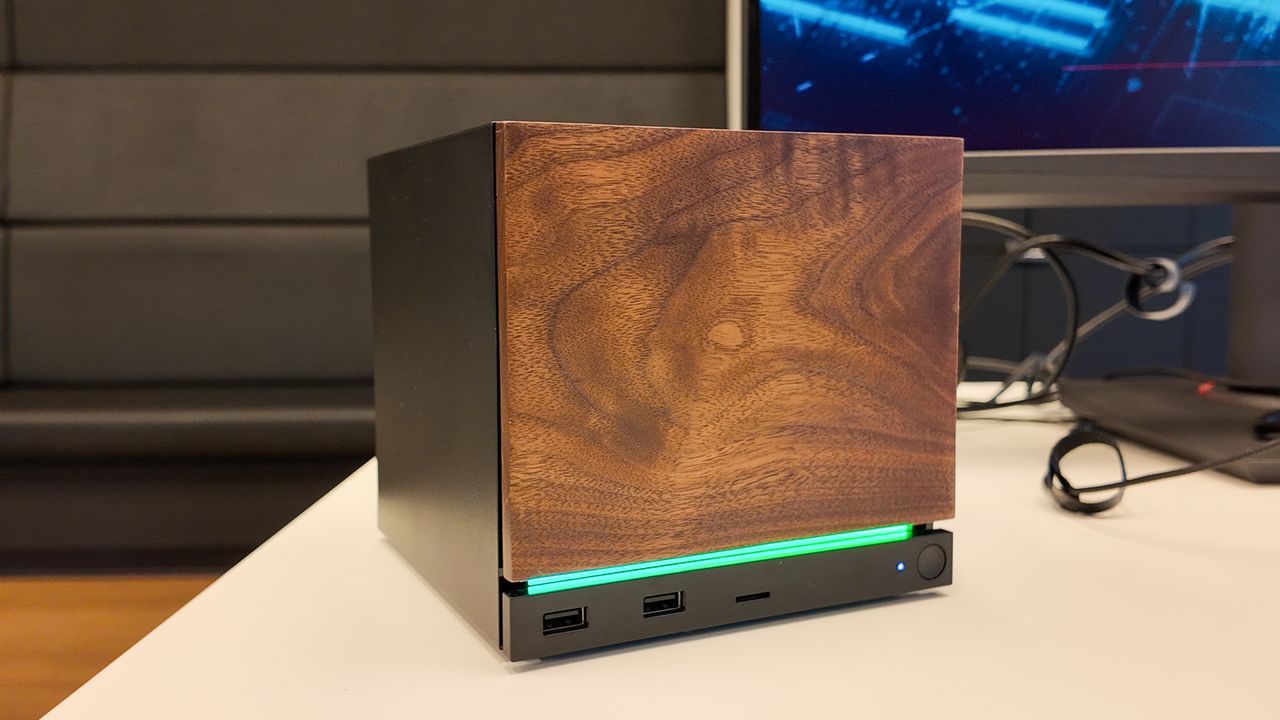
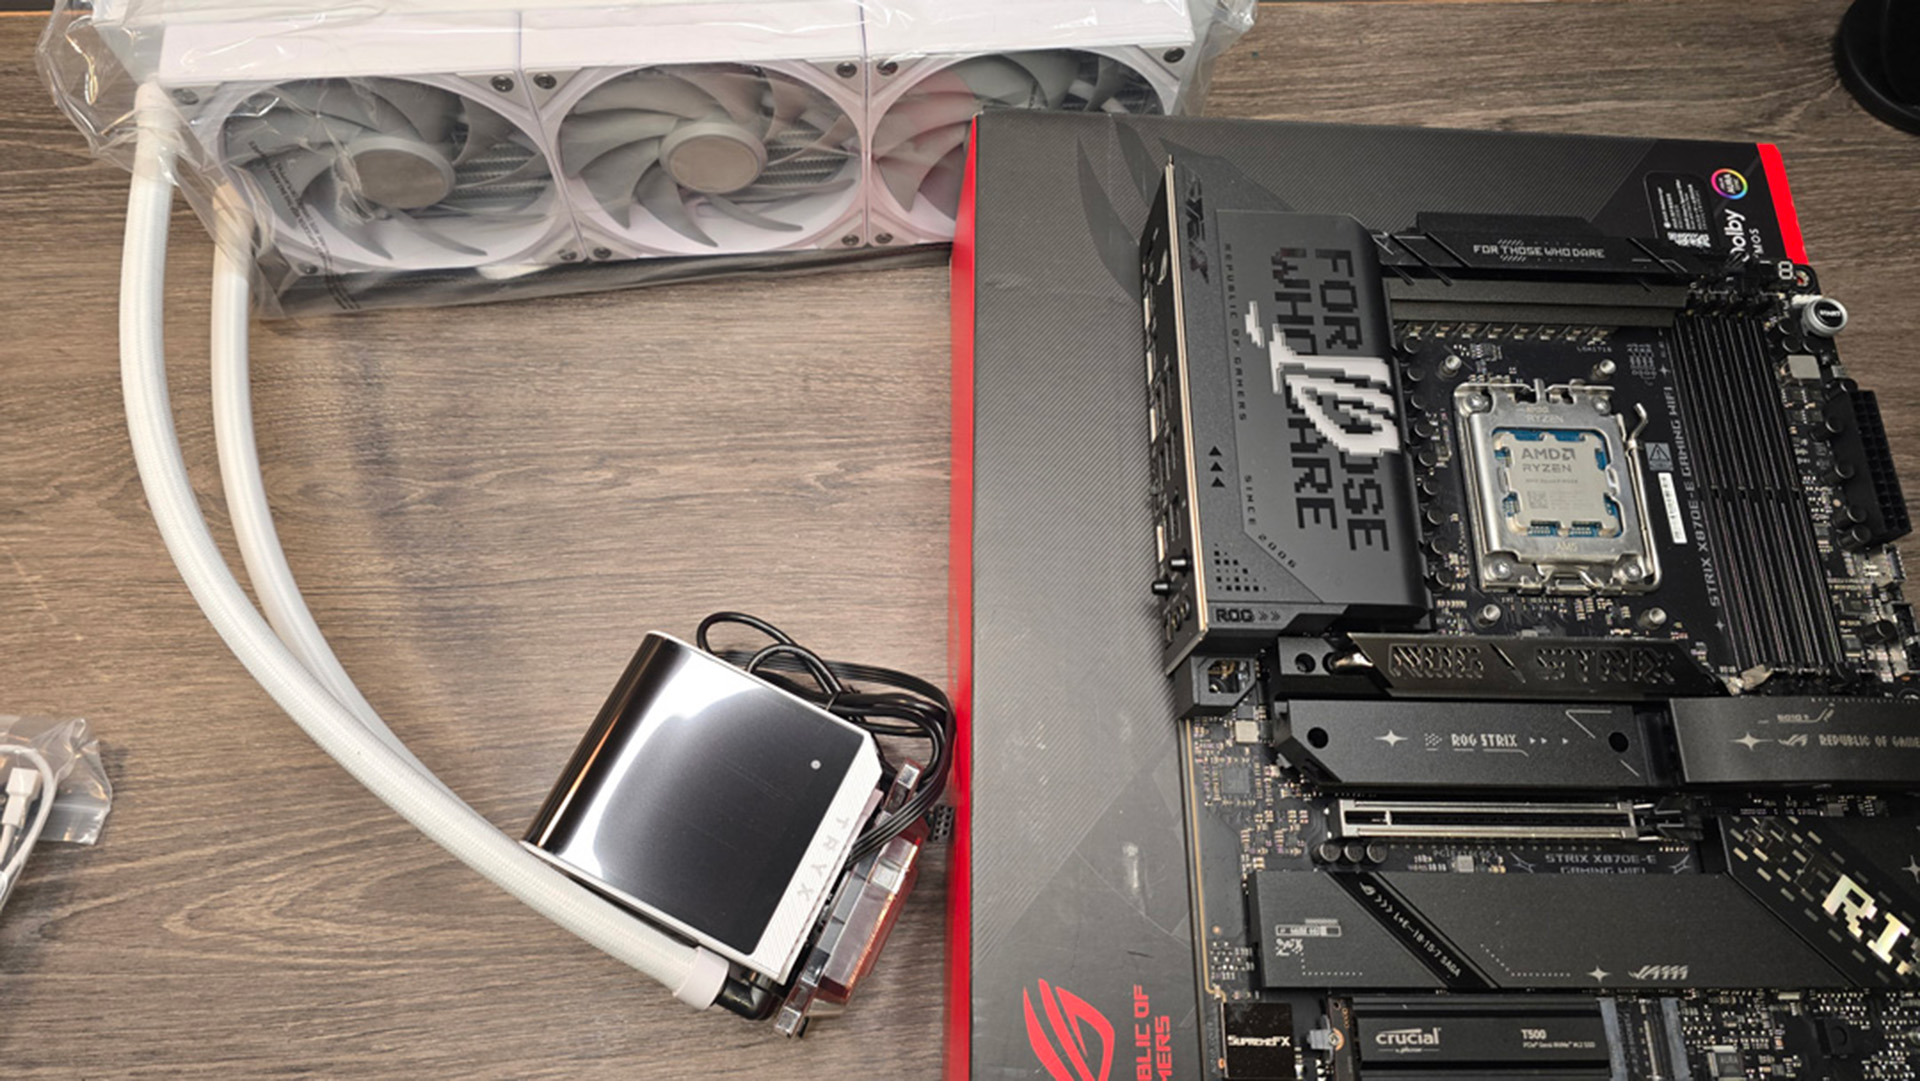
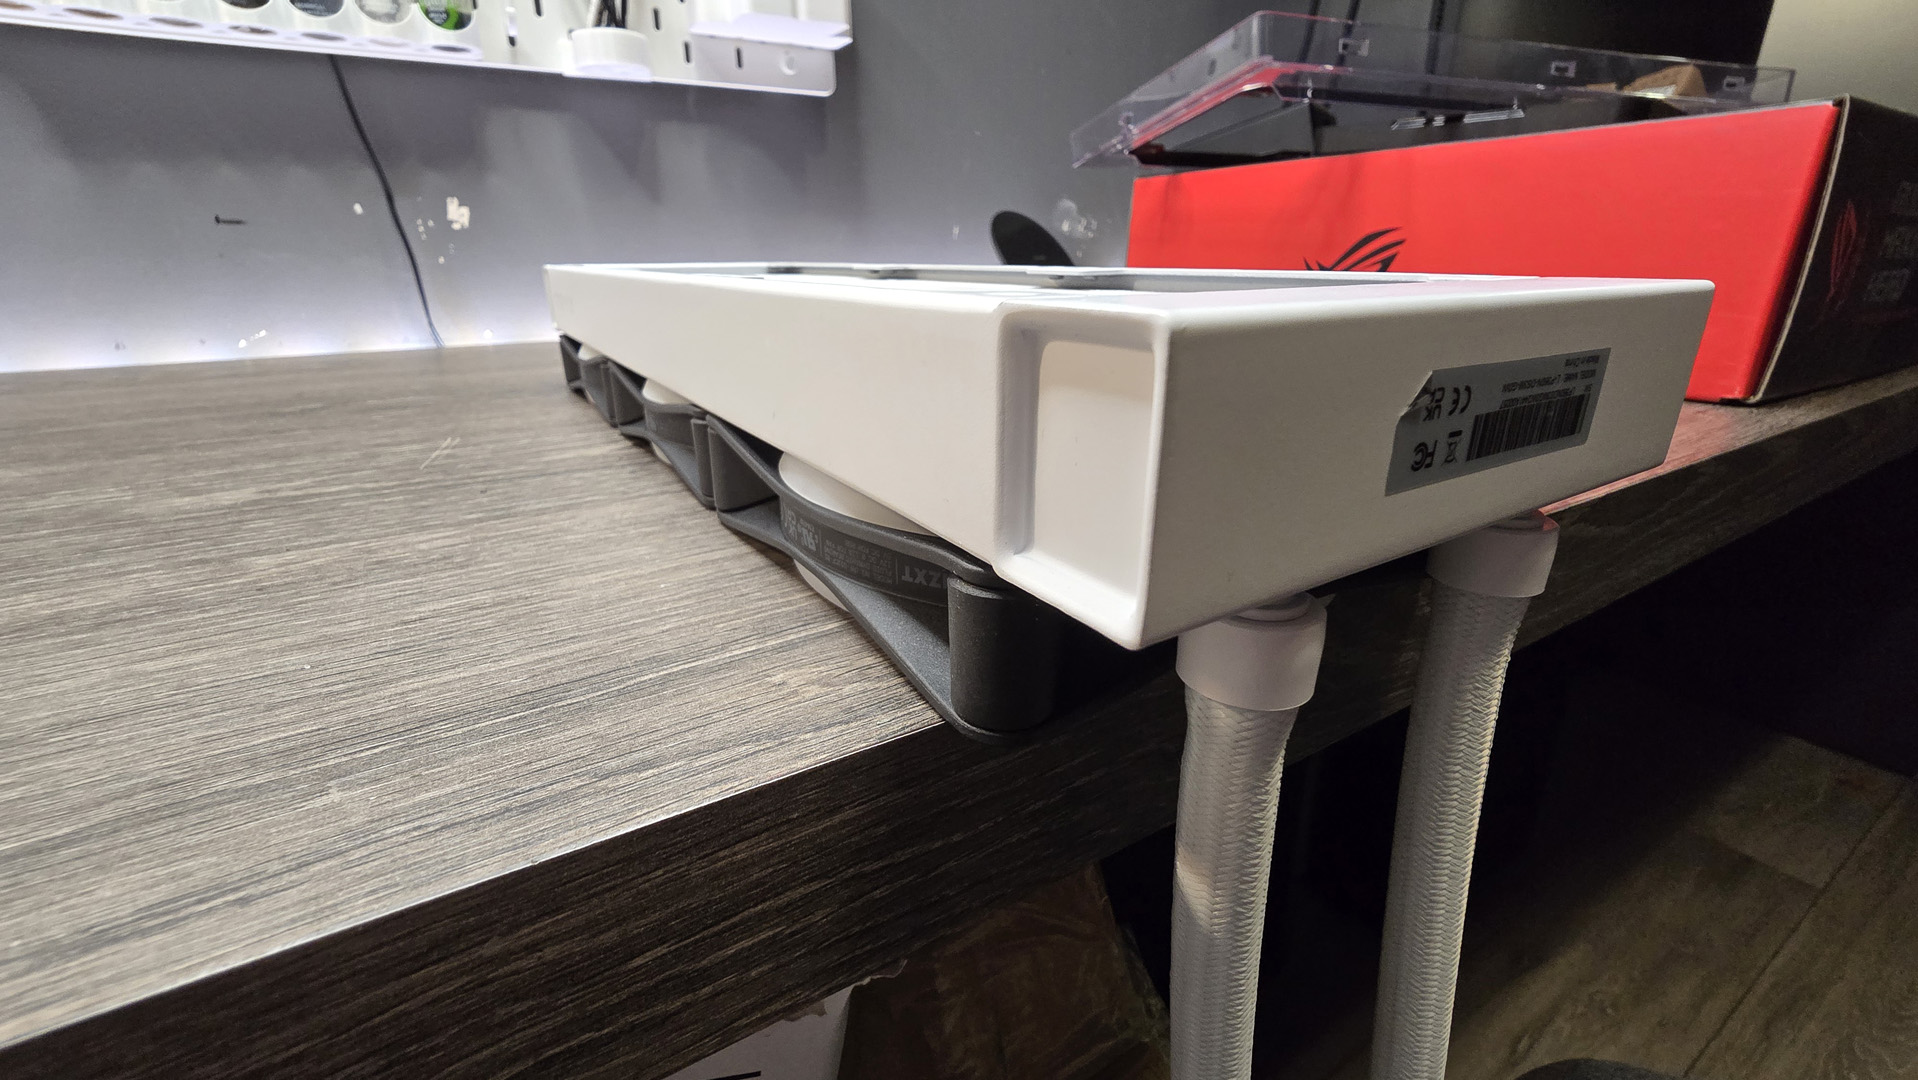
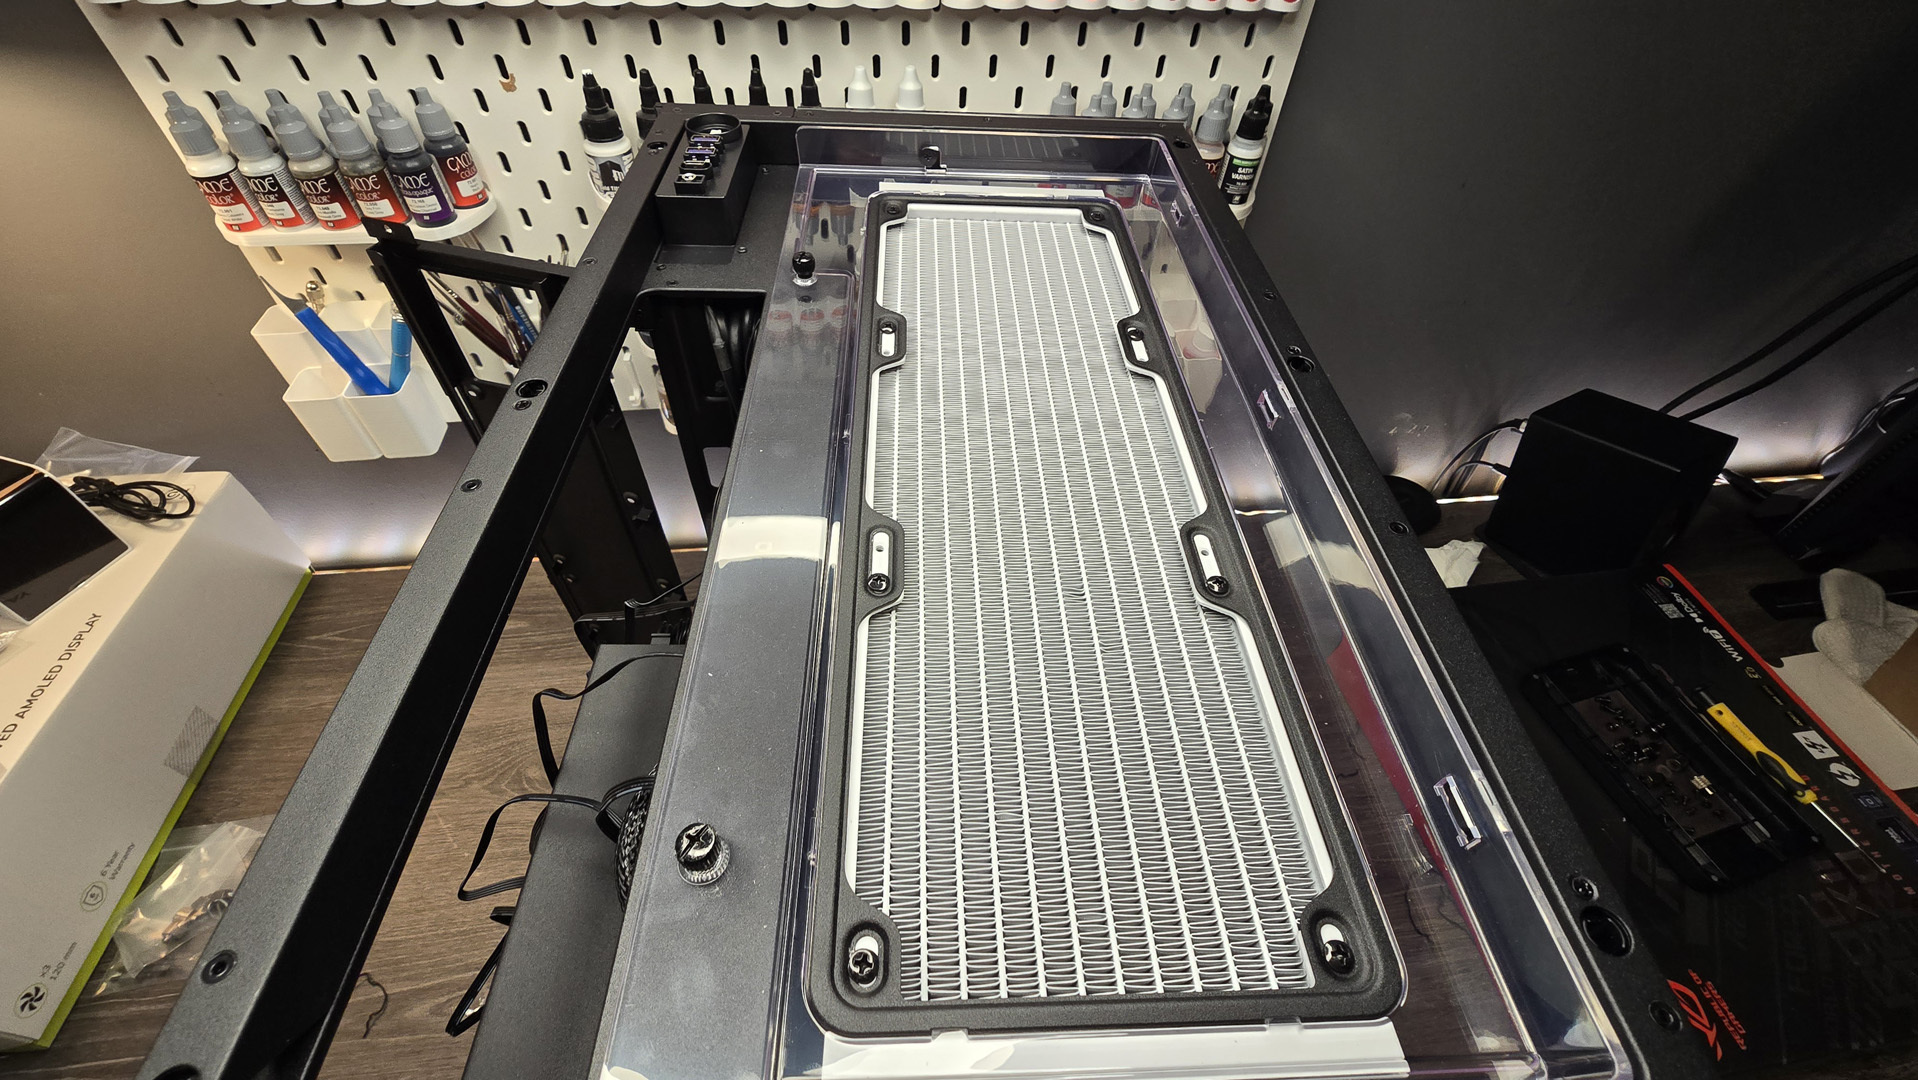
Alright, let’s talk about that OLED cooler, because it is something special. I spotted this while perusing PC Part Picker recently. It’s a 360 mm AIO, complete with Asetek’s new weird 8th gen pump design (where it’s integrated a fan into the CPU block and made it far too tall), but this variant from Tryx comes with a curved OLED display on top.
Tryx is fairly new on the scene (it’s literally got two products, this, and a fairly funky chassis), but otherwise you get a seamless daisy-chainable RGB fan solution, plus a nice chunky rad and real long tubing too. And it’s available in black or white, depending on your build preference. The display itself is an AMOLED 2K 60 Hz affair, technically measuring at around 6.5 inches or so, and you can chuck any video or image on there in Tryx’s Kanali software, plus a bevy of system stats too. Pretty neat, and not unreasonably priced when it’s in stock (it’s still $300+, so y’know, that’s relative).
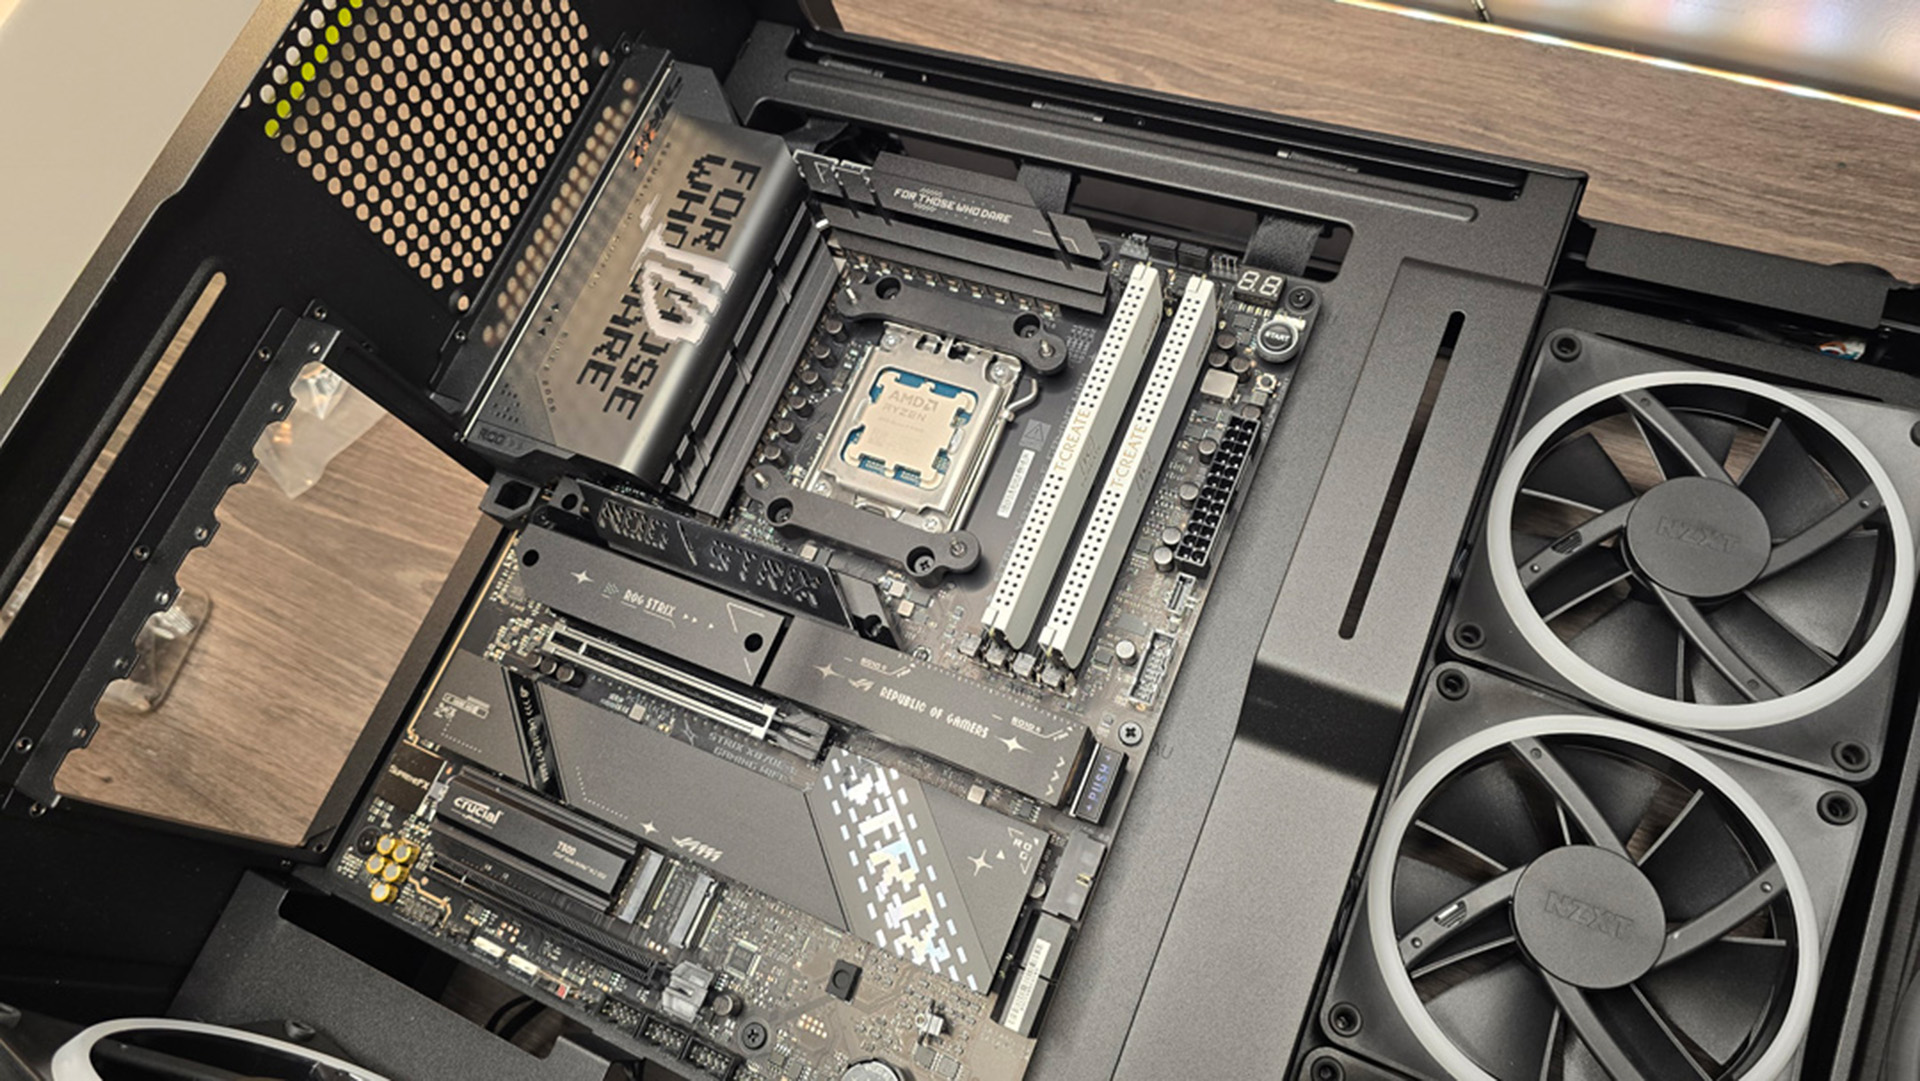
For memory, I’ve gone for Teamgroup’s T-Create Expert DDR5, 64 GB of the stuff @ 6000 MT/s with a C34 latency. That’s plenty of zip for Ryzen’s Infinity Fabric on this gen, but if I’m honest, I’d have preferred something a little quicker, again, just tying into that productivity aspect that the rest of this build is really situated around at this point. Although video rendering and such does prefer capacity over speed, it’s nice to have both, and a 7200 kit would’ve been a far better pick. Still, it’s low-profile, completely clean, with not a spec of RGB in sight, blending in seamlessly with my all-white AIO.

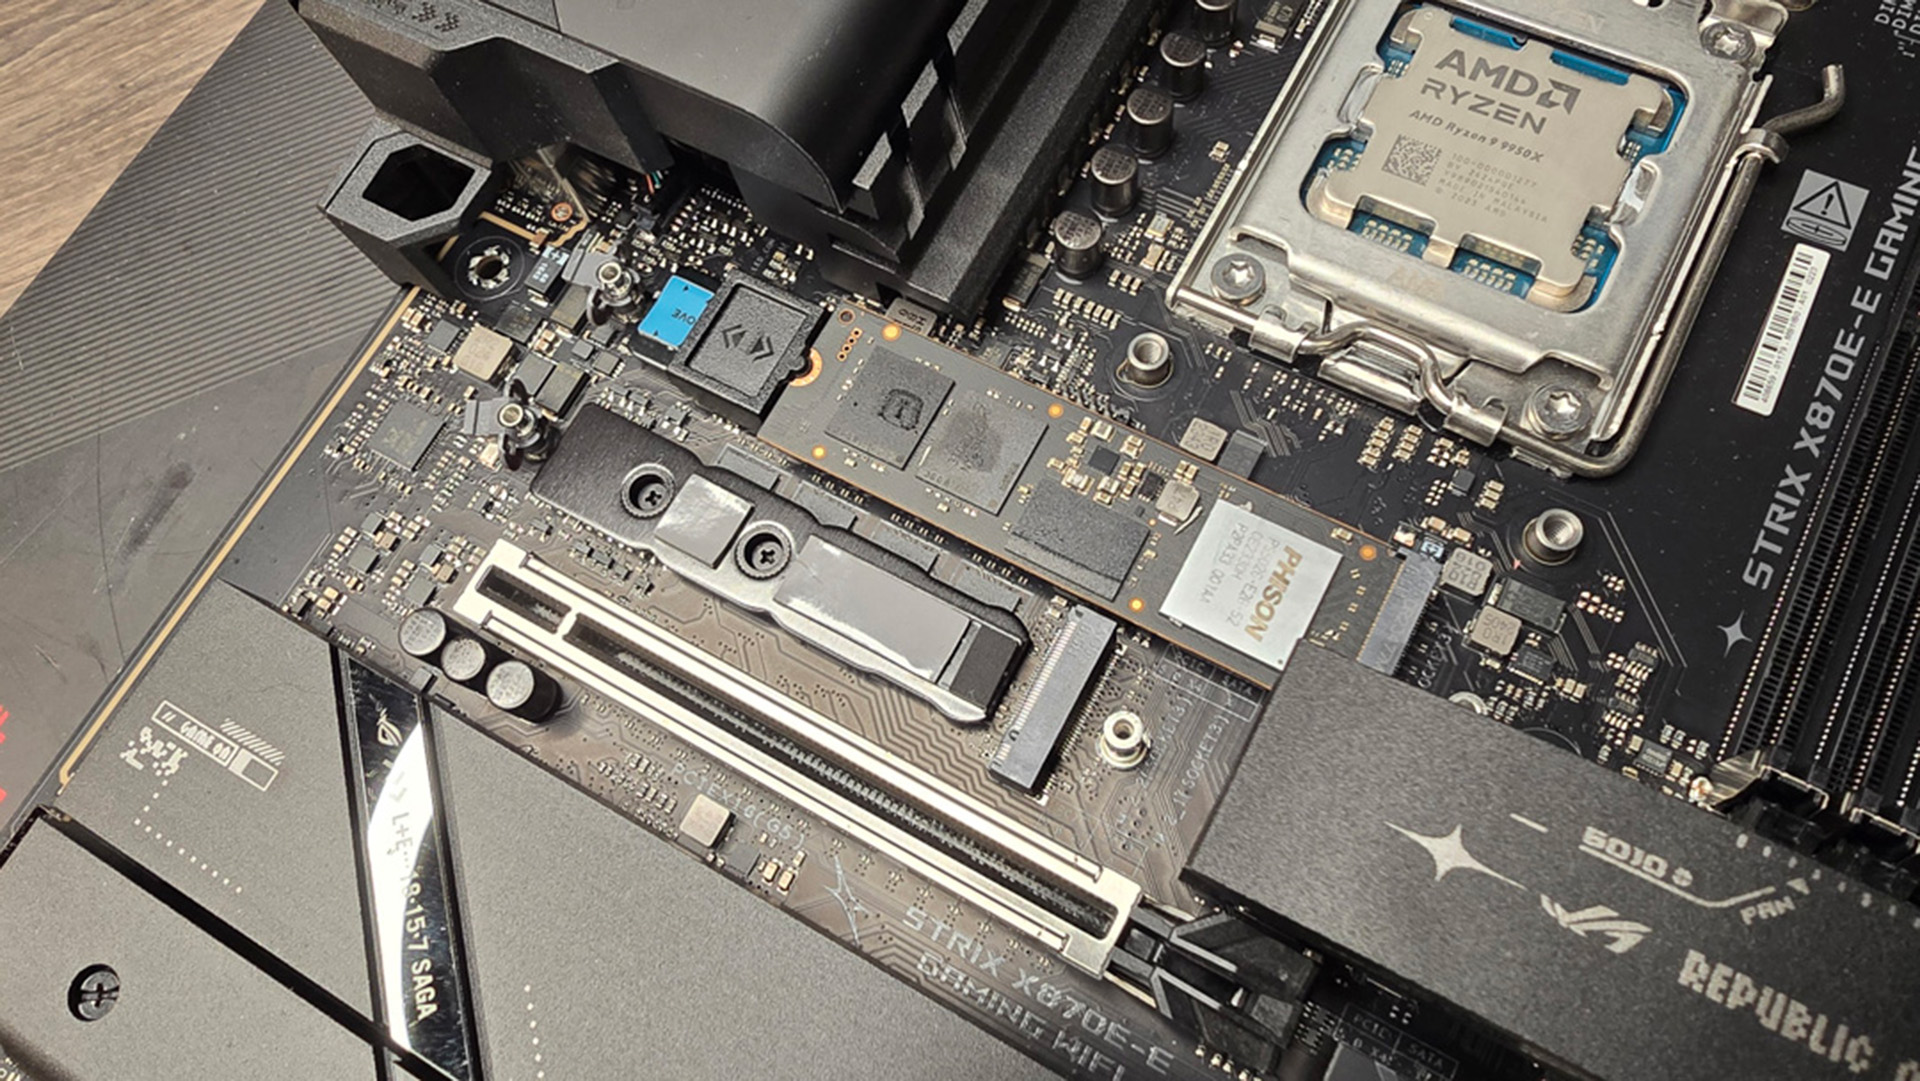
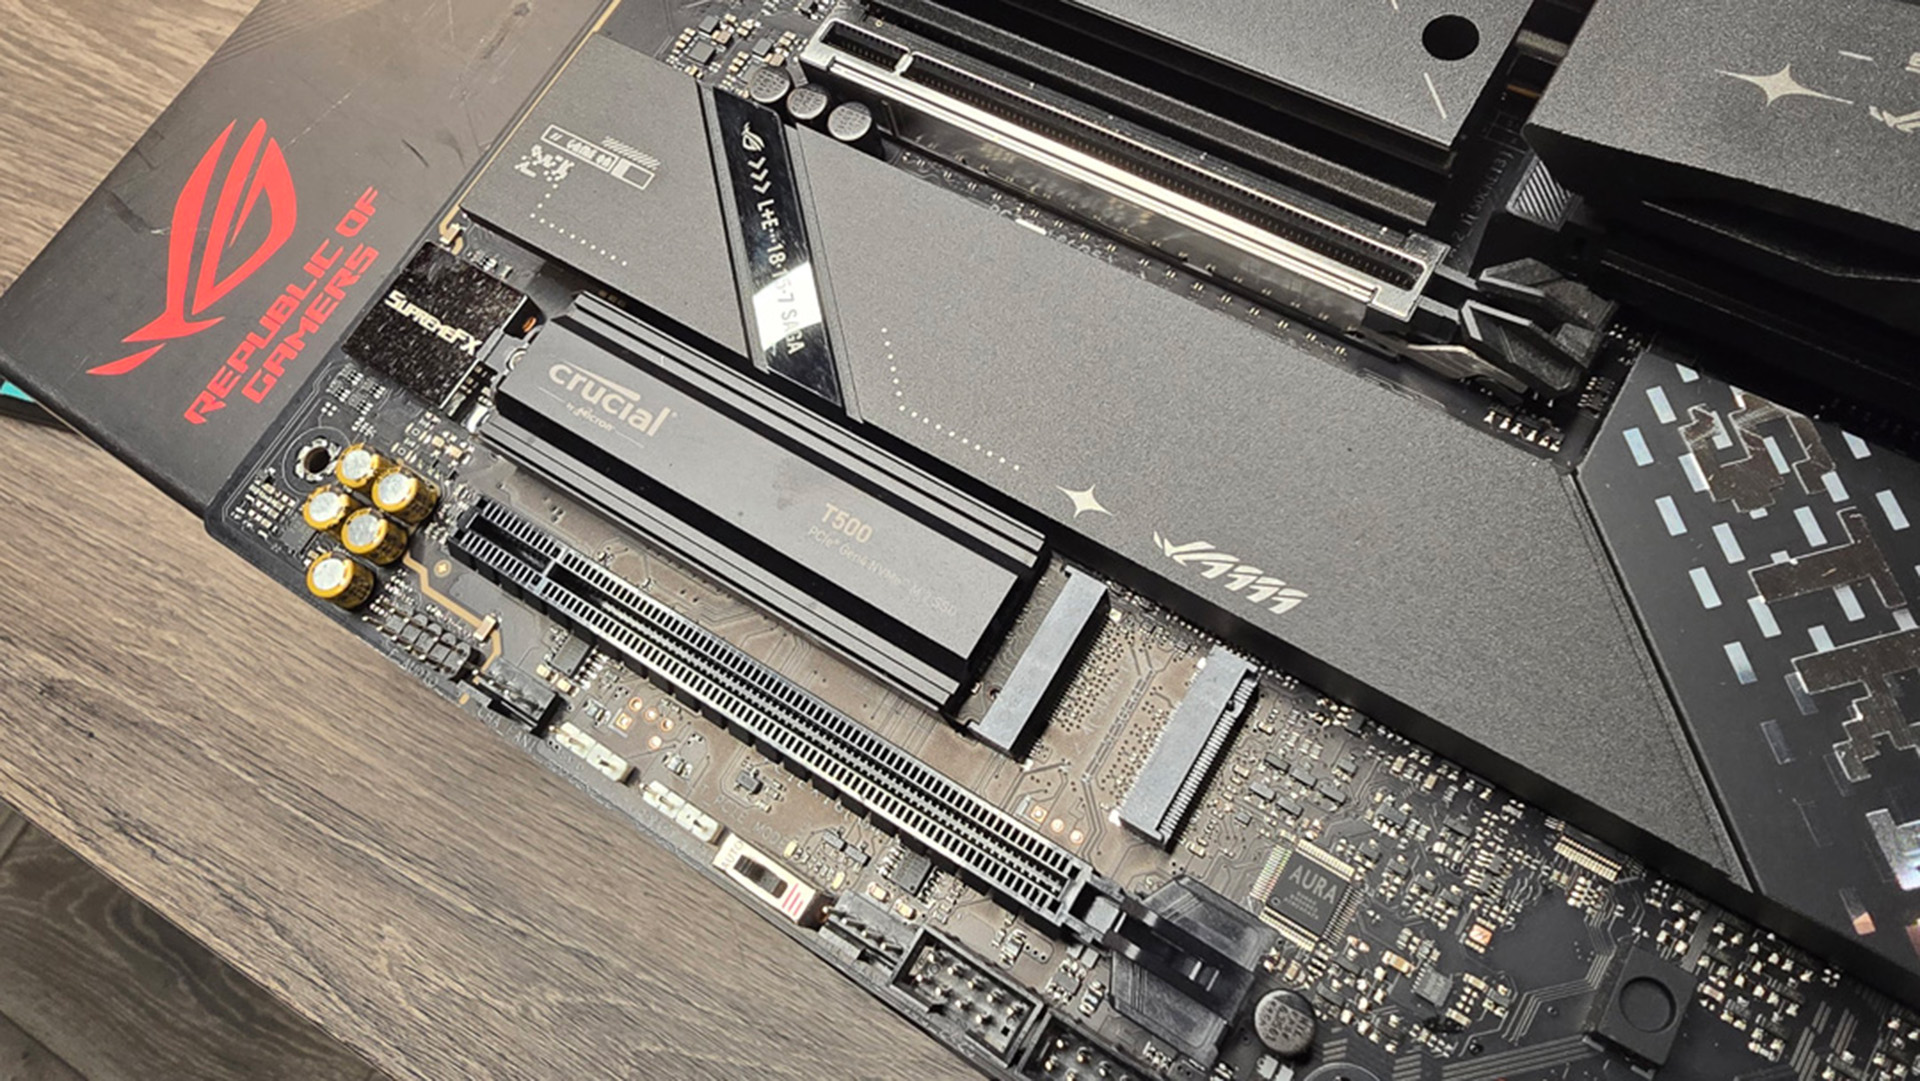
For storage, similarly overkill, we’ve got 2 TB of Crucial’s T705 M.2 PCIe 5.0 SSD for the OS drive, and then I’ve paired that with a secondary SSD to house all of the games plus anything else you feel is mission critical. That second drive is a Crucial T500 PCIe 4.0 solution, but at a 4 TB capacity (usable 3.63 TB). I do love running twin drive setups for builds like this, or just in general. I’m a big advocate of flattening and reinstalling Windows every 2-4 months to keep things fresh and ticking along nicely. Having your games on a secondary drive, where sequential performance is less integral, ensures you don’t have to re-download them on each Windows re-install, and you’re not hindered by any performance loss (as almost all games still don’t benefit from those higher PCIe 5.0 sequential speeds). Plus, this way theoretically, you can shave off some cost on your storage solution. 6 TB of 5.0 is a helluva lot more expensive than 6 TB of mixed 5.0 and 4.0 storage.
Of course I can’t not talk about that RTX 5090. I’ve gone for Zotac’s Solid variant on this one. It’s incredibly clean and comes with a far more robust triple slot design. With subtle accenting and some fairly tame RGB lighting, which really is all I want in a GPU. Despite not being in stock though, as for performance, this thing is an absolute monster, certainly compared to its predecessor, the RTX 4090. Die size alone is 23% larger. CUDA, RTX, Tensor cores all massively bumped up, and it comes with 32 GB of GDDR7 VRAM delivering 1.8 TB/s of memory bandwidth. What? The caveat on that is, of course, that this thing is thirsty for juice. Real bad, in fact. Nvidia recommends a minimum-spec PSU of 1000 W or so. I disagree; get a 1200 W.
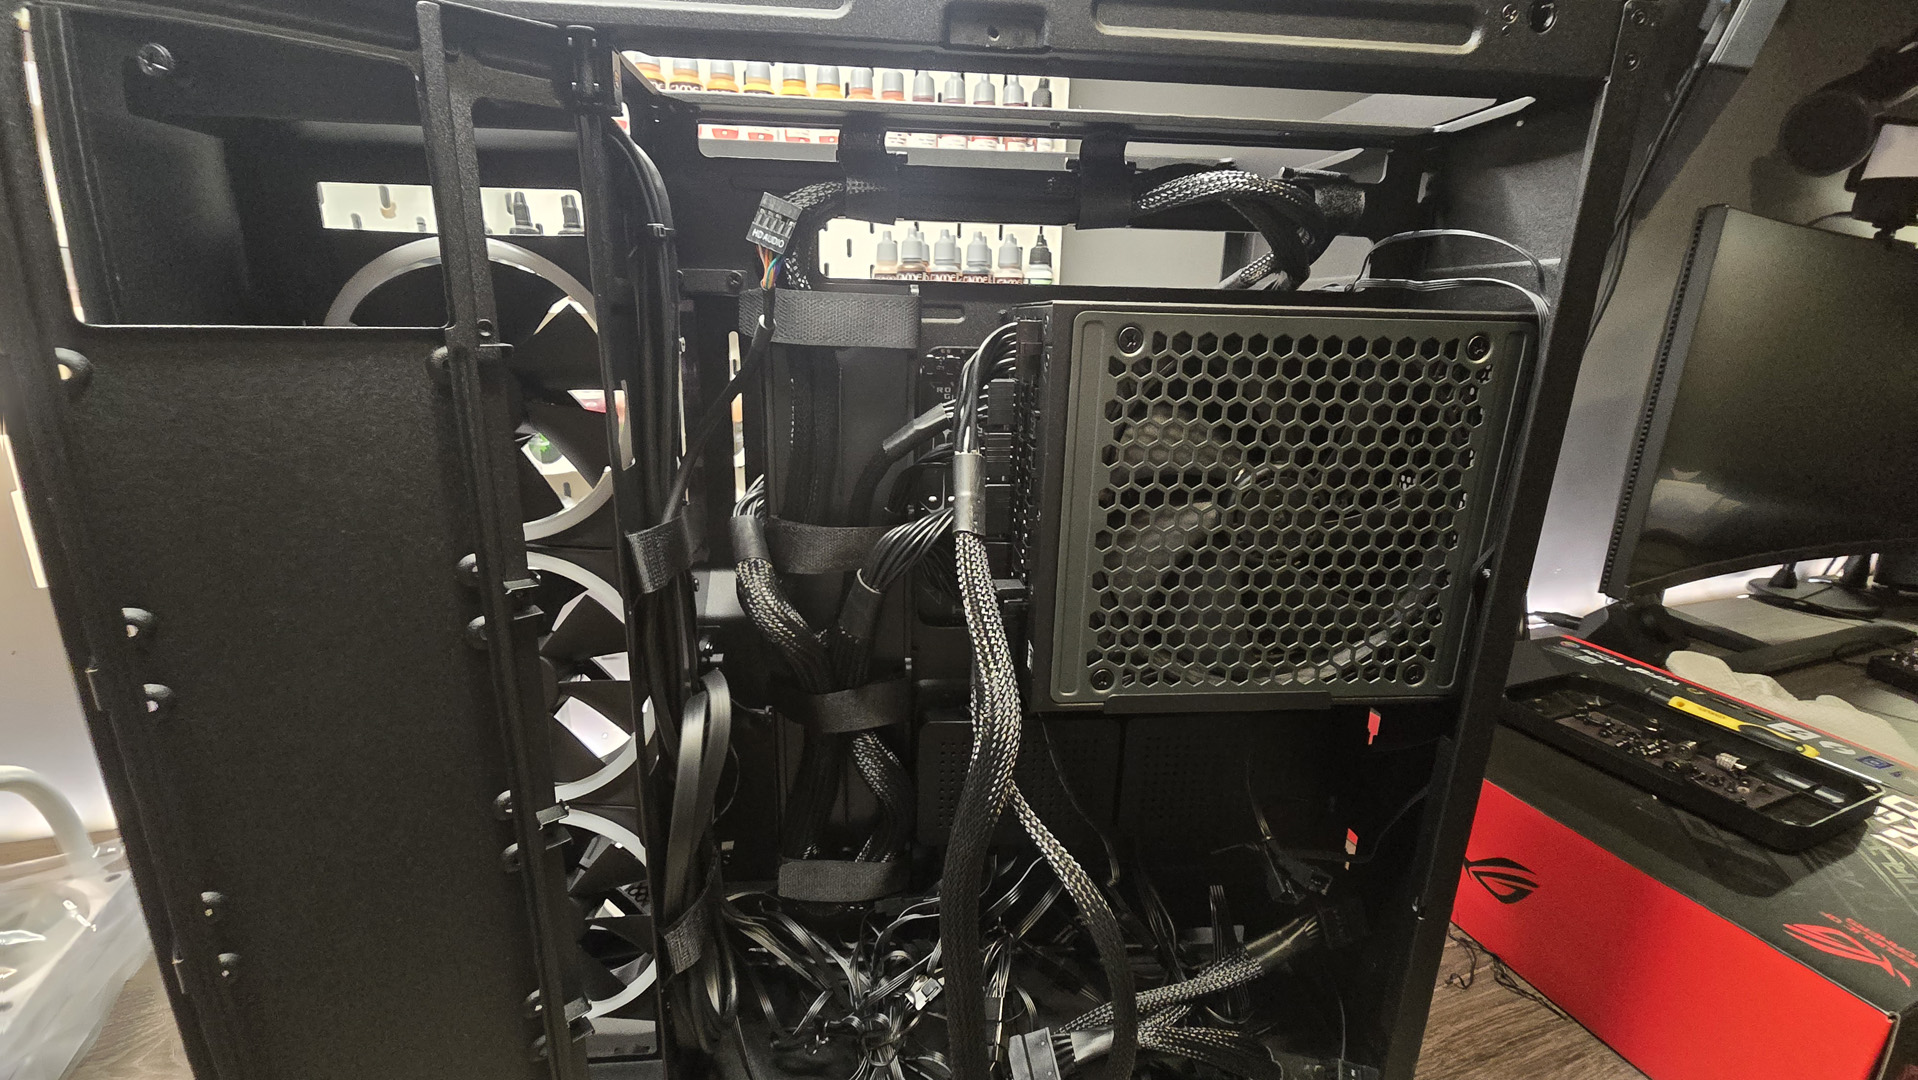
In fact, just to be safe on that front, I’ve personally grabbed one of NZXT’s C1500s for this build. Is it overkill? Absolutely, but I just don’t feel comfortable sticking anything less than a 1200 W unit in this machine with that CPU and GPU combo. Seriously. I tested an RTX 5090 with an Intel Core Ultra 9 285K in another system, benchmarked Final Fantasy XIV, and the power draw immediately shot up to 900 W. In Final Fantasy…
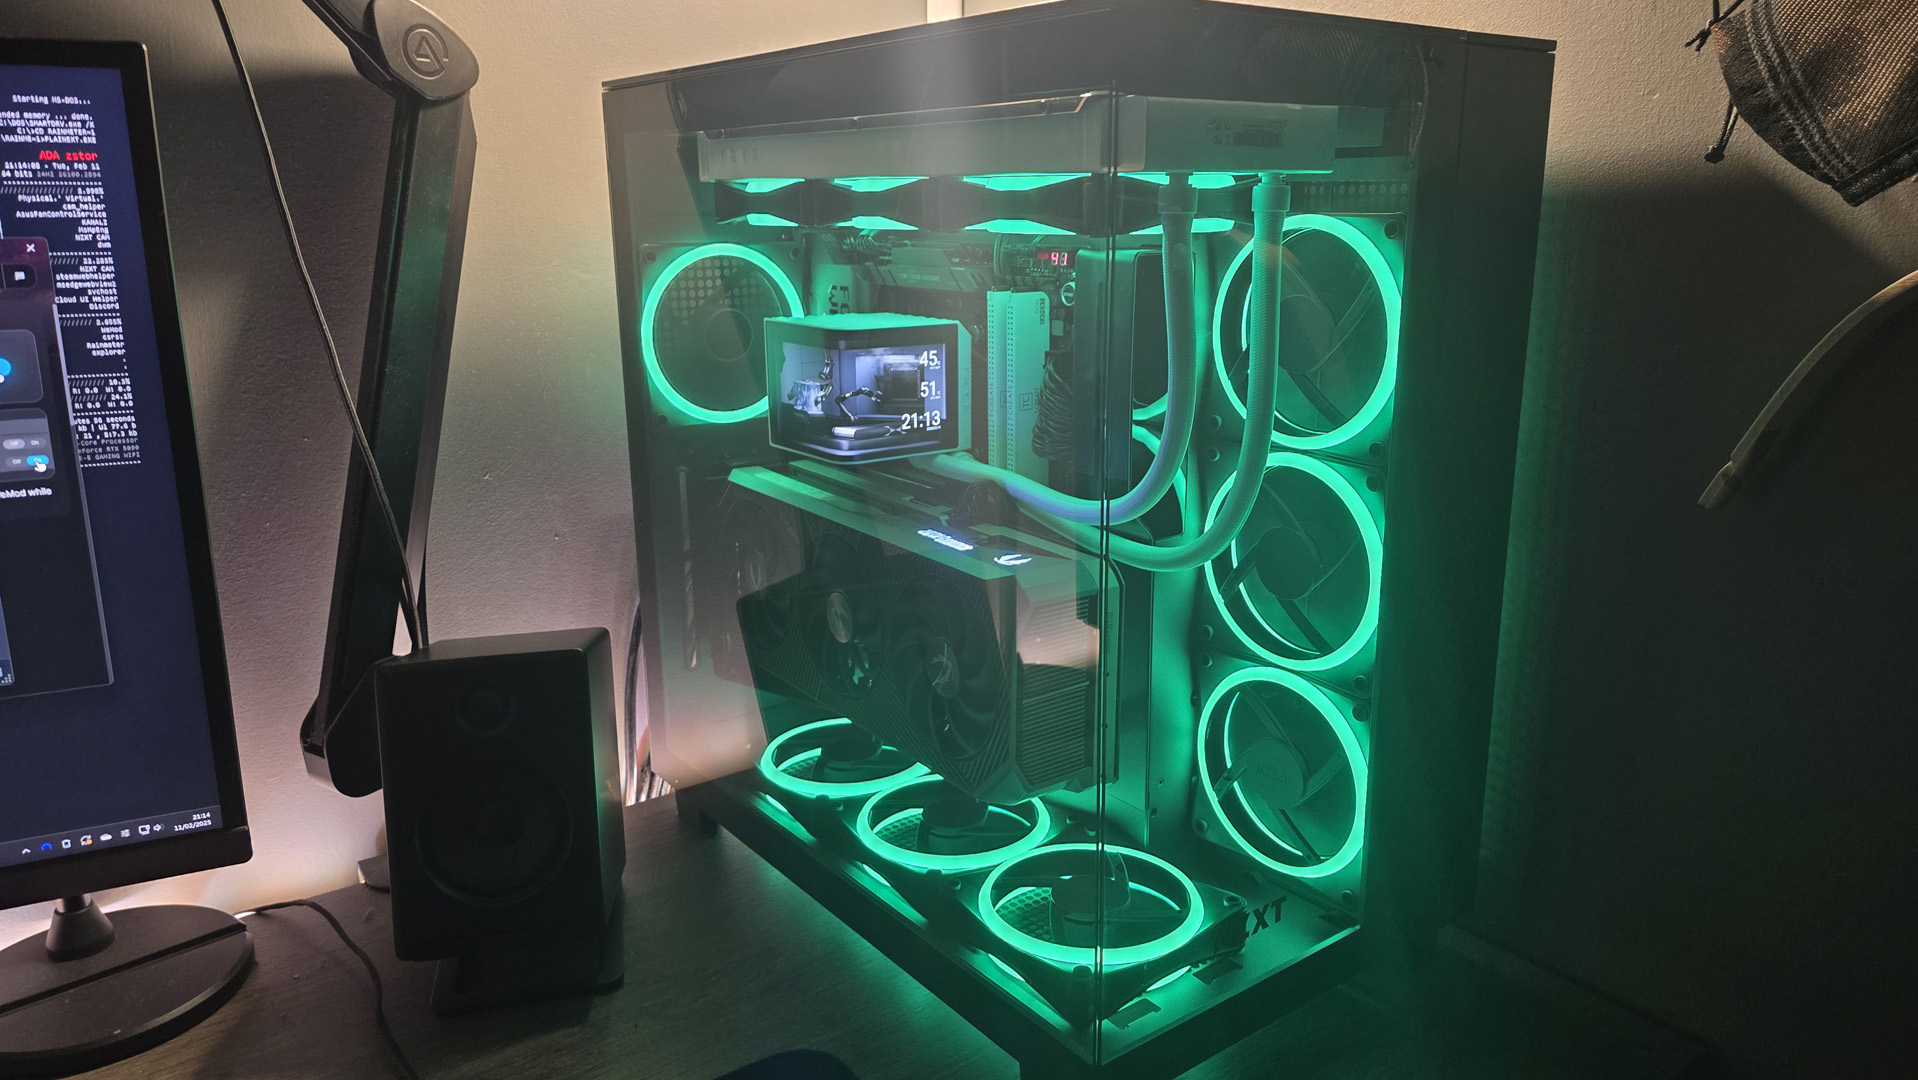
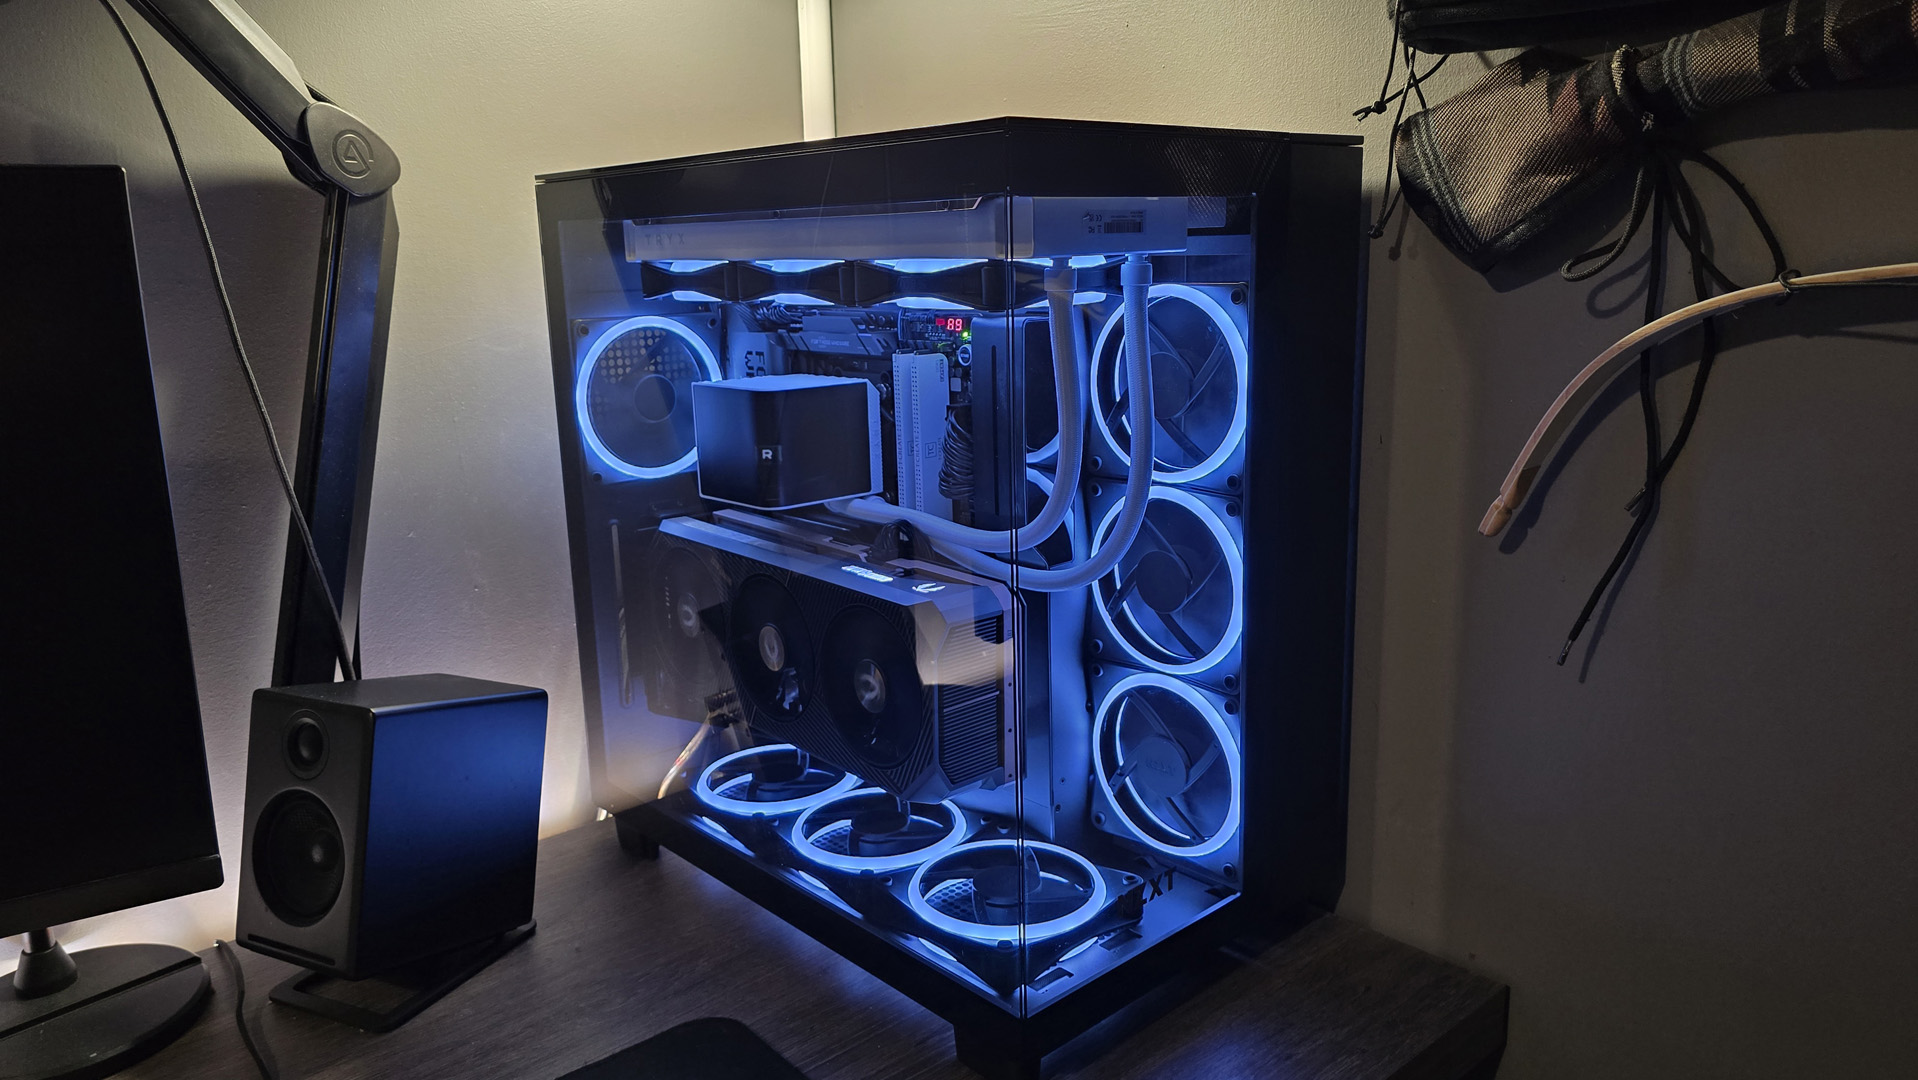
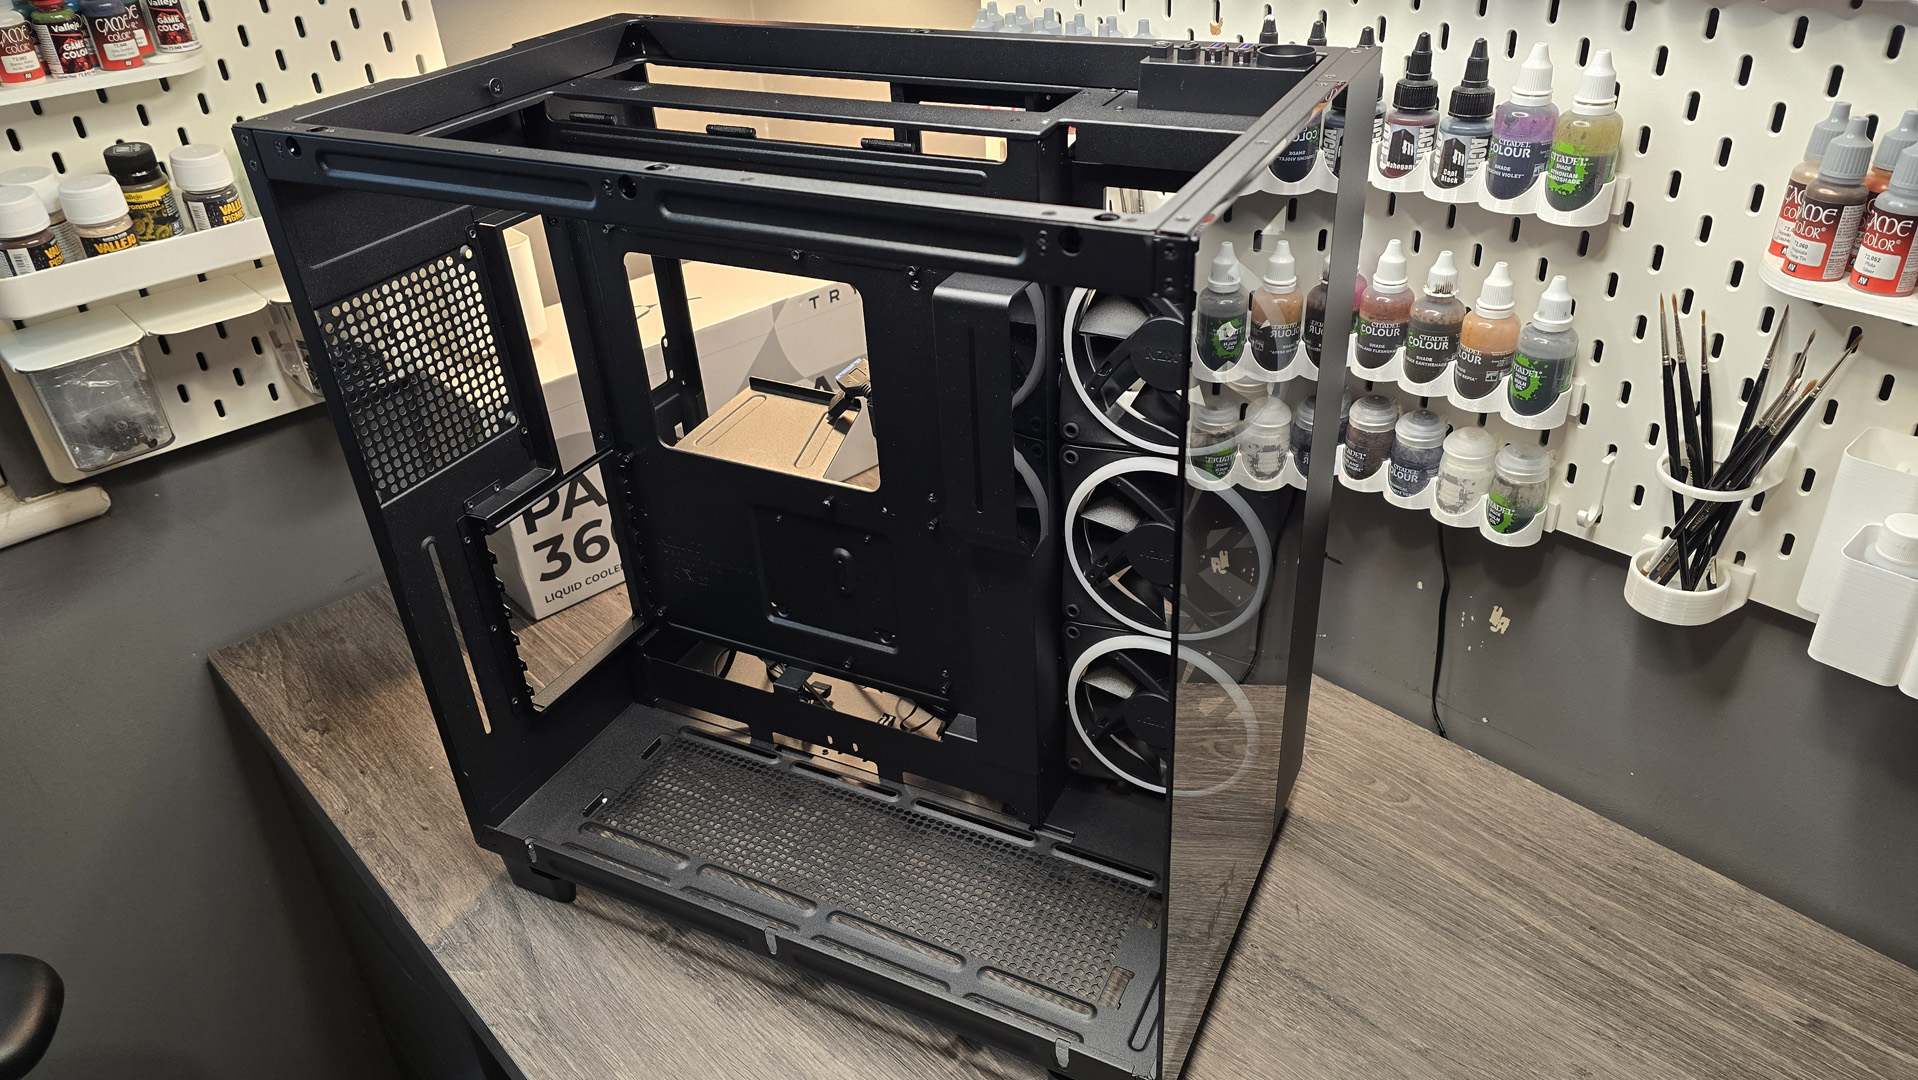
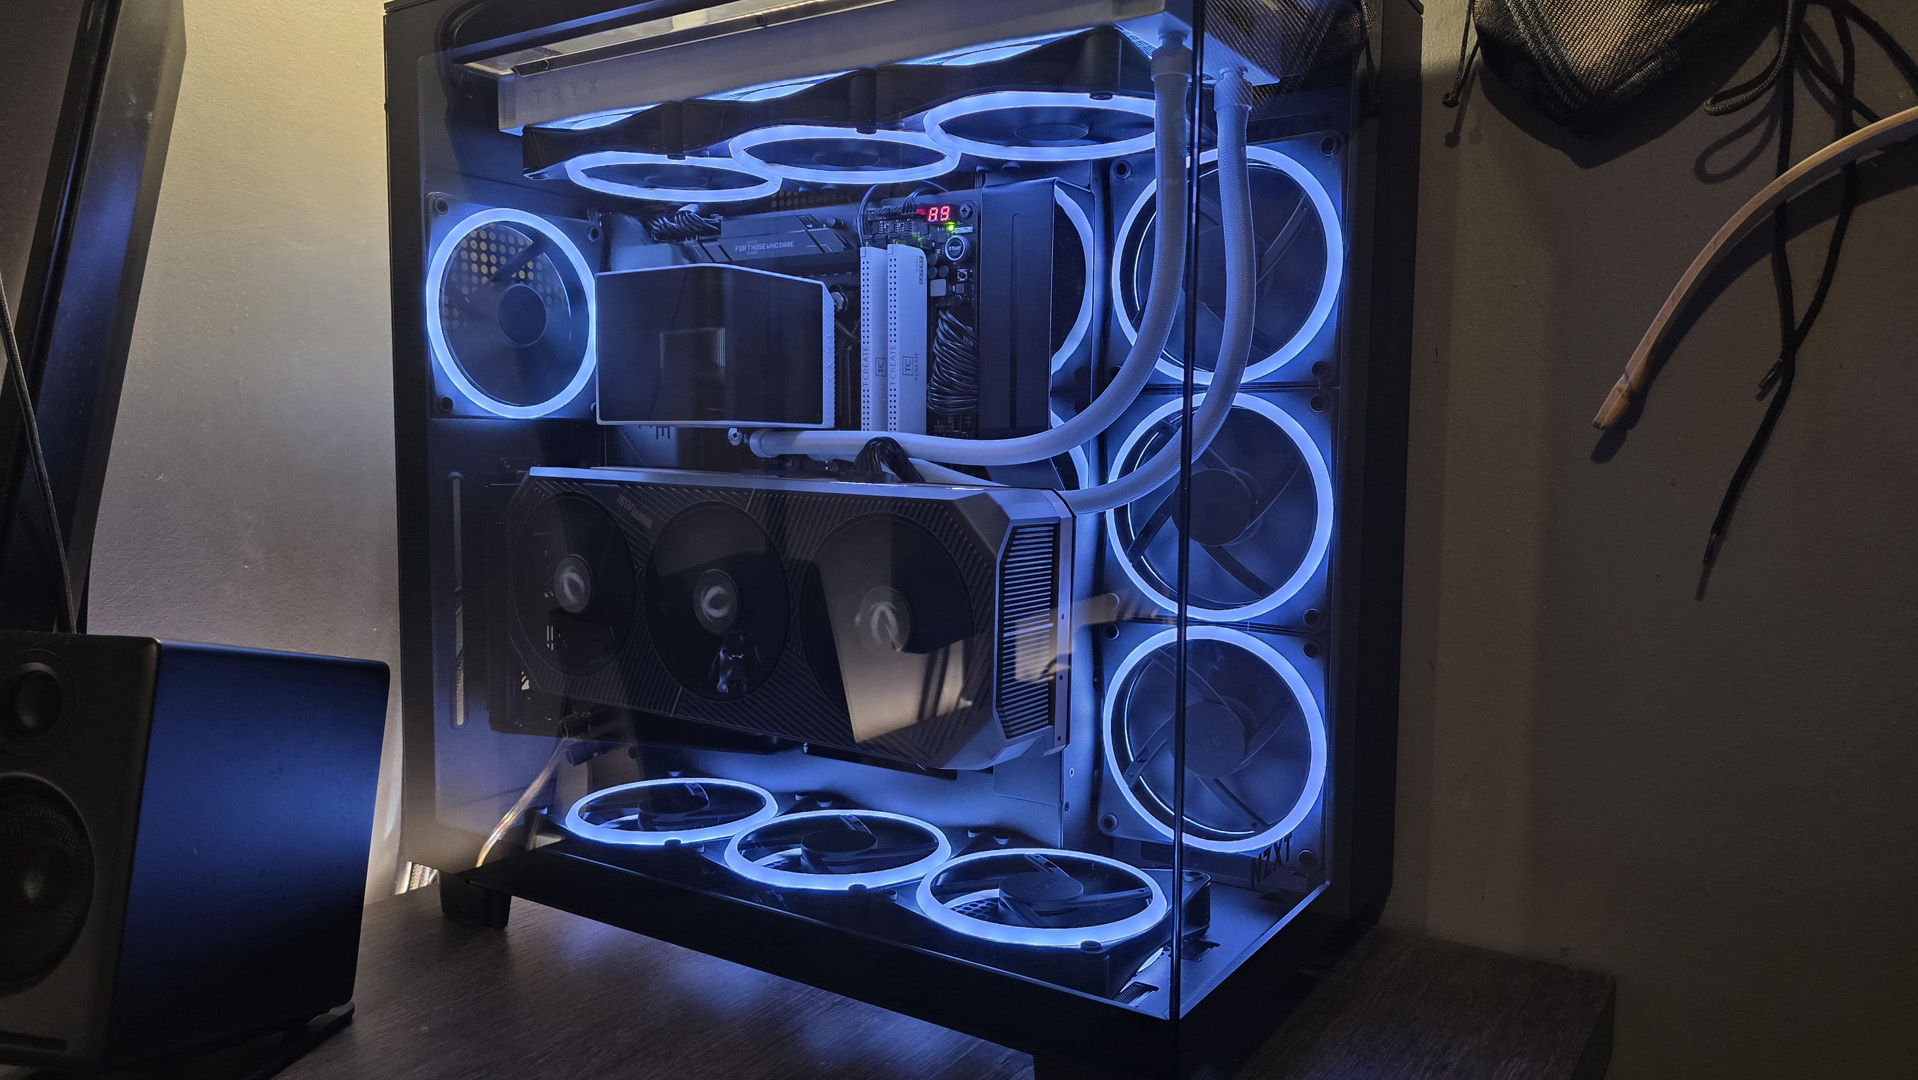
Housing all of this beautiful monstrous ridiculous power was a challenge. There were a few cases I had on my wishlist, some from Lian Li, some from Phanteks, Havn as well, but in the end I settled on the NZXT H9 Elite. It’s a dual-chamber fish bowl design from the Californian company with an absolute metric ton of cooling support baked in. Cooling support, which I’ve aggressively taken advantage of by pairing it with ten of NZXT’s F120 RGB Duo fans. Although technically an older design, compared to NZXT’s “frame” style units, I just love the look of them, and the performance isn’t bad either. Radiator capacity’s pretty beefy here too; you can theoretically slap a 360 mm in the roof, the floor or the side if you so desire. I’ve also included one of NZXT’s Vertical GPU brackets as an additional extra to really showcase that 5090, complete with PCIe 4.0 riser (which seemingly hasn’t impacted performance as far as I can tell).
There’s actually two variants of the H9 (excluding the colorways), one with a perforated top cover to allow for better airflow, aptly named the Flow, and a glass version, the Elite, which I’ve got here. Honestly, after much testing, get the Flow. If you’ve got this machine sat on top of your desk like I do, you won’t see the glass top panel anyway, and the difference in temps is night and day. NZXT has thought about that somewhat, and there are side-vents to allow for that air to exhaust out of the rear of the chassis theoretically, but I won’t lie to you, it’s not anywhere near as effective as having the entire roof panel off, or the perforated panel instead (buyer’s regret? You can buy a replacement Flow panel just for the roof directly from NZXT, if needed).
The build
1 – Chassis teardown
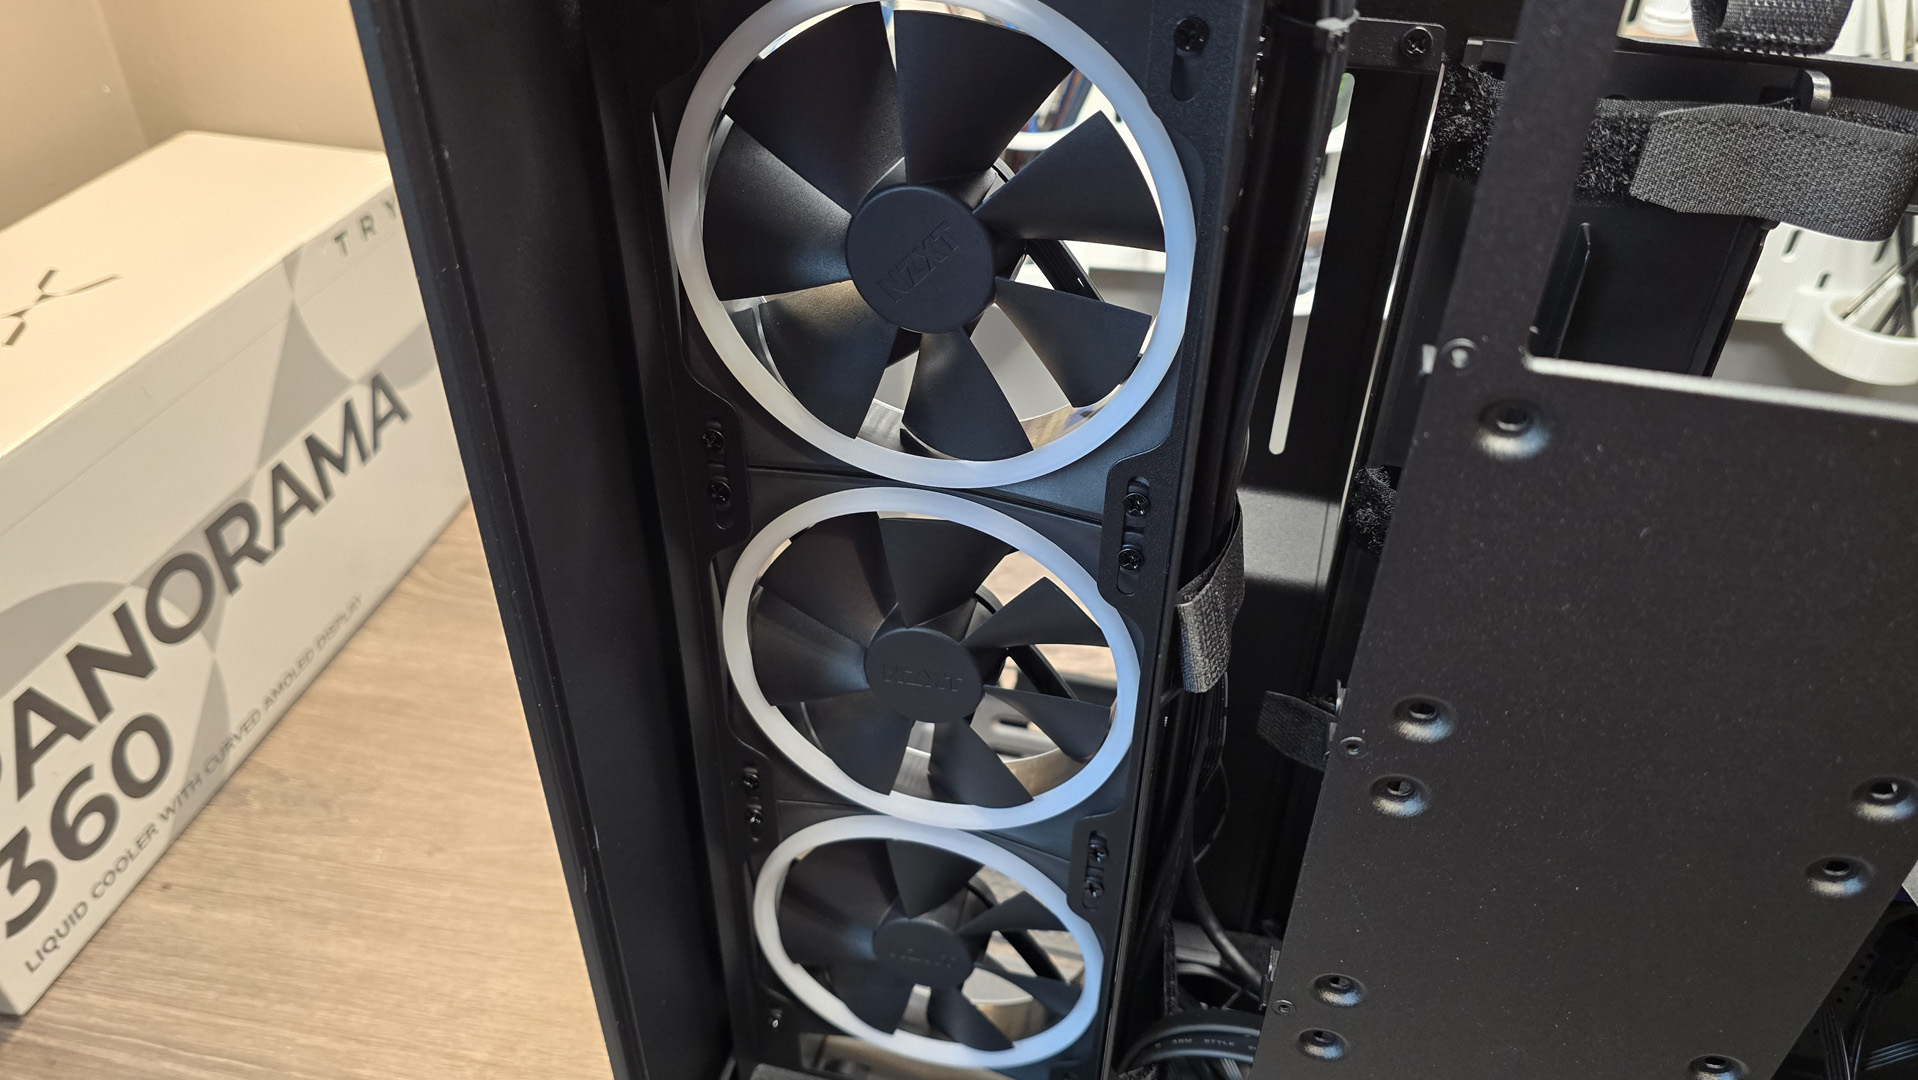
2 – Leave the stock fans
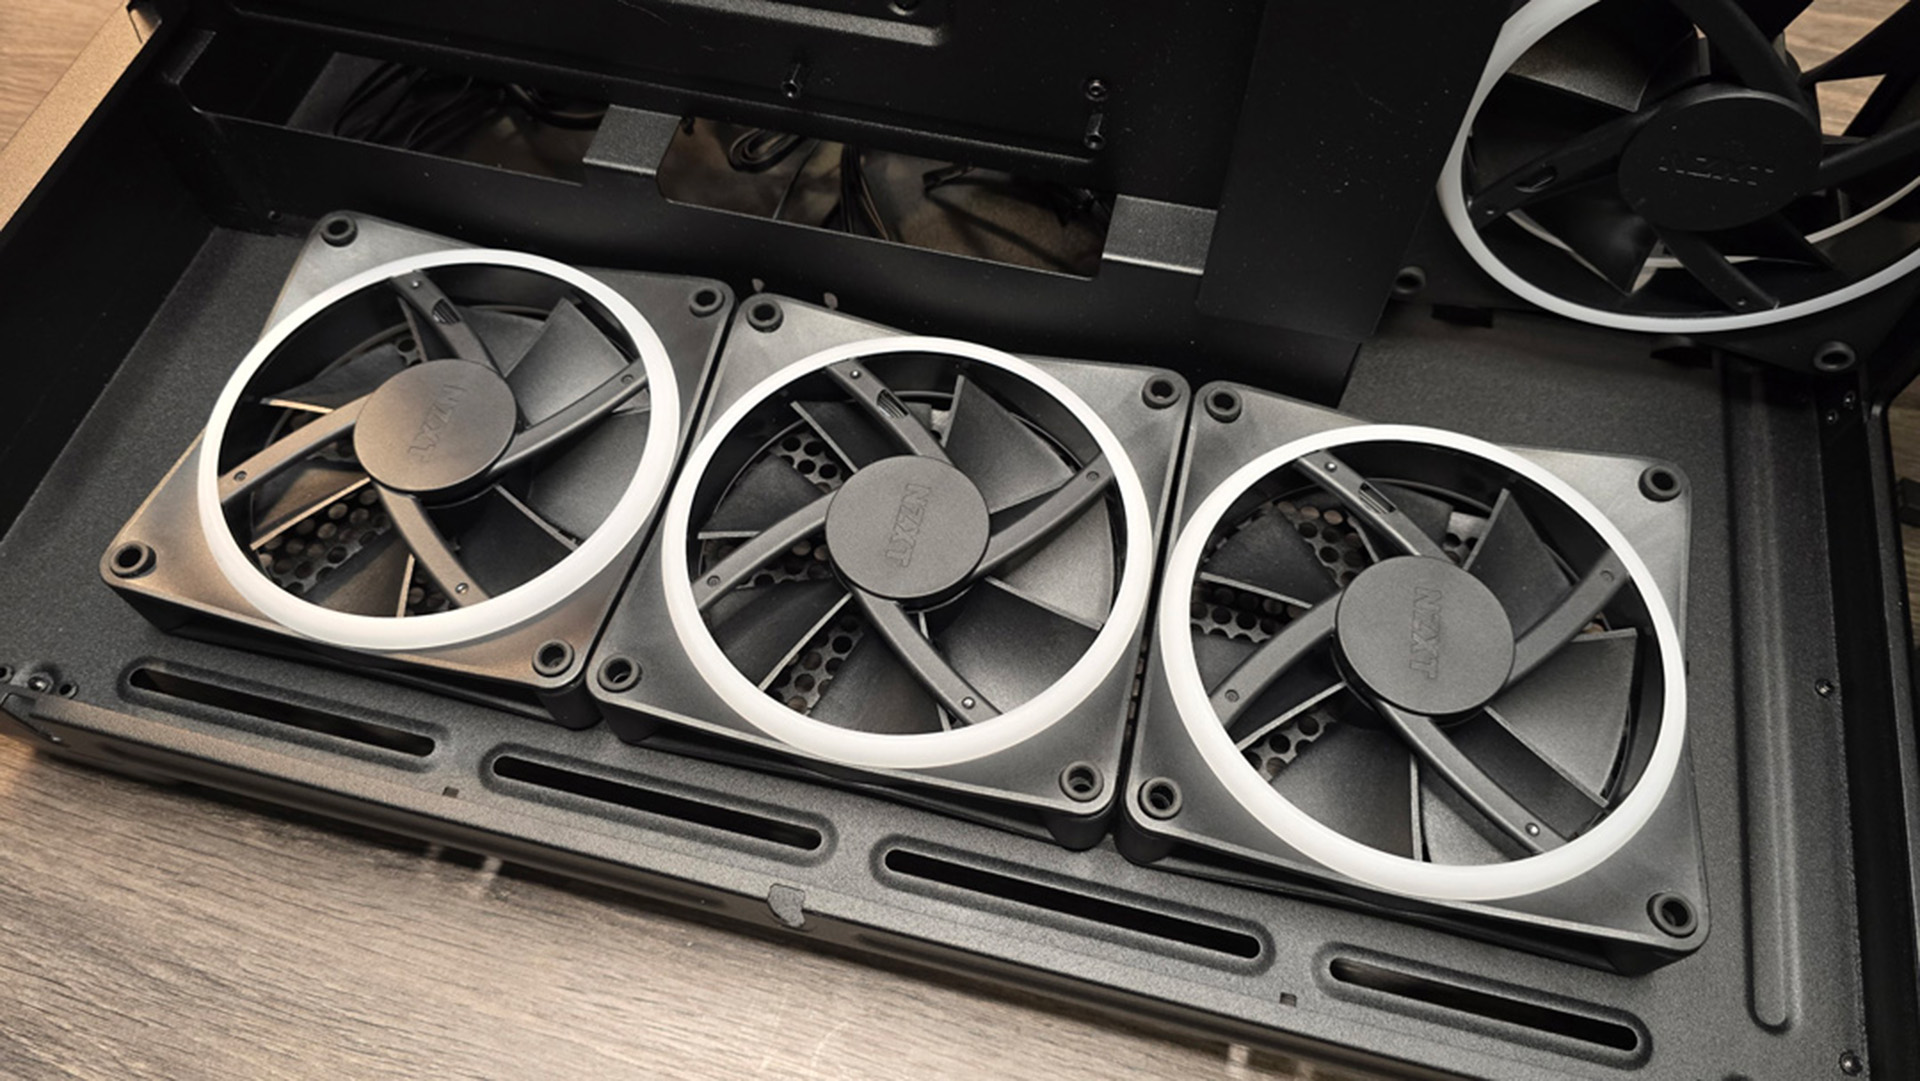
3 – Needs more fans
4 – Motherboard prep
5 – CPU first
6 – Install your OS SSD
7 – Install your second SSD
8 – AIO prep time
9 – Get that mounting bracket on your board
10 – Install your motherboard
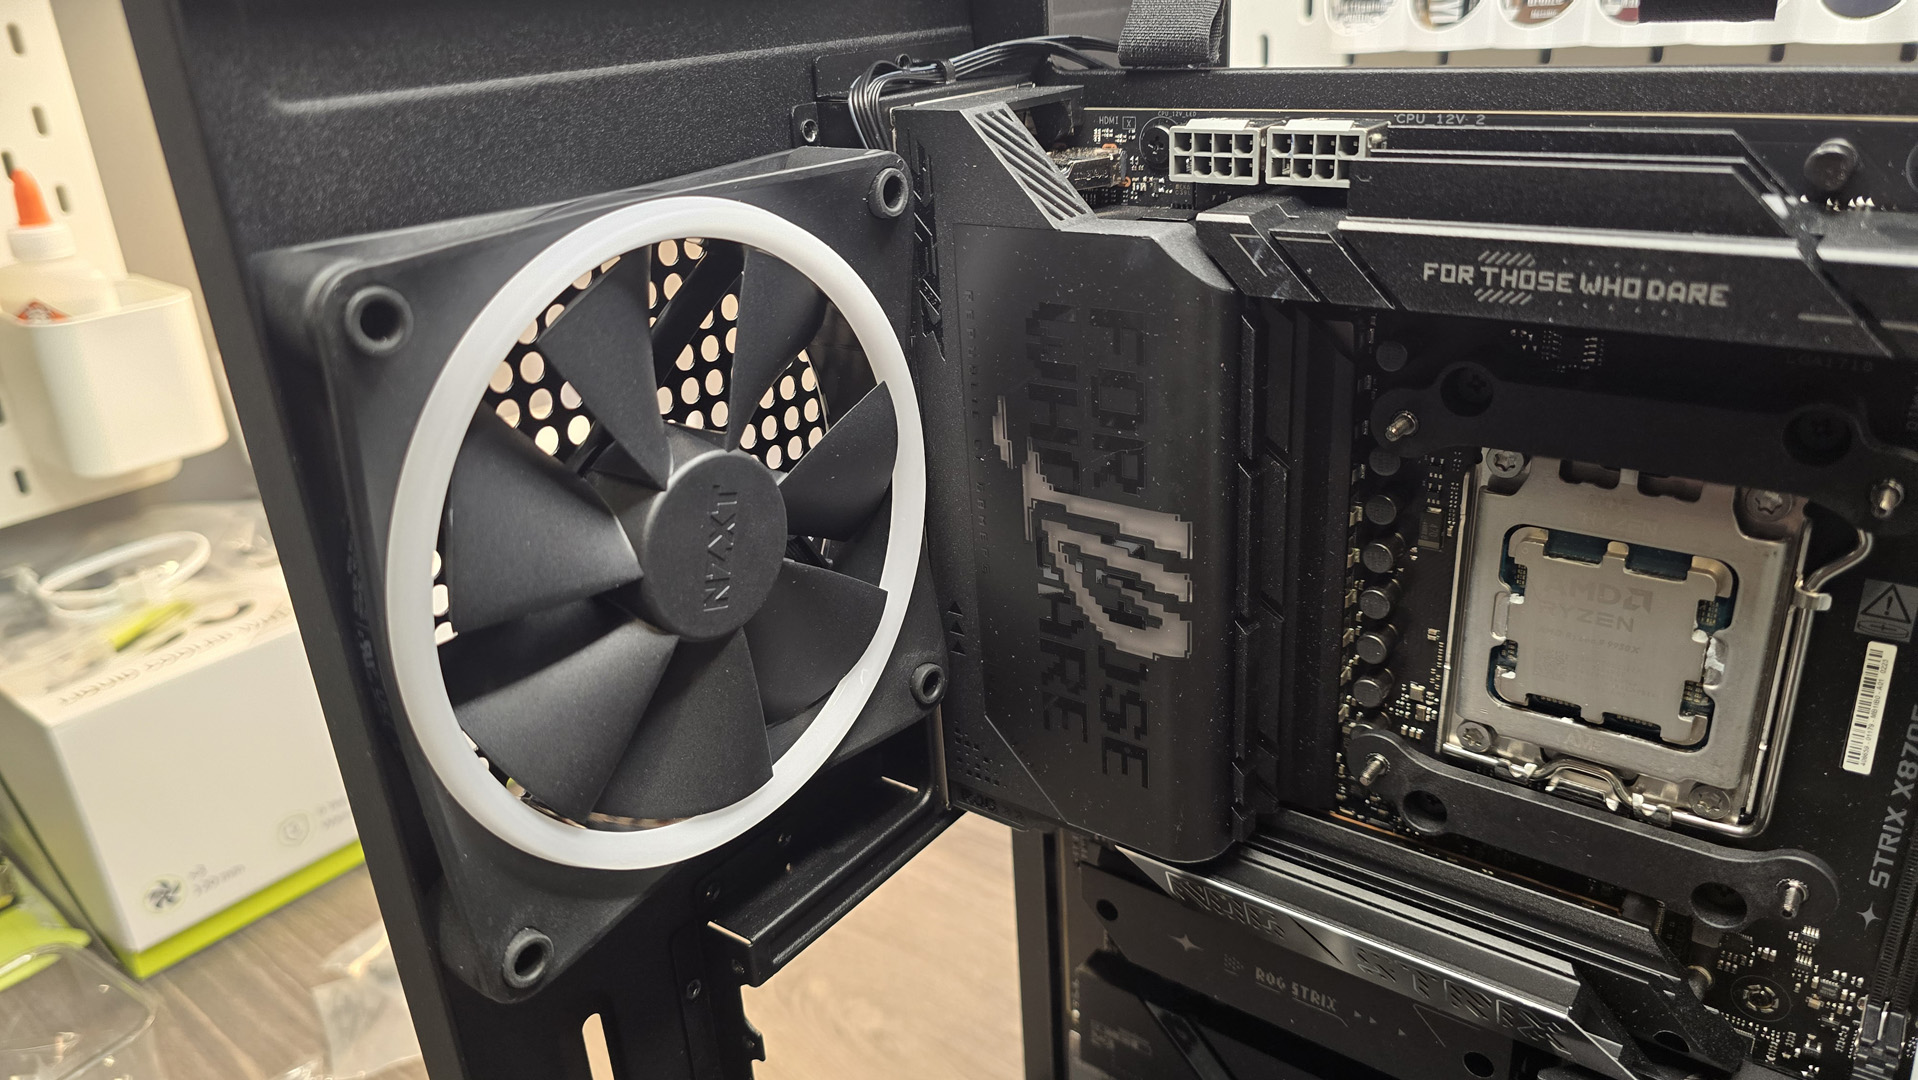
11 – Rear fan time
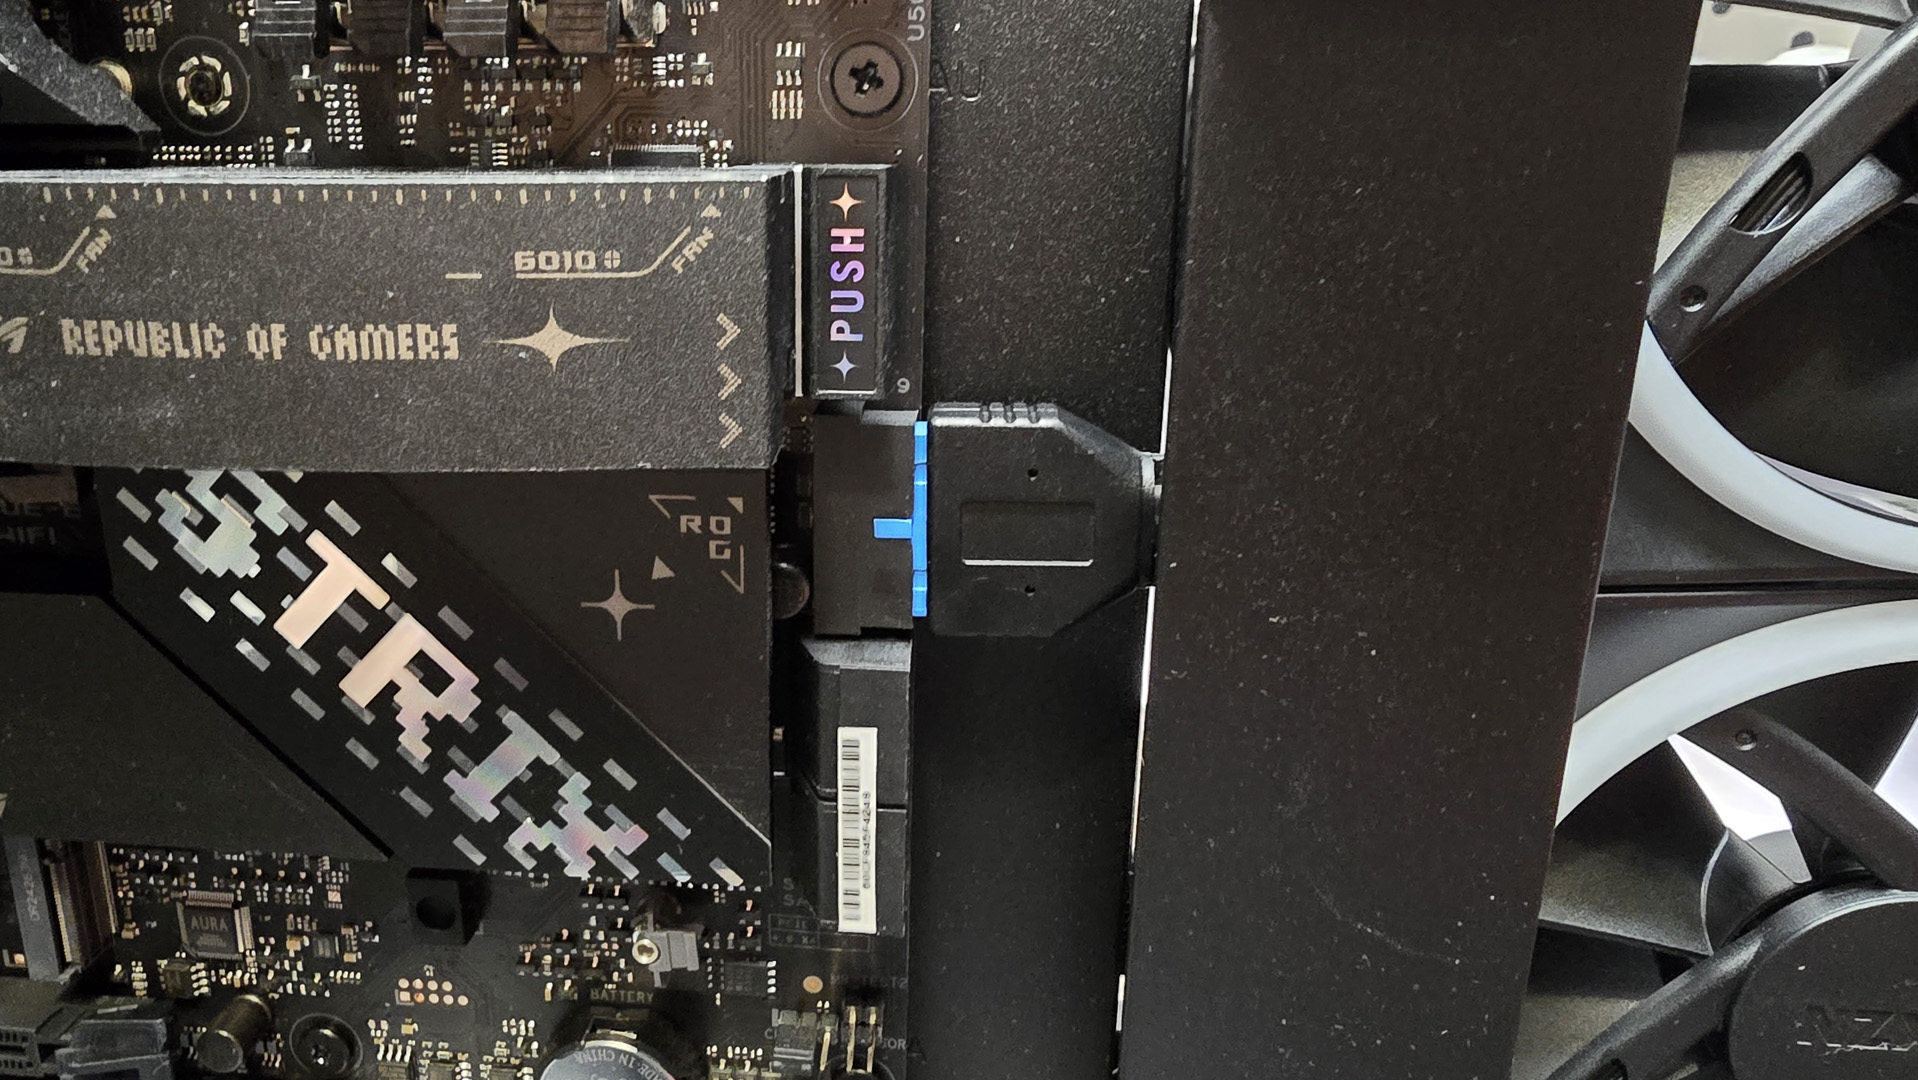
12 – Front I/O cable time
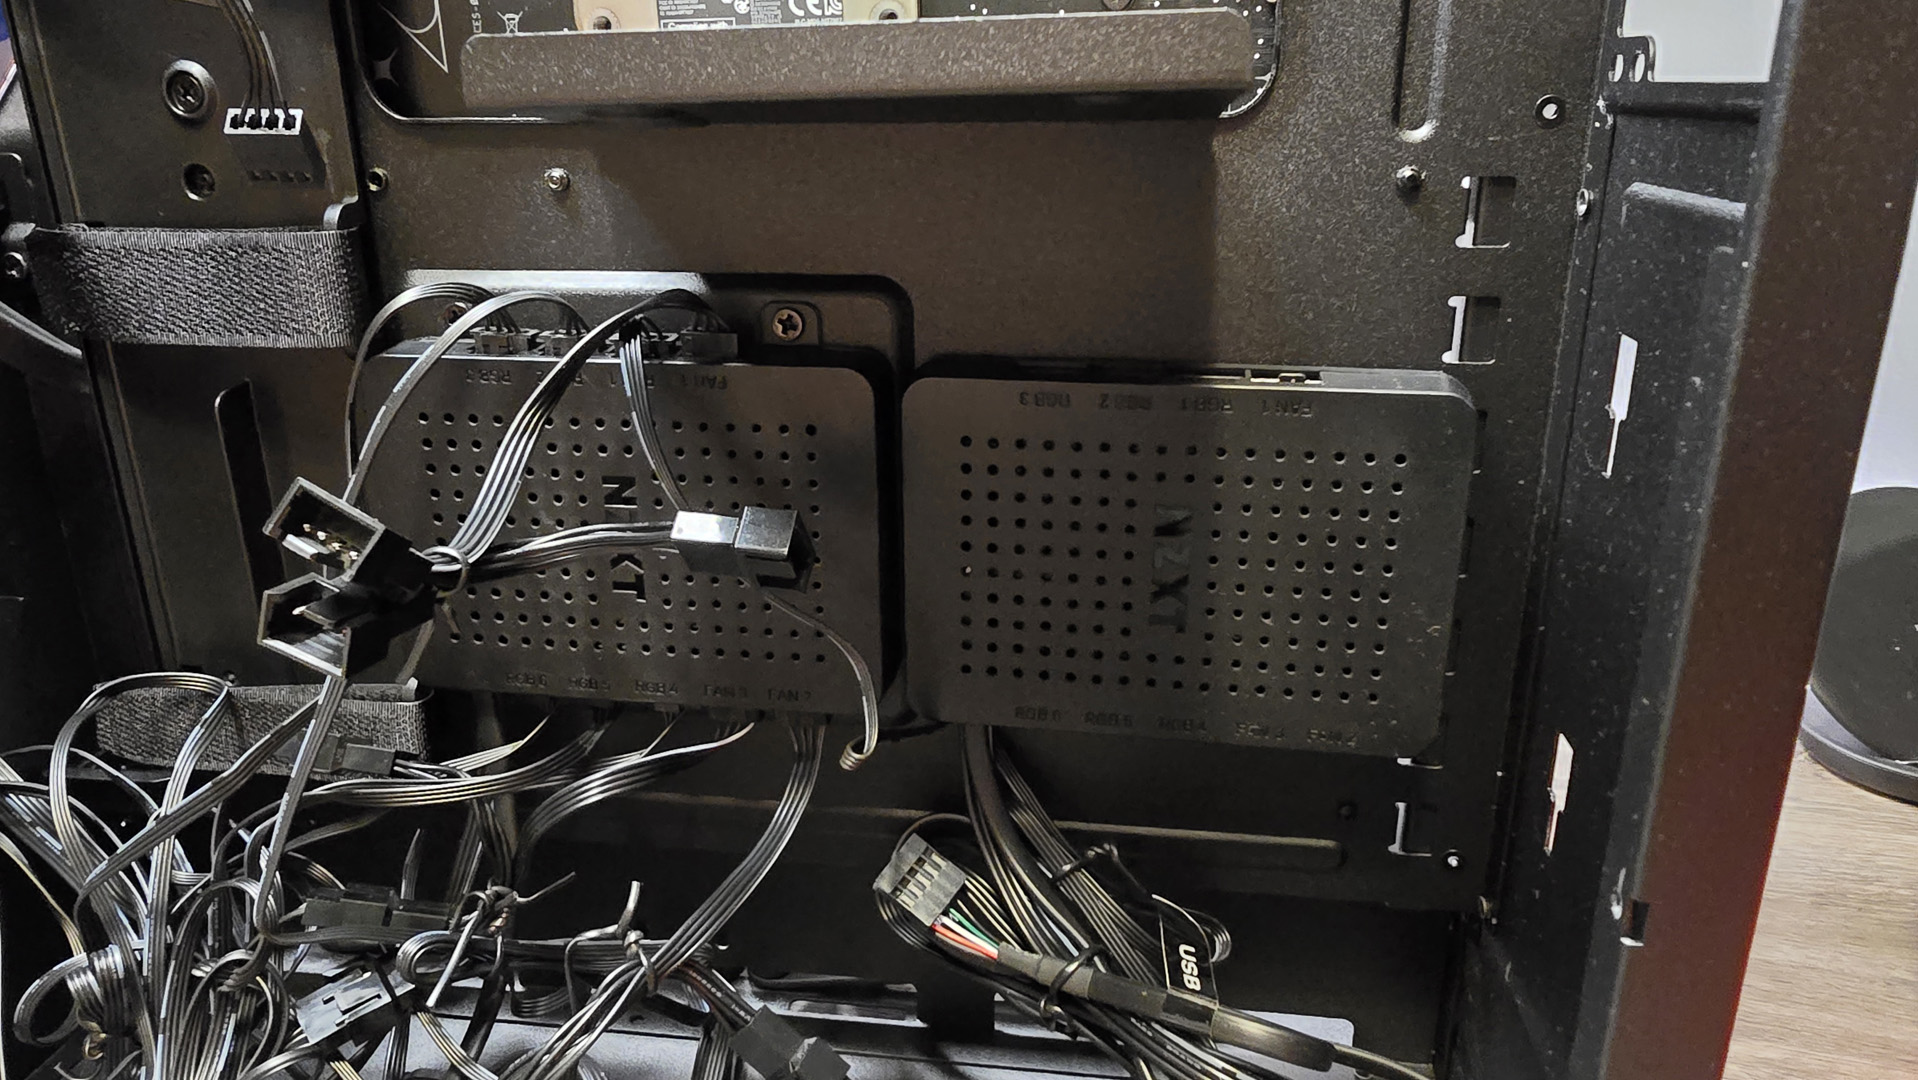
13 – Prep your fan controllers
14 – Power supply time
15 – More cable management
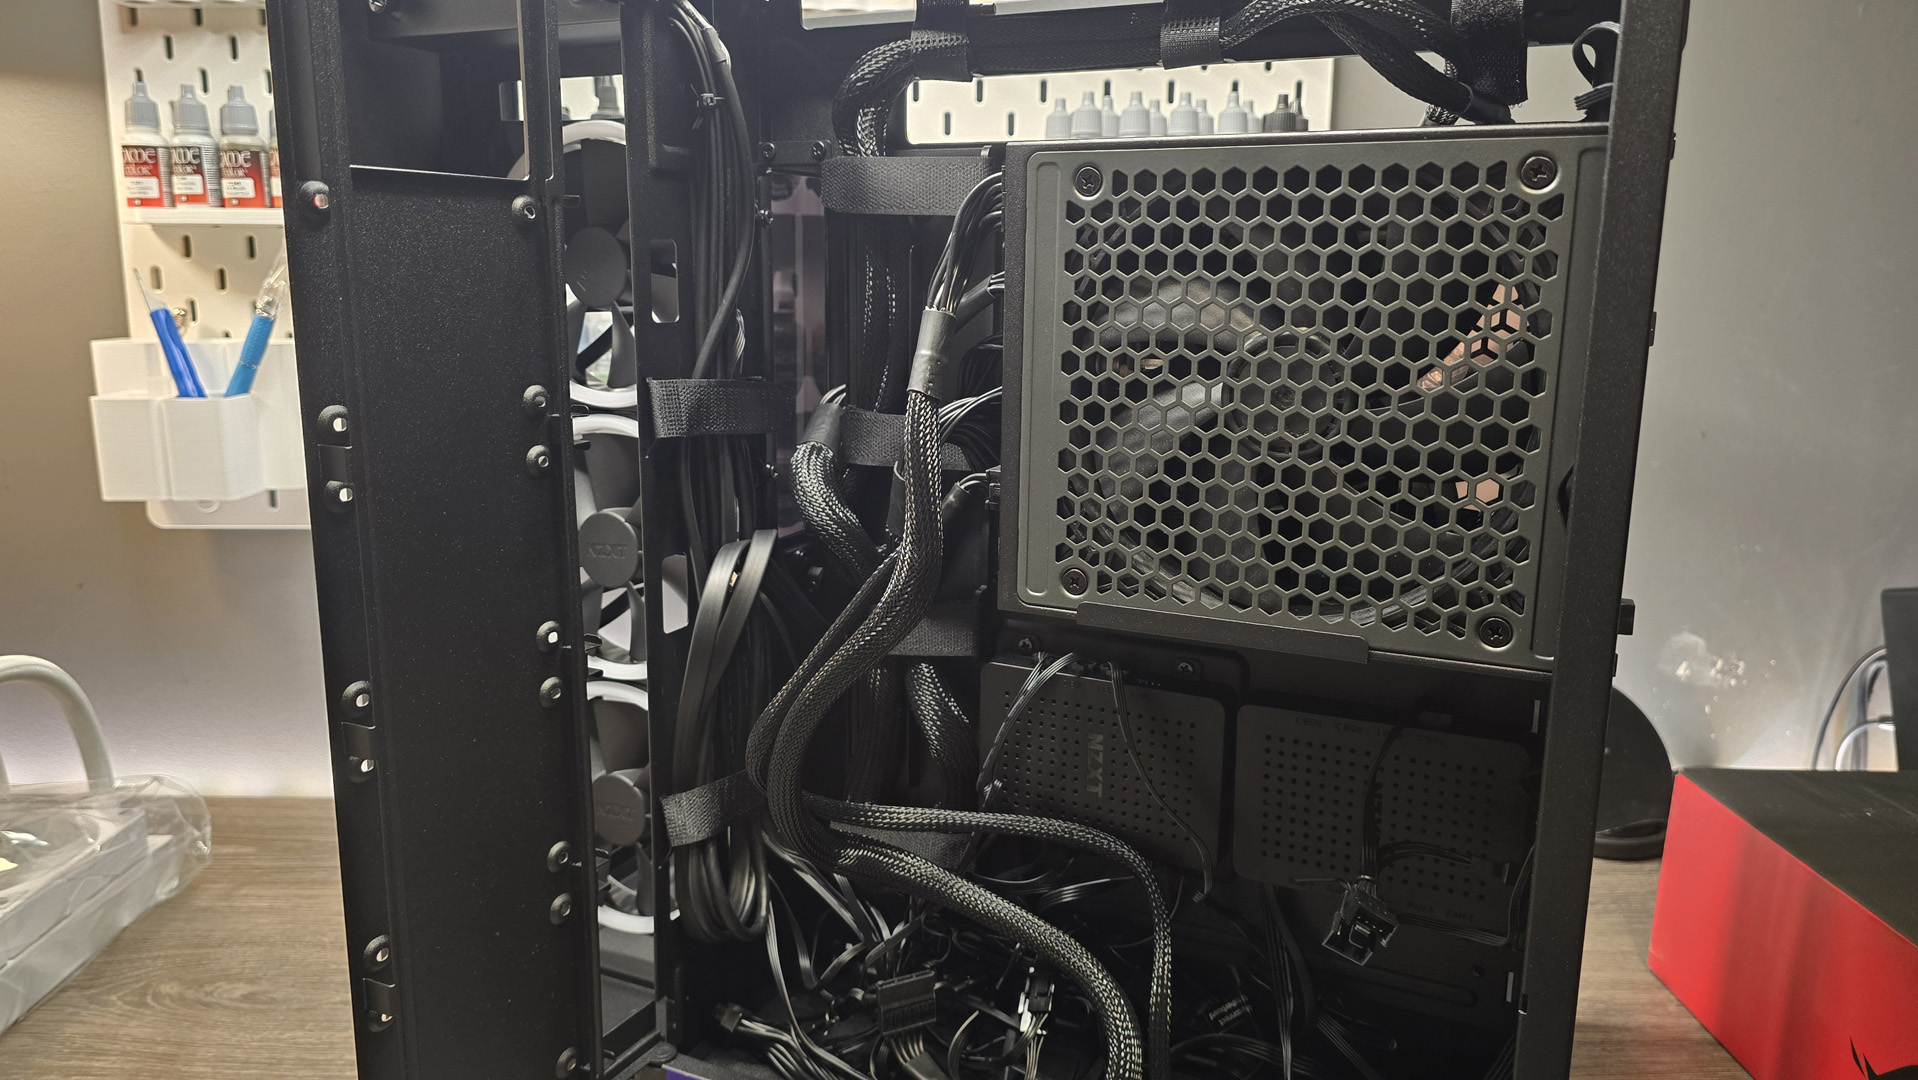
16 – Make sure the PSU fan’s the right way around

17 – Replace the cooler fans
18 – Radiator bracket trick
19 – AIO solution install
20 – Install your CPU block
21 – Finish up the cable management
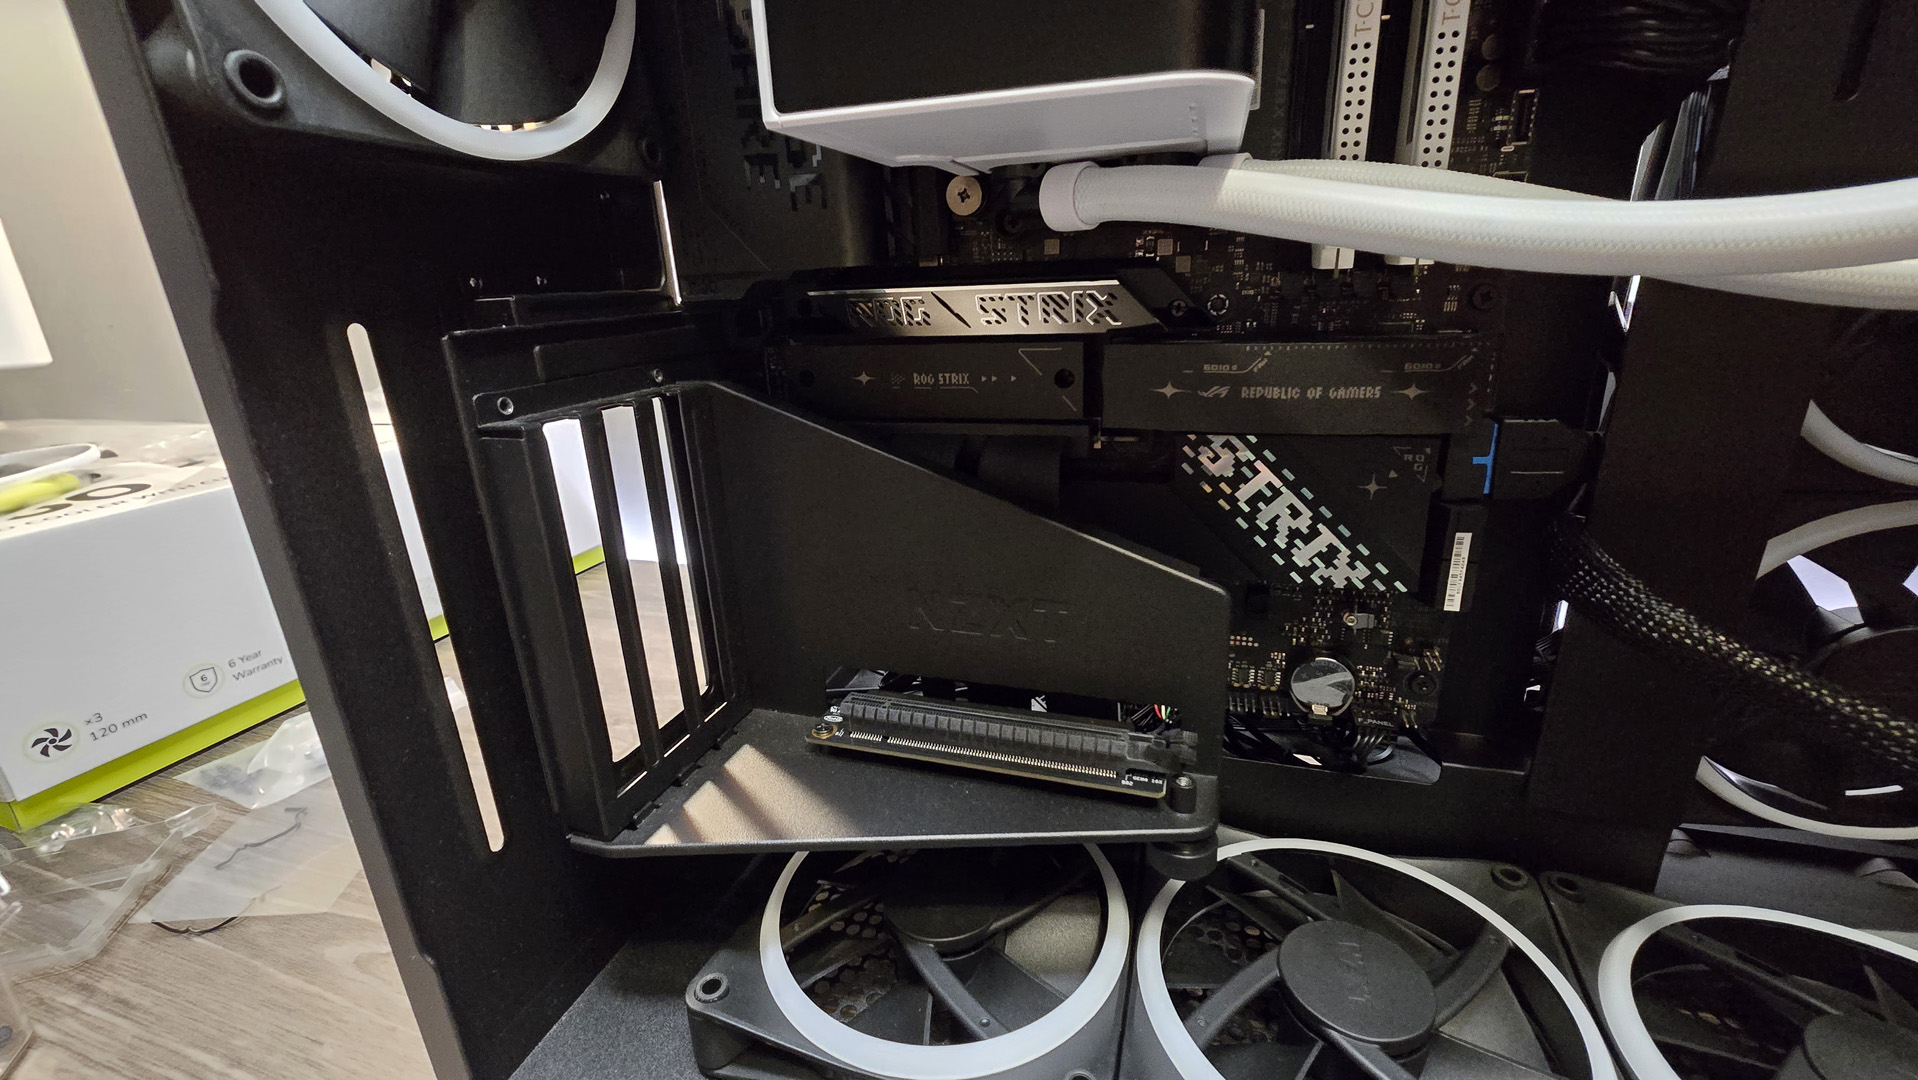
22 – Vertical GPU riser install
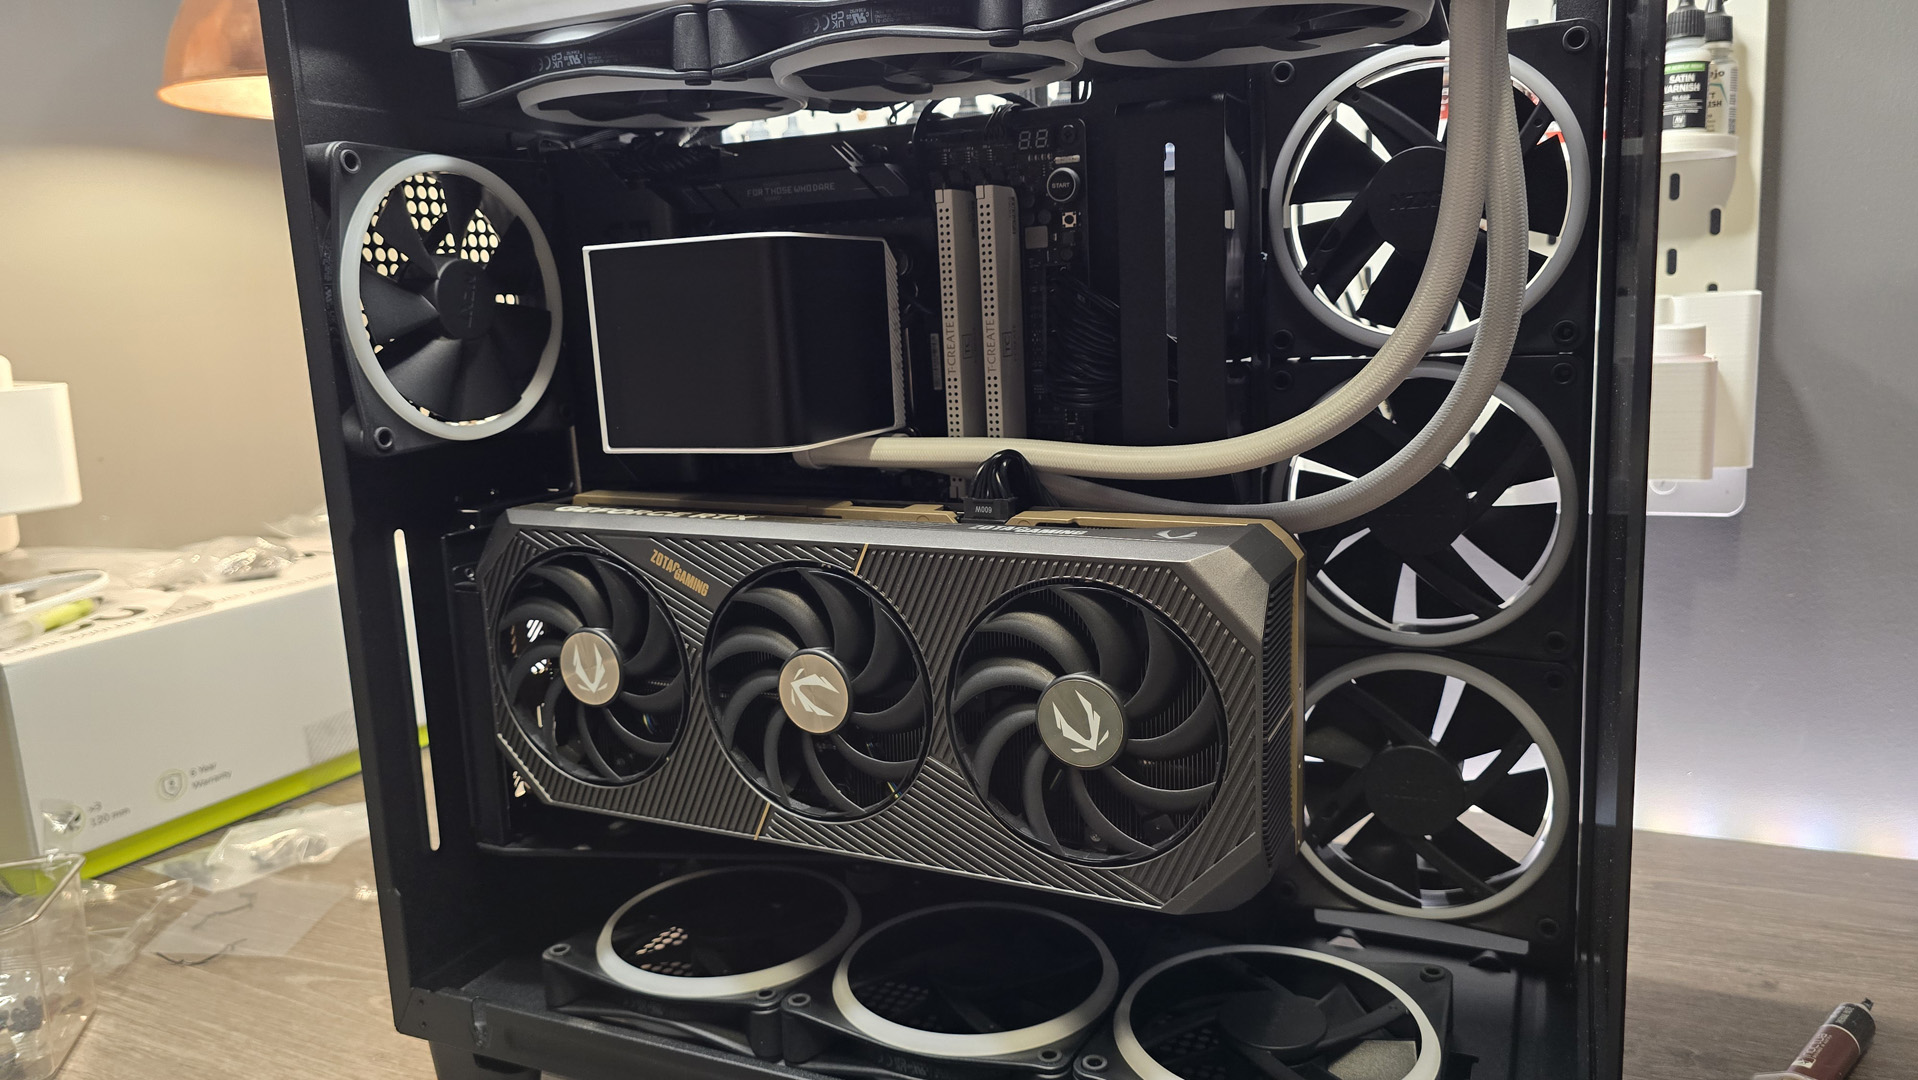
23 – RTX 5090 Install
The performance
Unparalleled performance—that’s what this machine currently represents. Certainly for the foreseeable future. If you manage to muster something even close to this, the performance, the potency, the frame rates in game, they’re unmatched. It makes 4K not just viable but comfortable. Justifying those 4K120 Hz panels at last, no matter the game. At 1440p, as our results below show, it’s just leagues ahead of its predecessors, by no small margin.
Similarly that Ryzen 9 9950X equally dominates too, with wildly high Cinebench, Handbrake, 7-Zip scores, the works. It’s just seamless in its efforts here. Yeah, you could probably get a bit smoother performance in some titles with an X3D chip, but I just can’t justify it and would rather have the native clock speed instead.
But as the old adage goes, “With great power comes, a ton of thermal load”, I think that’s how it goes, and temps on this thing are just wild. Those 16 cores in the Ryzen 9 topped out at a staggering 96 degrees; the RTX 5090 peaked at 76 degrees (admittedly helped out significantly by Zotac’s robust triple slot cooler design), and VRM landed at 63 Celsius, fairly respectable. What was less respectable, however, was how hot the top of the chassis got during testing. I have a room thermostat situated right above where I test gaming PCs, and during my time with this thing, my office hit a staggering 42 degrees with the roof panel on. That can’t be good for the AIO long term. In retrospect, I’d highly recommend shifting the overall build so the AIO was situated in the side of the chassis, pulling cool air in through the intake. As the GPU is still fed by those three 120 mm fans in the floor, it shouldn’t significantly impact GPU temperatures by doing so, and the three roof exhausts will be under less stress trying to push hot air through a dense radiator and instead can focus shifting it up and out of the case instead, via the rear panel side vents.
The conclusion
I mean, look, I get it, we all went into this knowing that the RTX 5090 is a powerful graphics card. You pair it with one of the best CPUs on the market, and you’re going to get top-tier performance; it doesn’t really matter what build you put it into. Nonetheless, there are considerations you need to make if this is the avenue you want to go down. Cooling and power delivery being two of them.
Given how high the demands are on that front, it arguably makes those cooling decisions even more vital than what you’d find in lower-spec systems. PC cases and general cooling solutions have come such a long way that it’s almost become a non-issue these days. This though? This is something else, and with over 900 W of draw under a fairly average load and with temperatures that high, even under modest testing, it makes me question whether that performance is worth it long-term or if you’d see better longevity with something less ridiculous like a Ryzen 7 9700X and an Nvidia RTX 5080. The thing is, though, it just doesn’t exist. Right now, try and find any 50-series card that’s a) in stock, and b) at its ‘launch’ price. You can’t.
I used to raid lead in World of Warcraft. I’d have DPS rush to hit the top of the damage meters, then immediately die because they stood in the fire. You know what’s better than a dead DPS that tops meters? An alive one that keeps going for longer. Same principle.
Is this good value for money then? Well if stock does magically appear in the next six months, there is some argument to be had that an RTX 5090 (bought at its retail price point) could technically be considered that, as you’re likely going to have the best GPU performance for the next two years and probably the second best for 1-2 years after that, but honestly, I disagree. Because the environment, the ecosystem you need to really enjoy it, requires additional investment, it’s a bit more complex than that. You need one of the best 4K monitors you can get, a CPU that can handle all those frames, a power supply that can deliver the juice, and a chassis that can keep things cool. It’s not just a case of picking up the graphics card and gaming. If you can satisfy those requirements, then maybe it’s justified, but honestly, I think I’d just stick with the RTX 5080. Well, if they existed anyway.