
- Code to the locker in the command centre: 0825
- Key to the auxiliary room found in said locker.
- A floppy disk found in the locker inside the auxiliary room.
Opening the auxiliary lines at the end of Part 6 in Silent Hill: Townfall is perhaps its most complicated yet simple puzzle. By this point in the game my brain was completely fried and my nerves were shot. So in case you’re also in a bad spot, here are some tips to point you in the right direction.
Spoilers ahead for Silent Hill: Townfall
How to get to the Auxiliary Room
Before you head to the elevator and go up to the auxiliary room, you’ll need to get the key. This can be found in the command centre, and the code to get into it is 0825. Inside, you’ll find the key to the auxiliary room. Now you can head downstairs to the elevator, but be warned—this is where The Weight and other monsters are lurking, so you need to be cautious. You can make a mercy dash to the elevator as the doors close quickly, but it’ll be tight.
Once you’ve made it to the next floor, there’ll be a couple of smaller monsters who you can easily circumvent. Make sure to close the door to the auxiliary room once you’re inside.
How to open the auxiliary lines
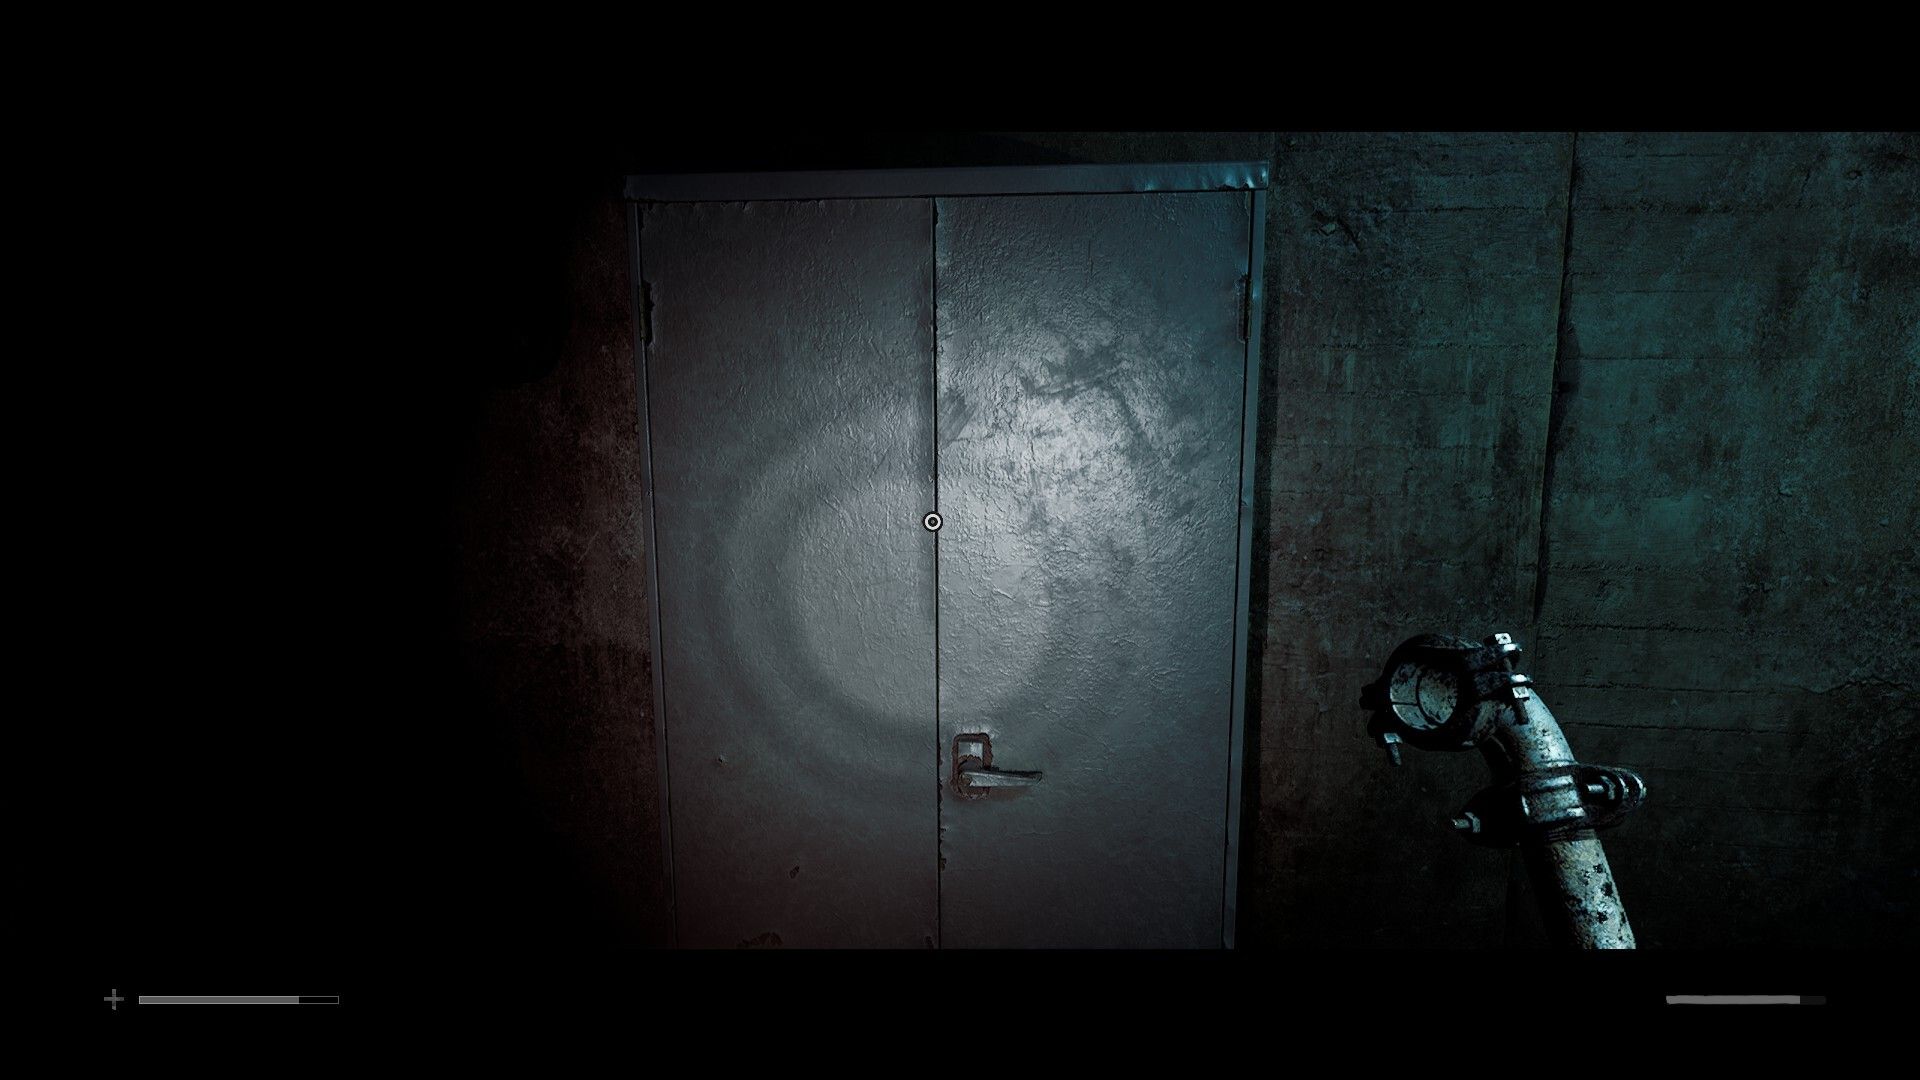
Here you’ll find a pipe running across the walls with levers at various intervals. There’s also a locker and a desk with a terminal. The first step is to open the locker and find the floppy disk. Then, head to the terminal and use the floppy disk to get your clue: a bunch of lines.
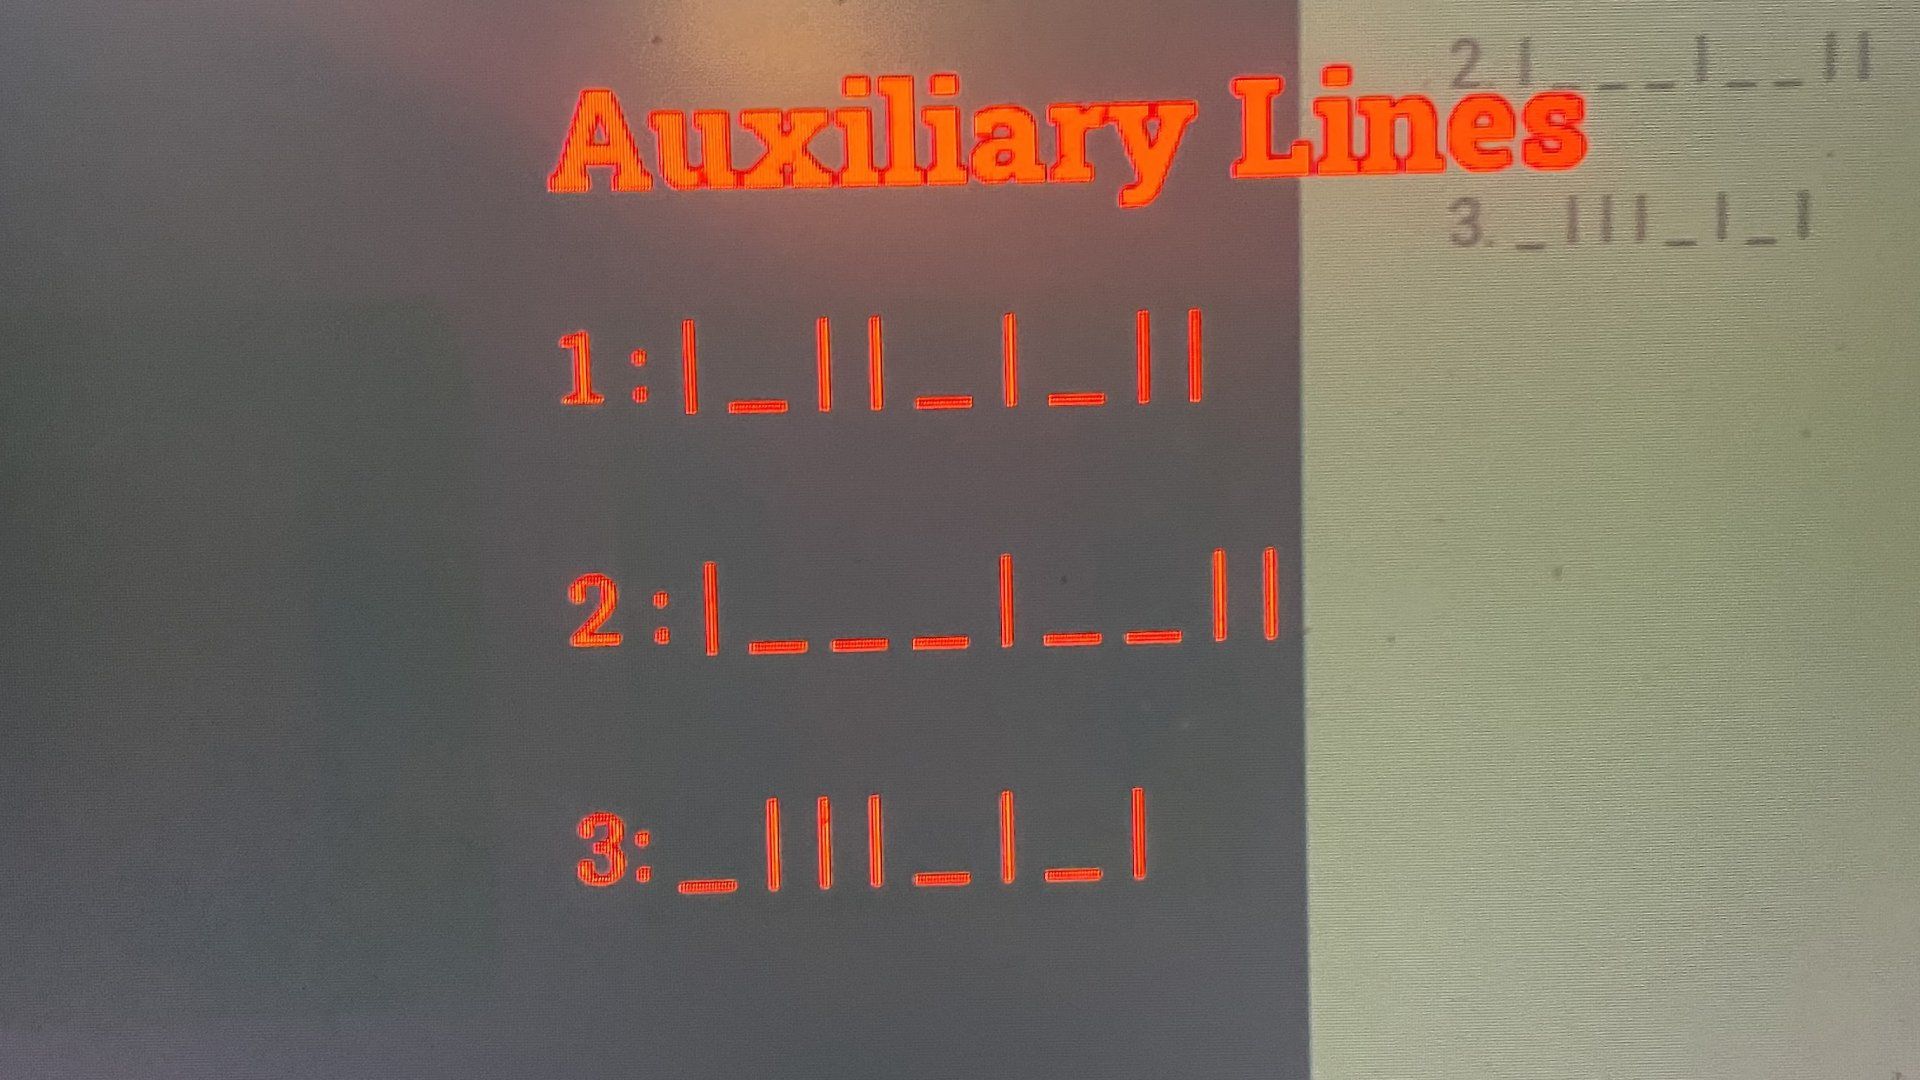
Take a photo of the document on your phone for ease of reference.
At first glance, this could look like morse code or some other cipher, but actually it’s much simpler than it seems: It shows whether each lever needs to be horizontal or vertical. But not every lever is included: only the ones which are adjacent to one white line for the first row, two lines for the second, and three lines for the third.
Auxiliary Line 1
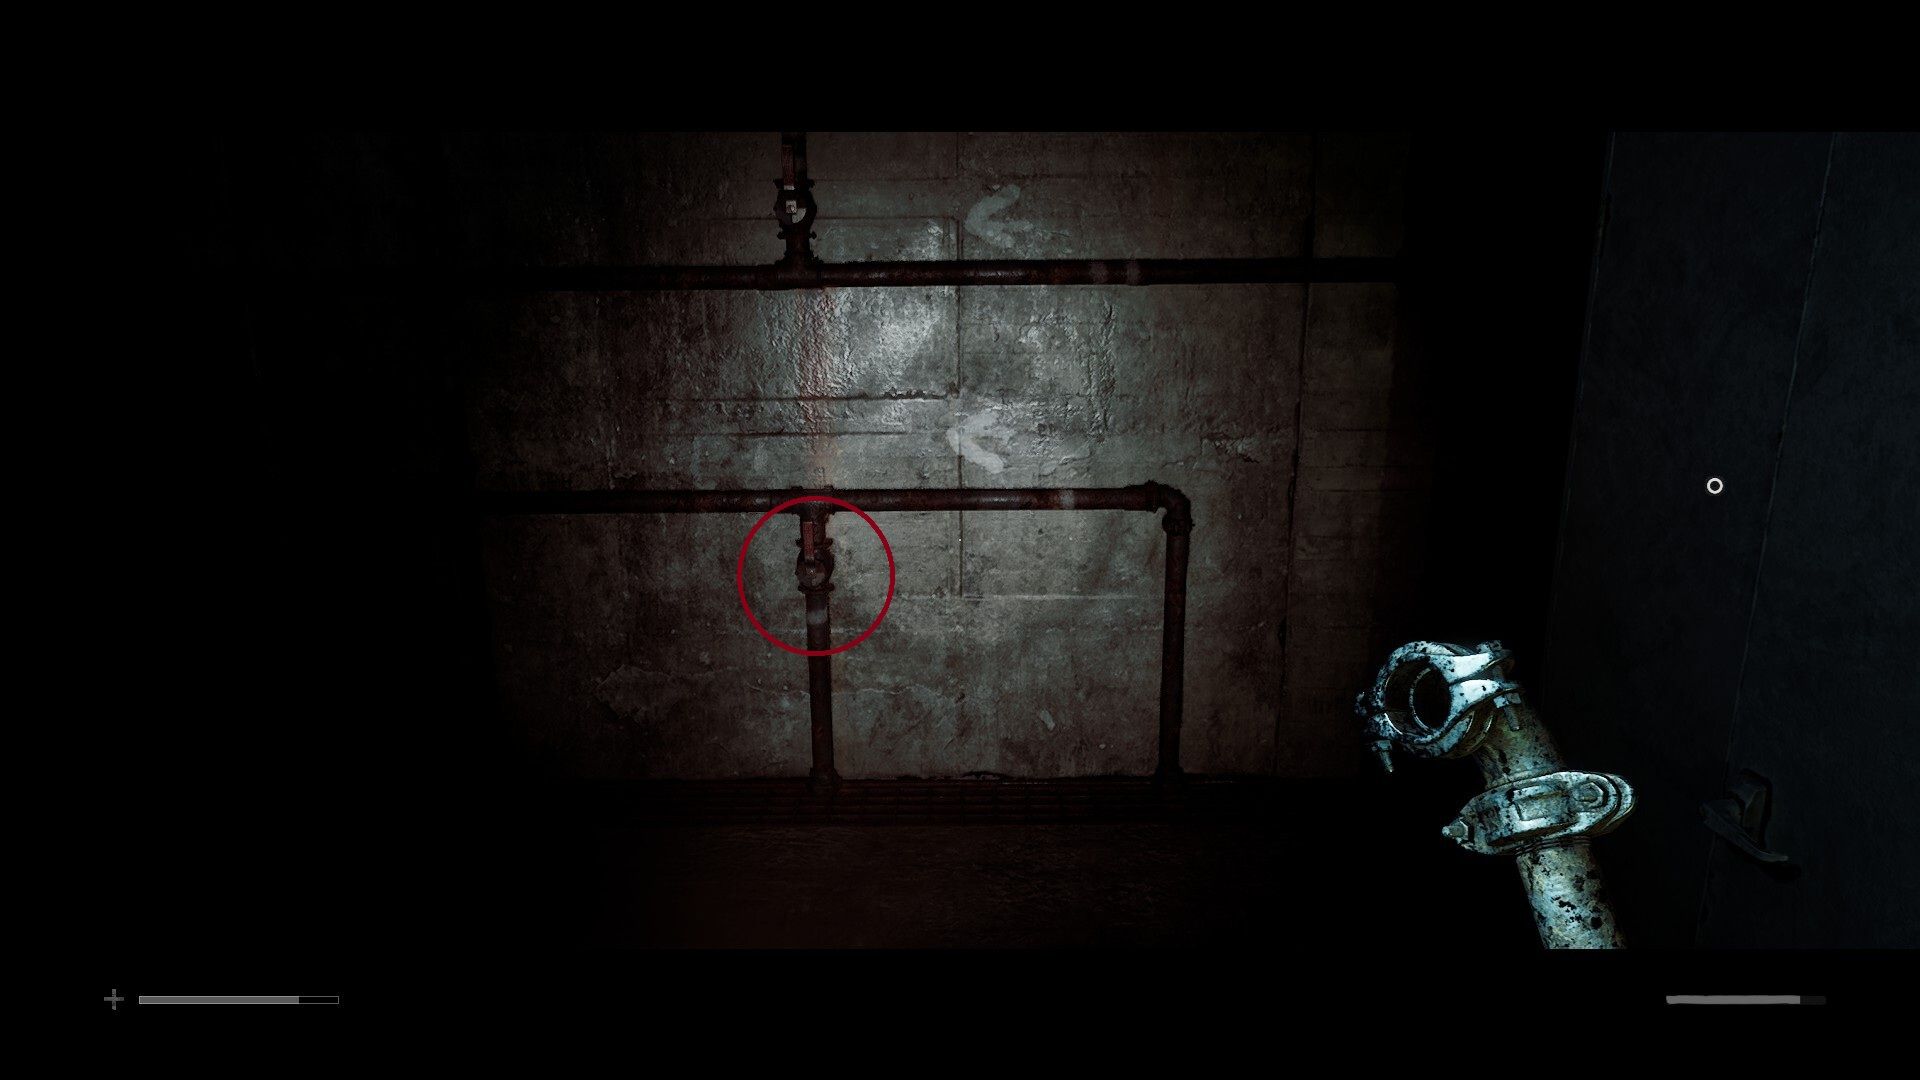
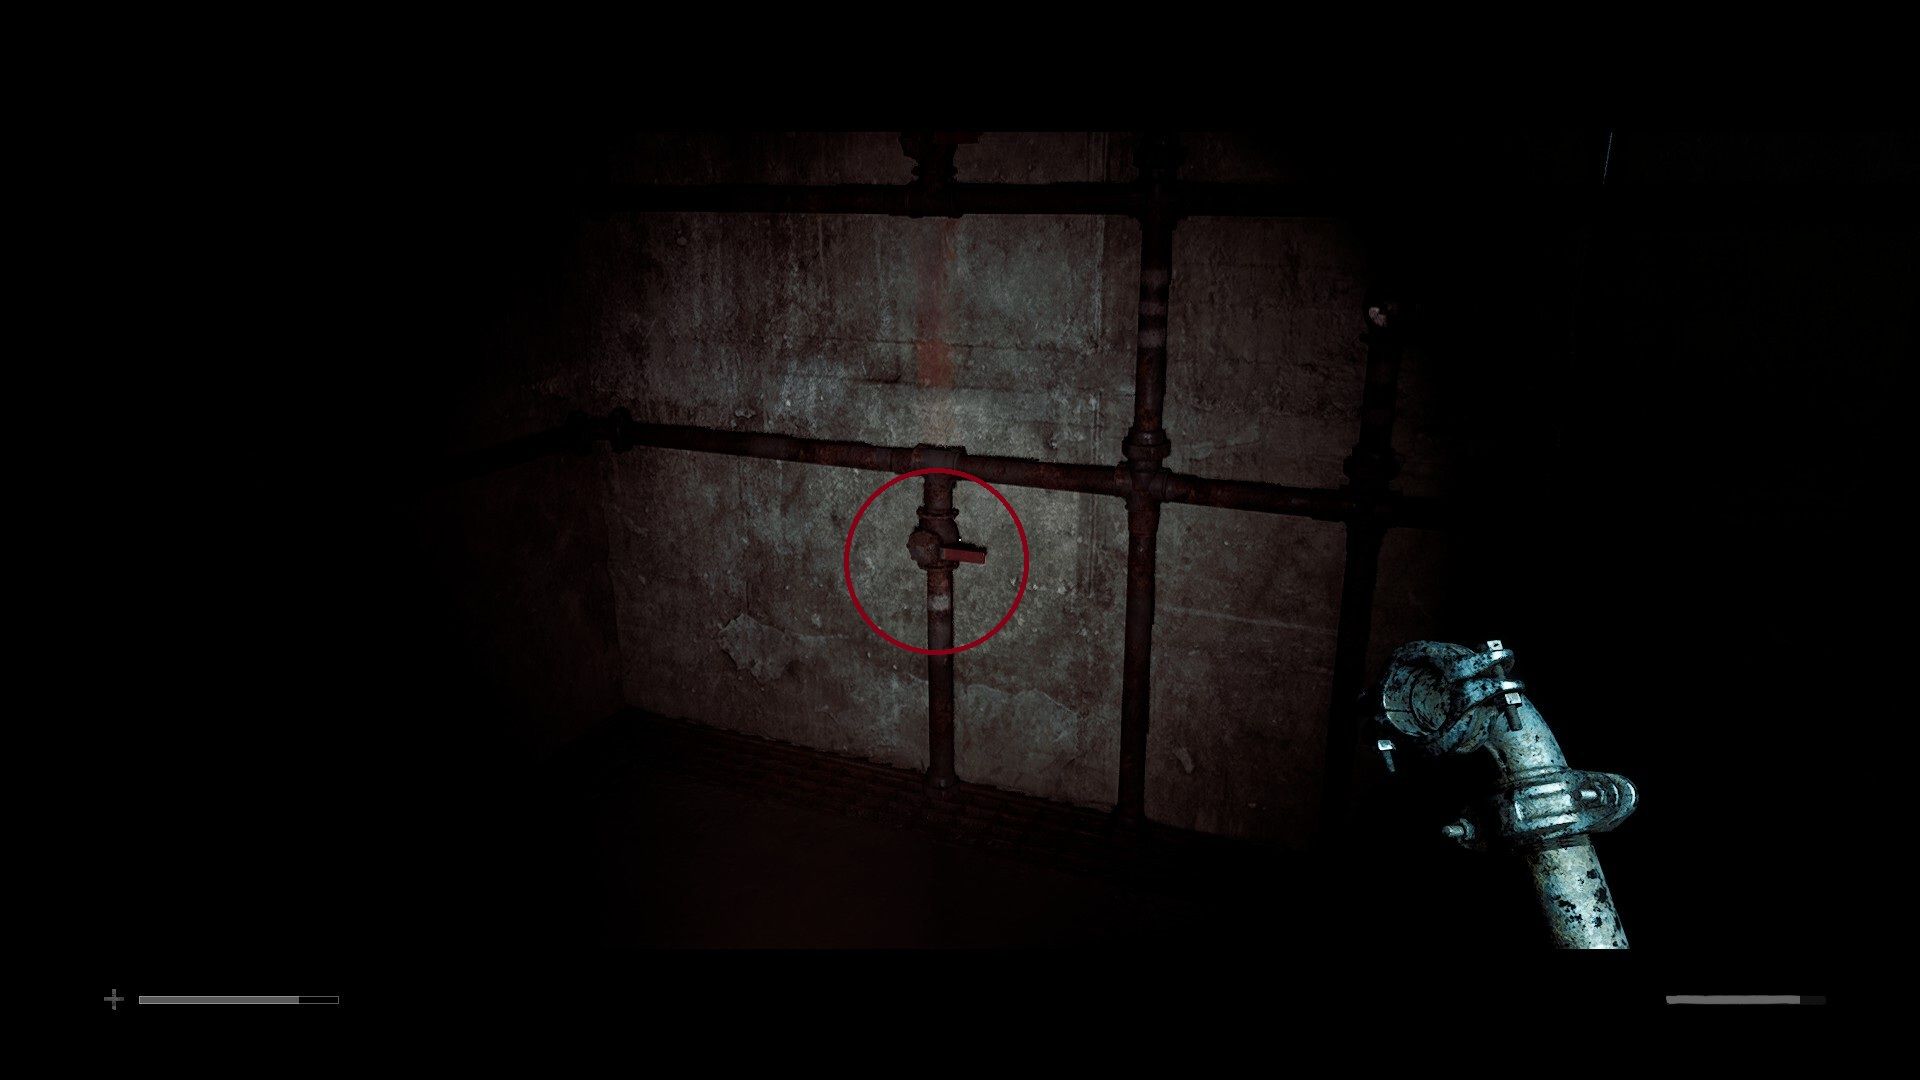
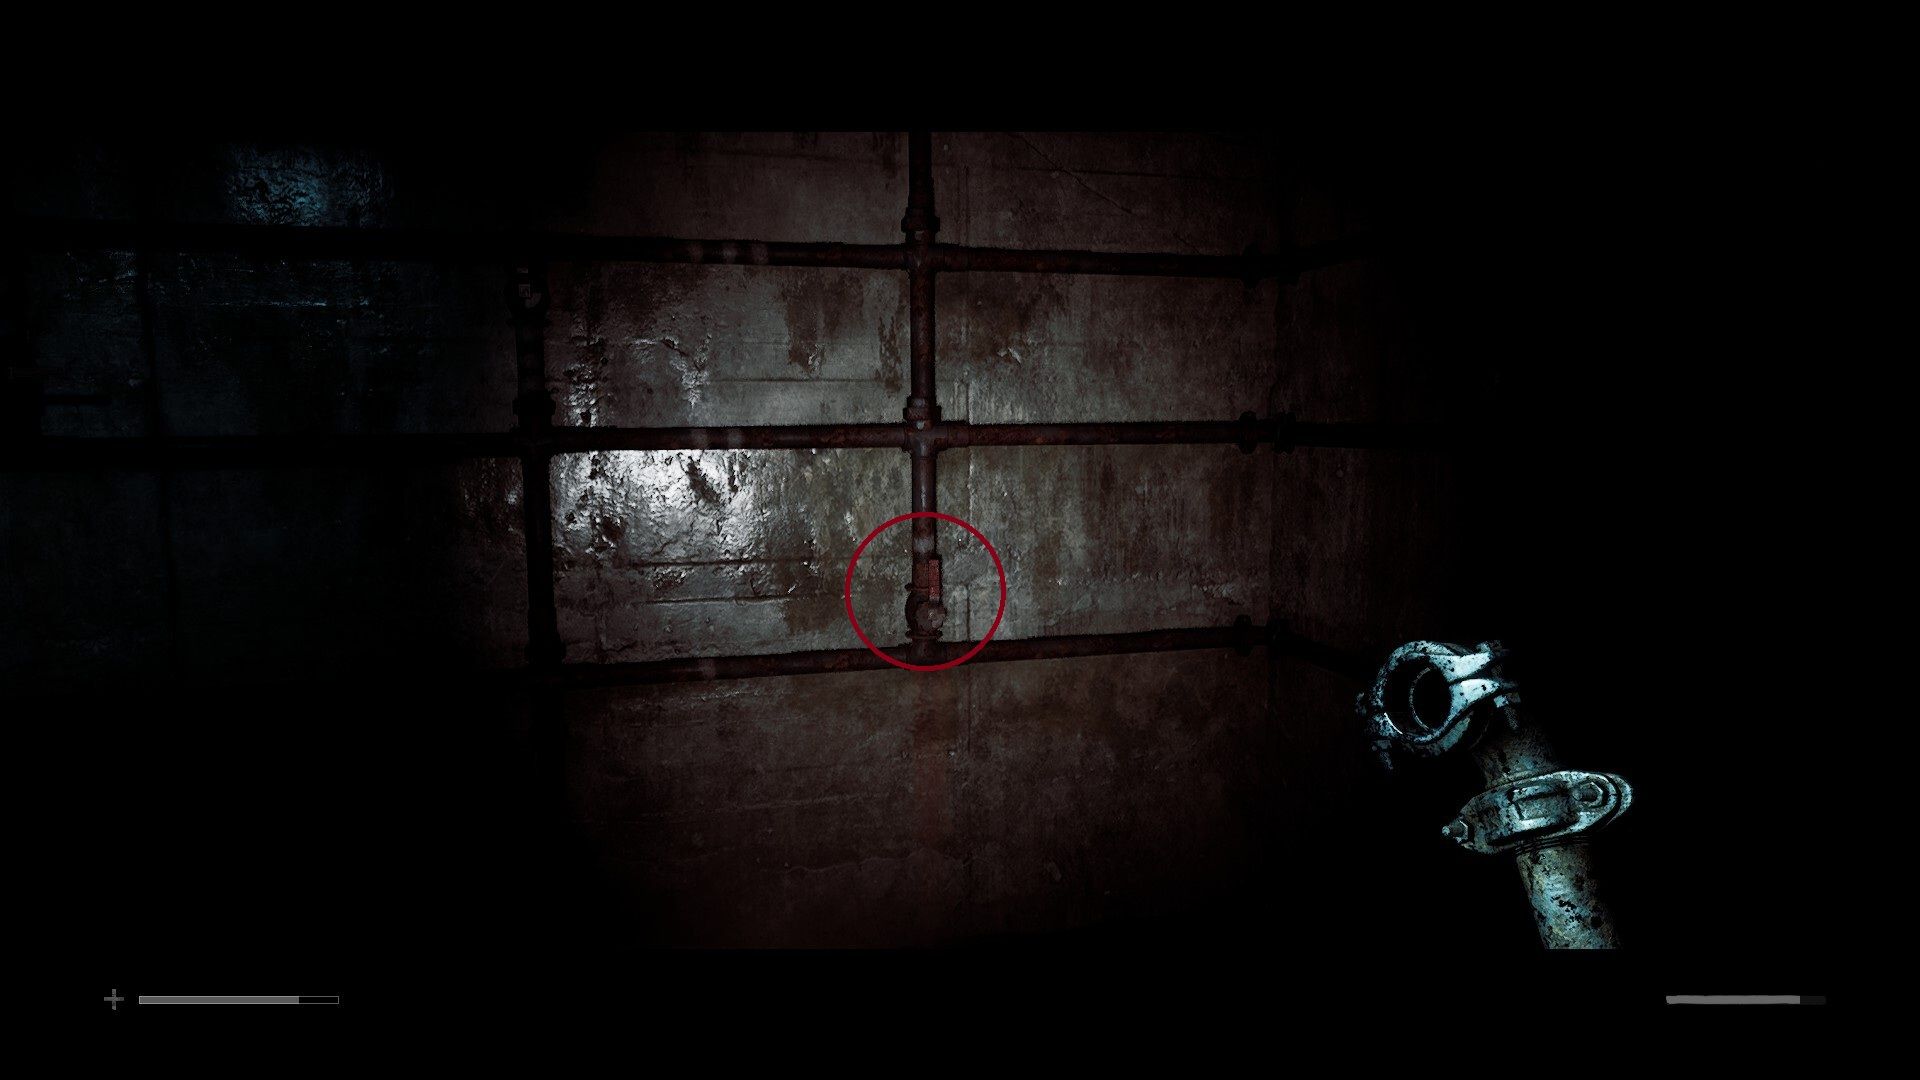
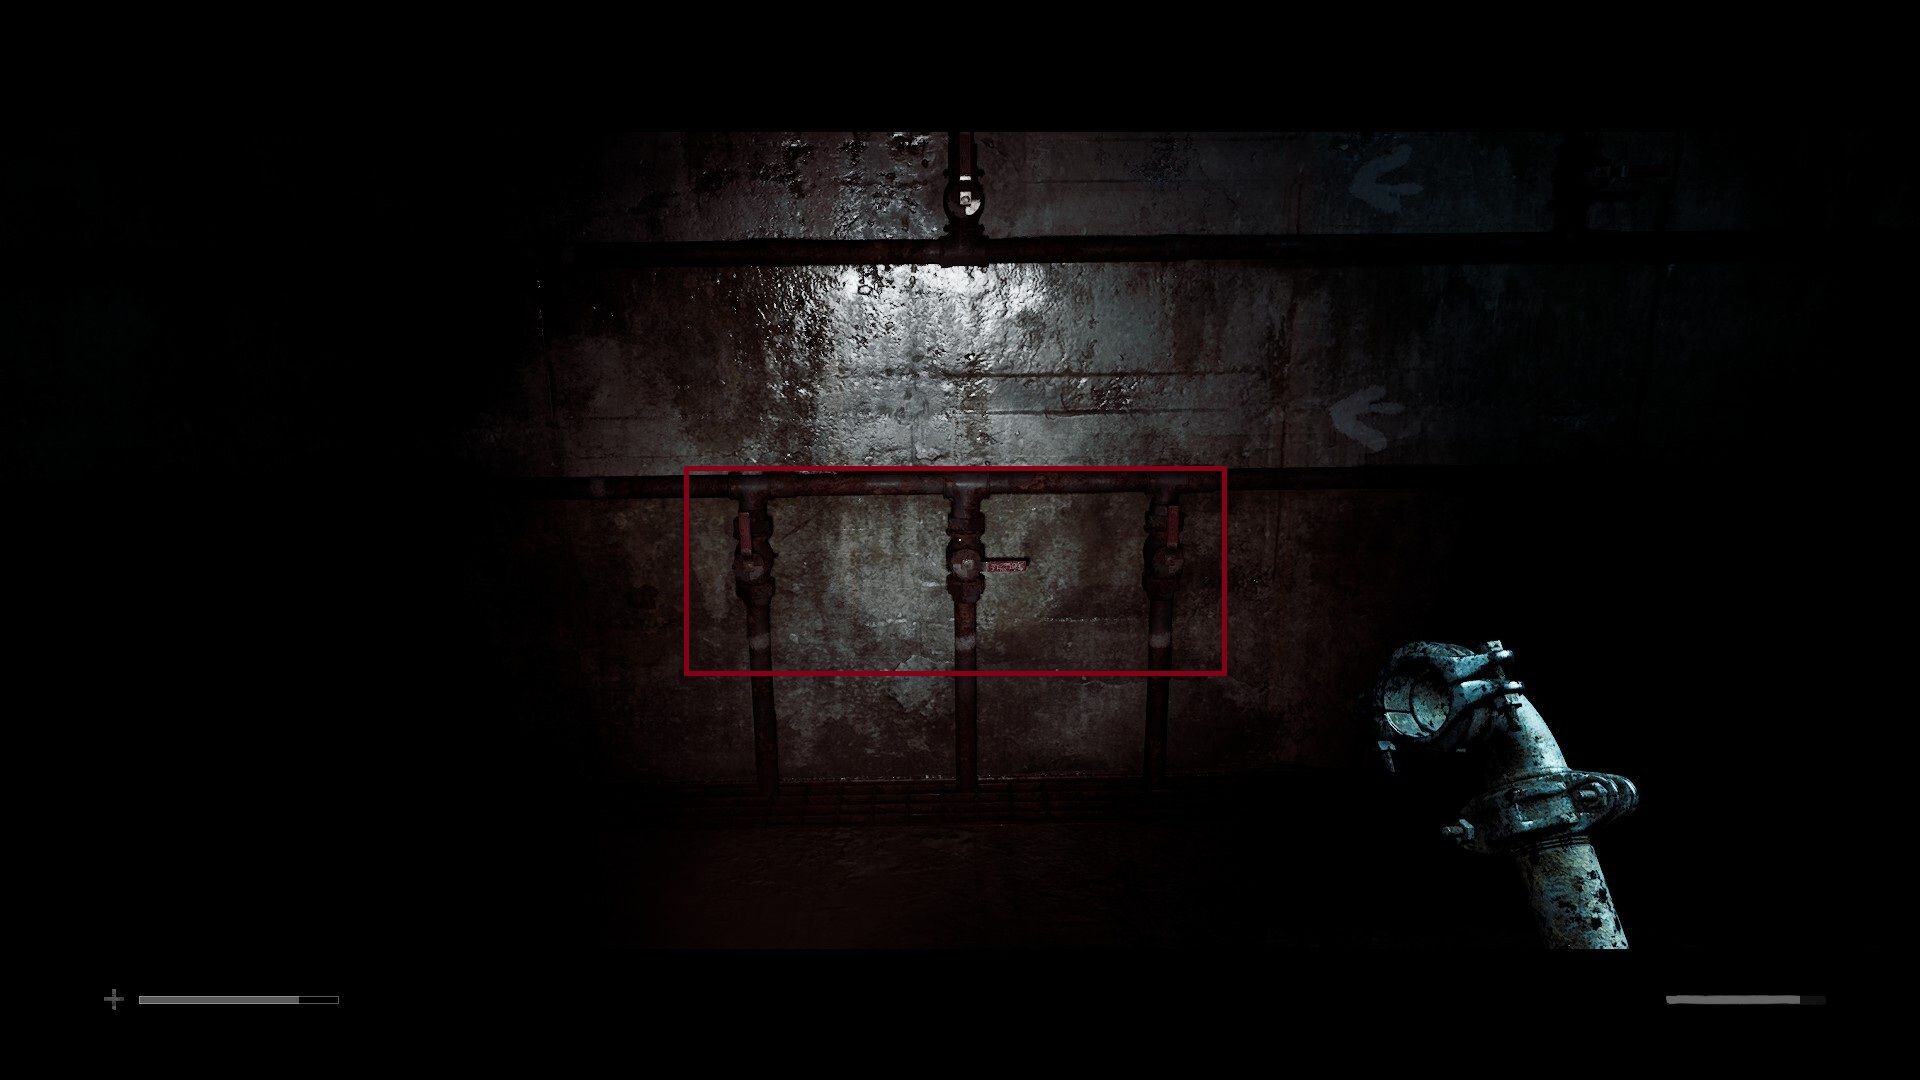
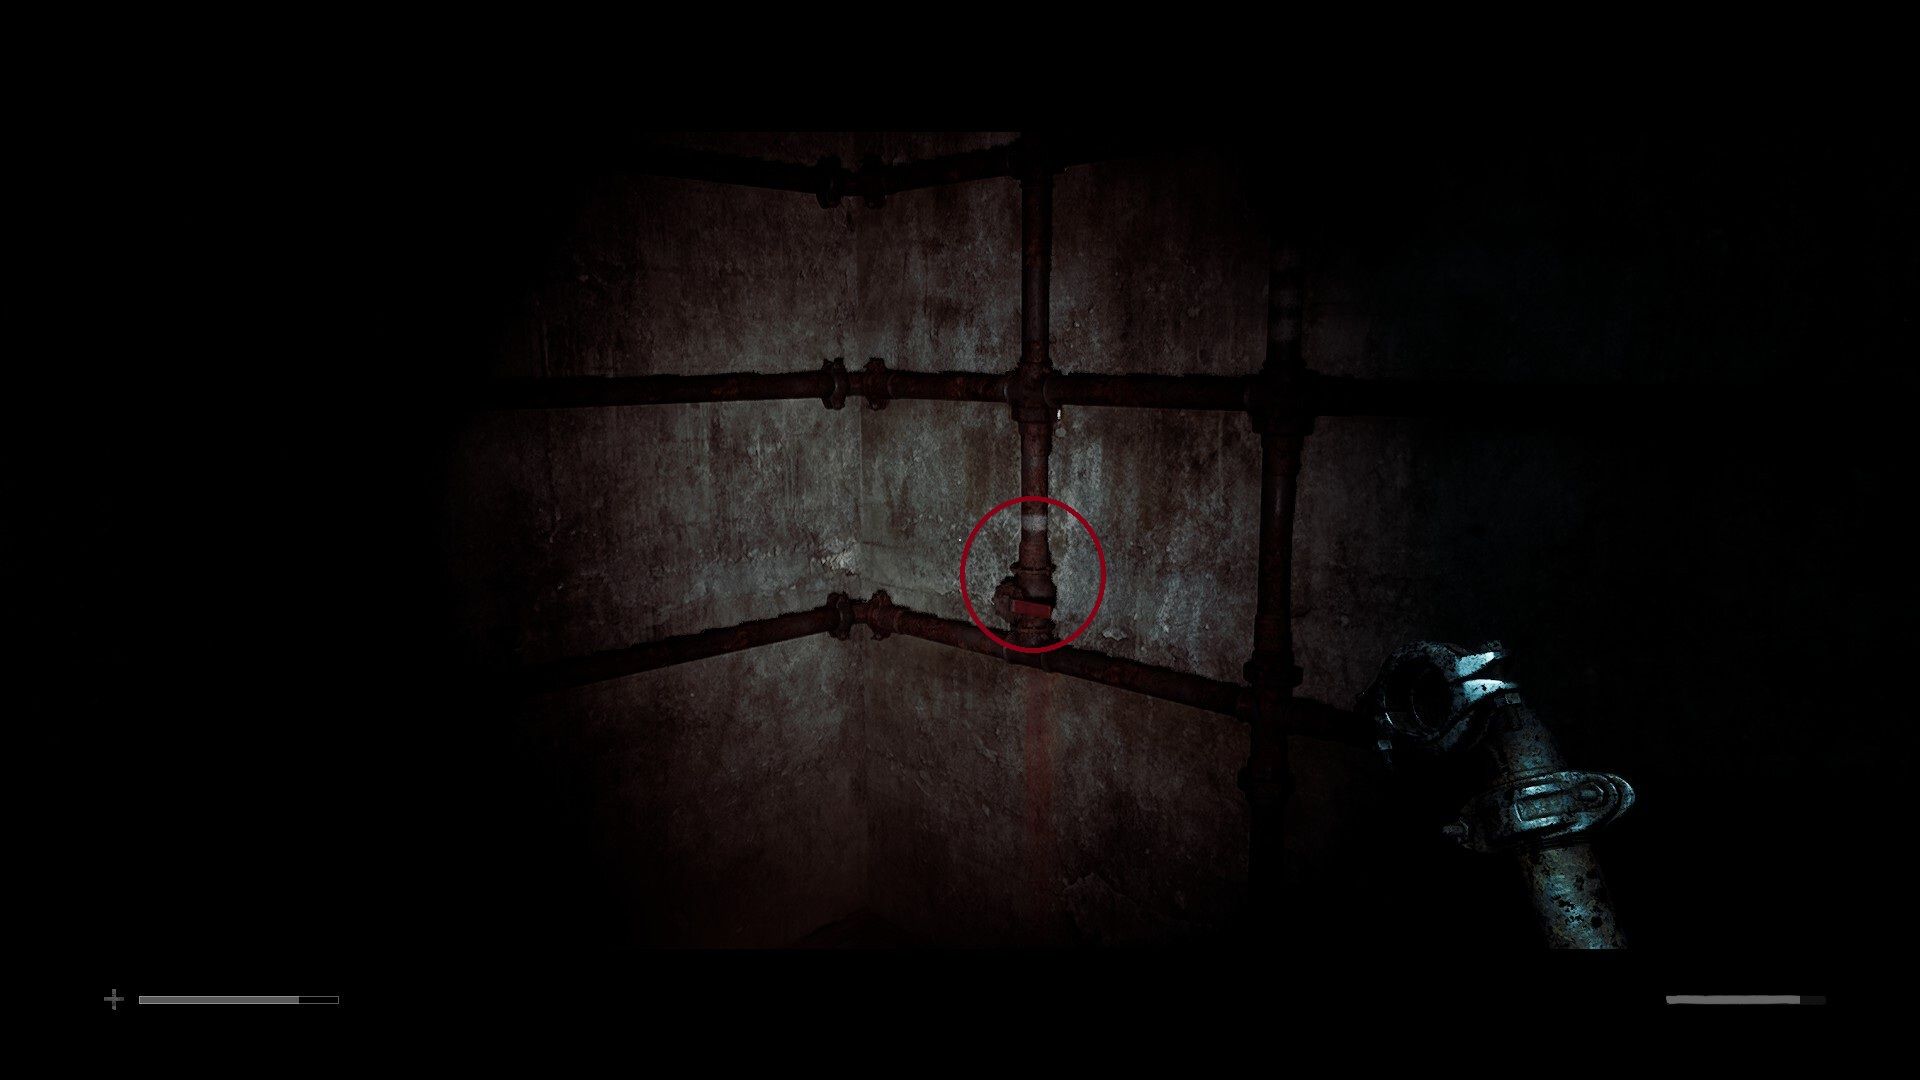
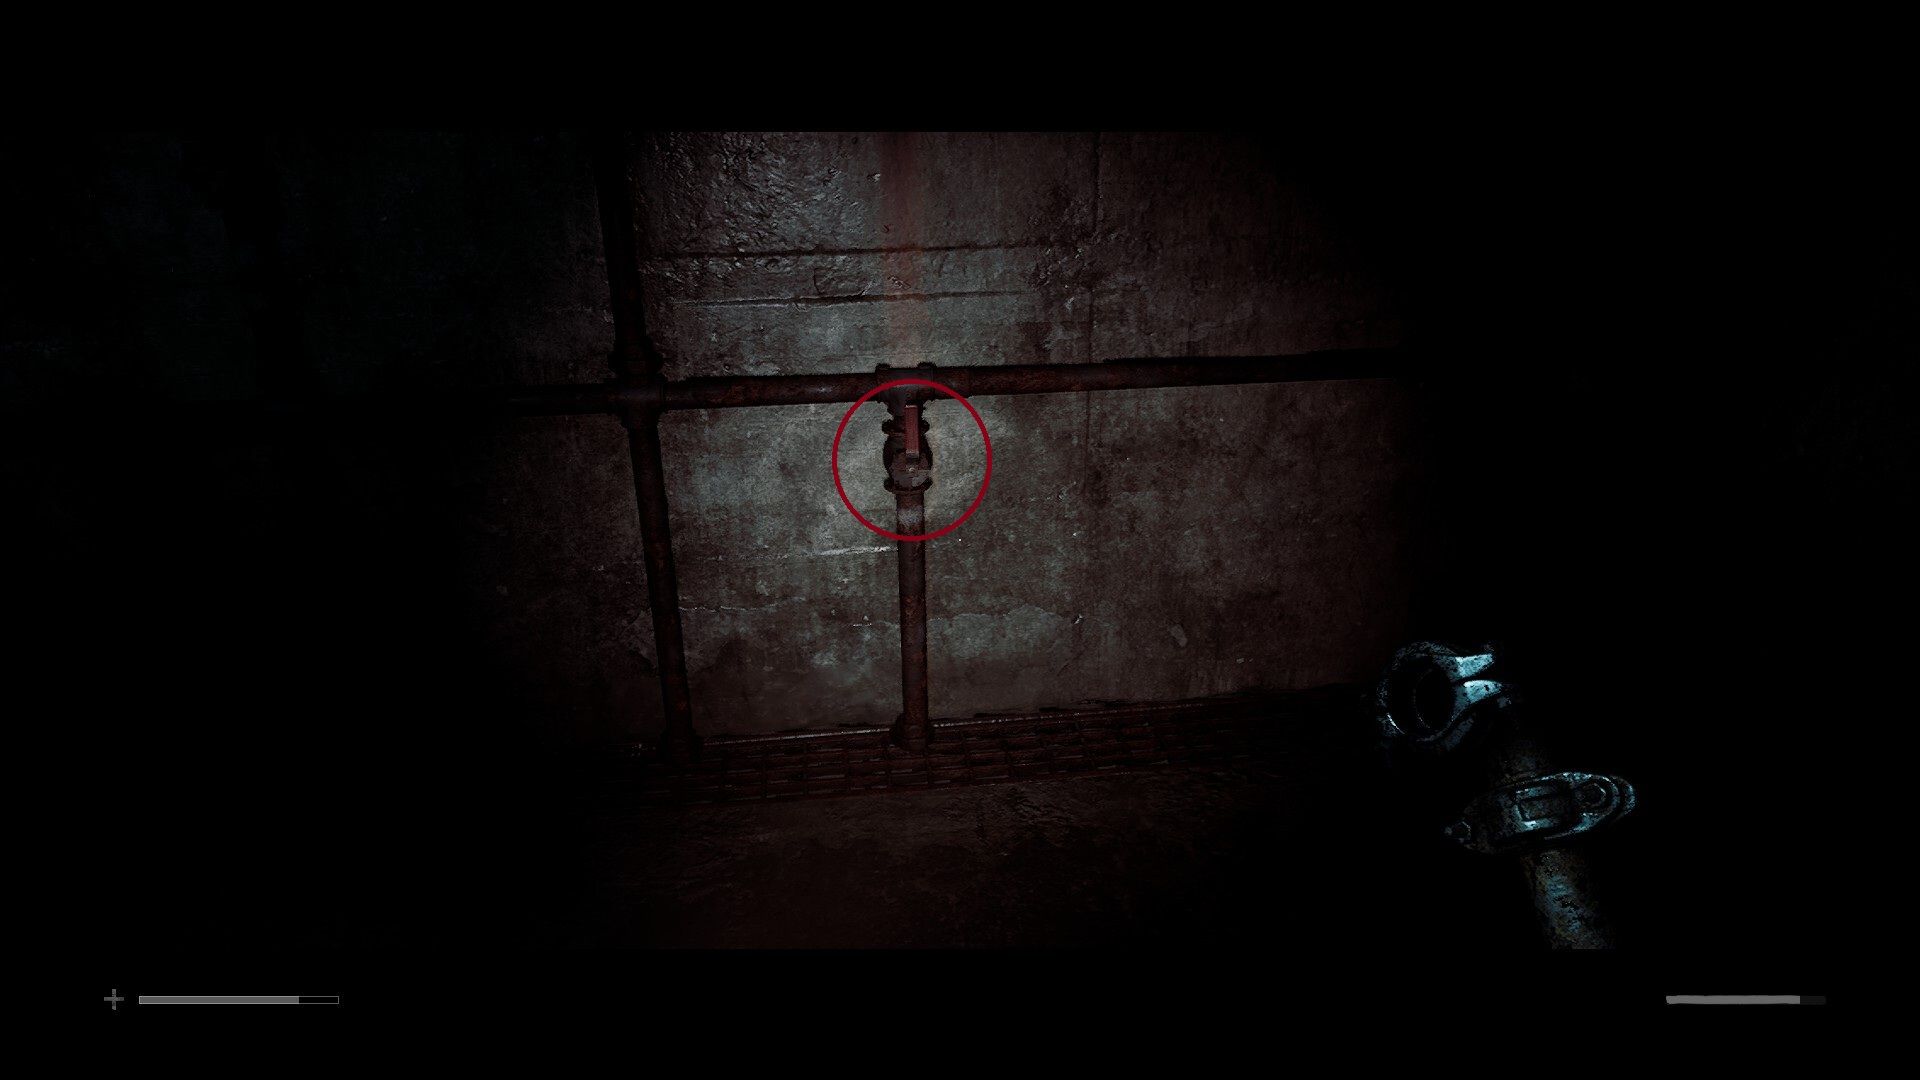
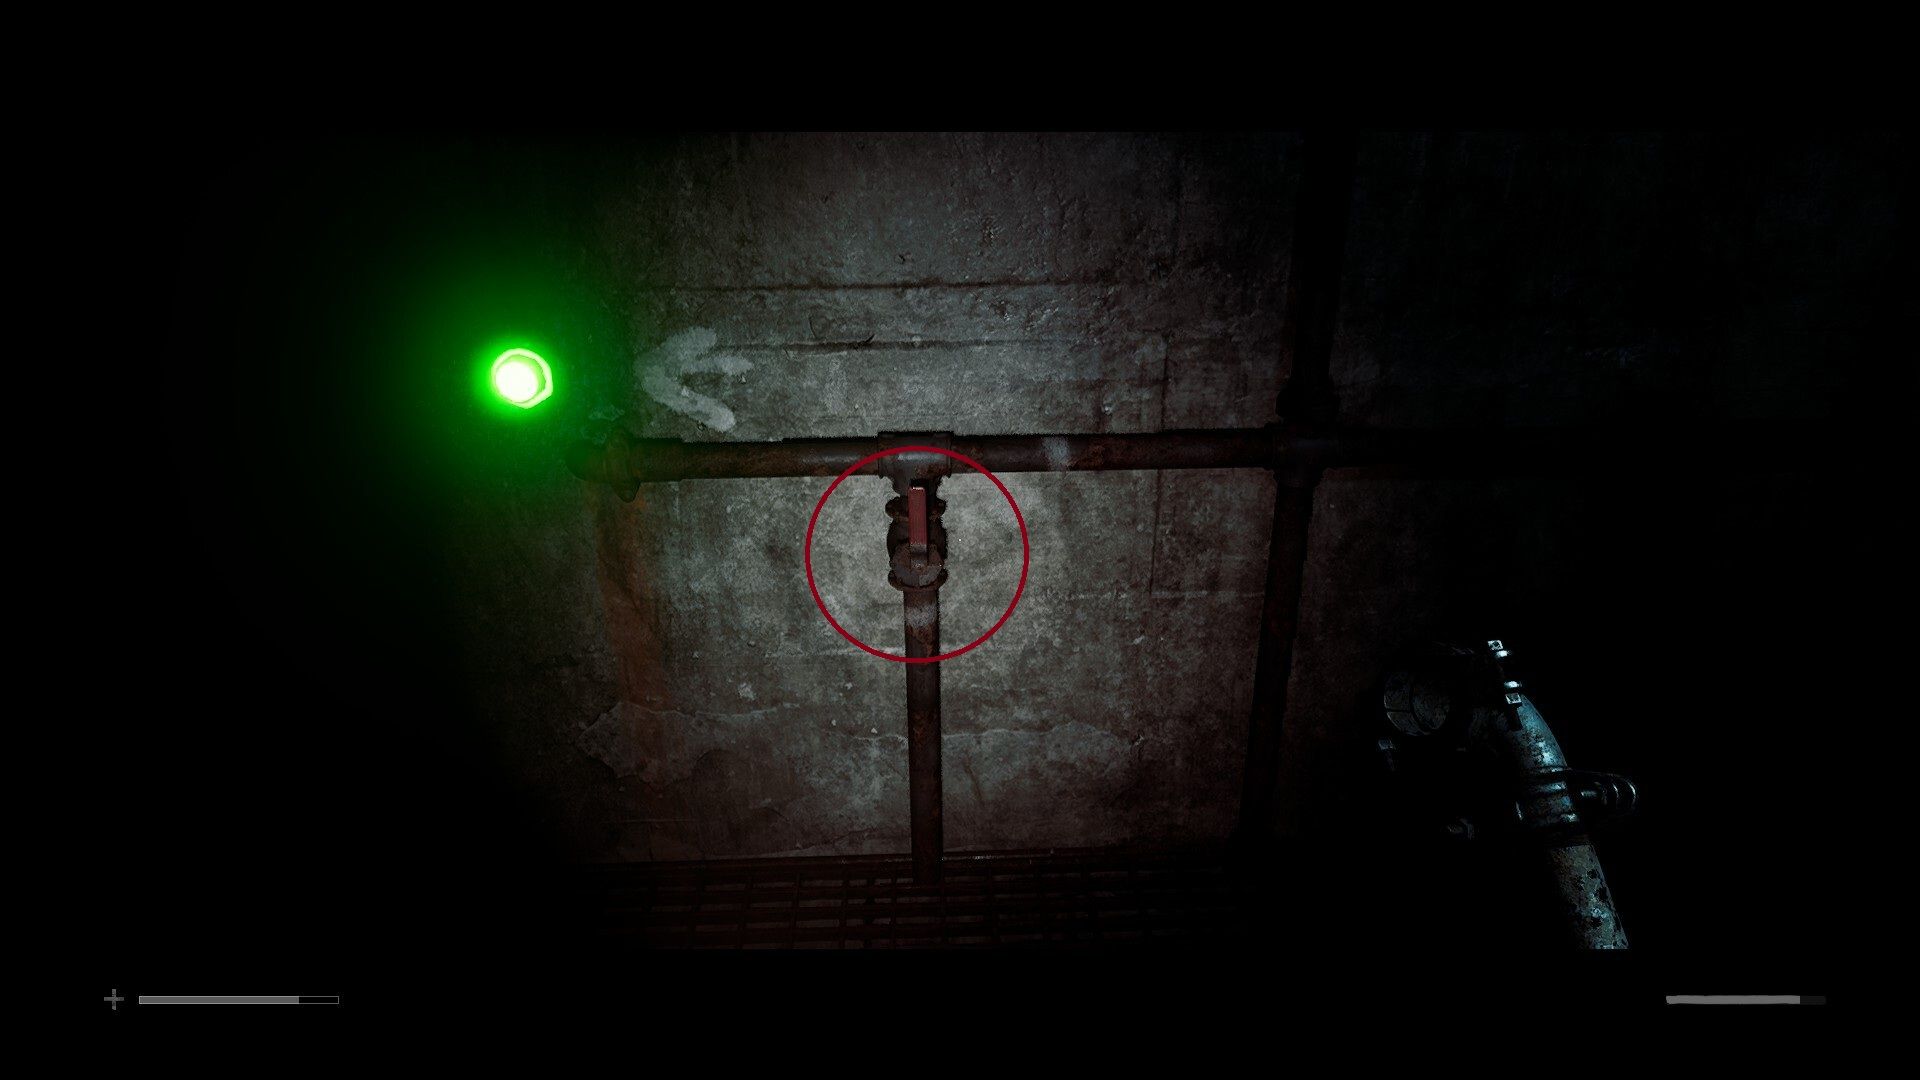
Auxiliary line 1 solution: | _ | | _ | _ | |
The first line starts on the wall next to the locker, just by the white arrow at the bottom of the wall, and includes all the levers which are next to the singular white lines on the pipes. The pattern goes like this:
- vertical
- horizontal
- vertical
- vertical
- horizontal
- vertical
- horizontal
- vertical
- vertical
If you’ve done it right the light next to the last lever should turn green.
Auxiliary Line 2
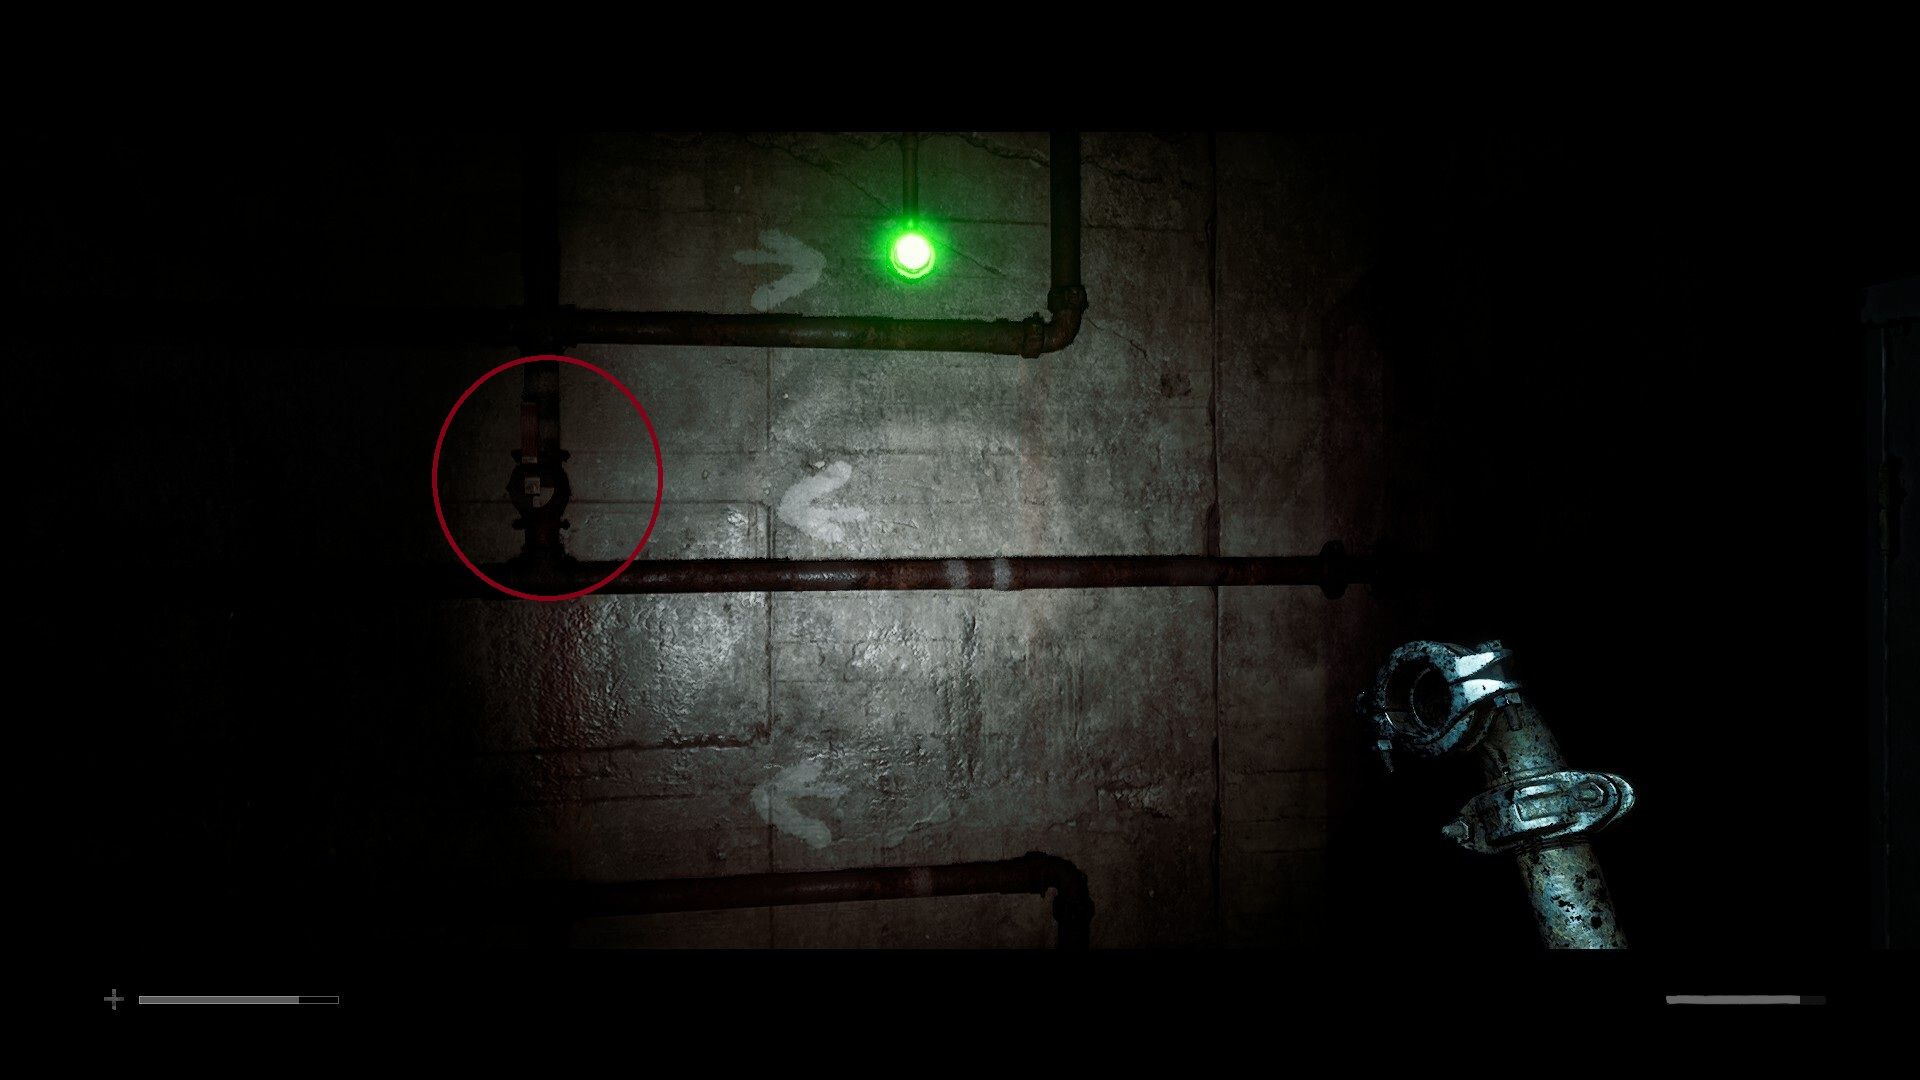
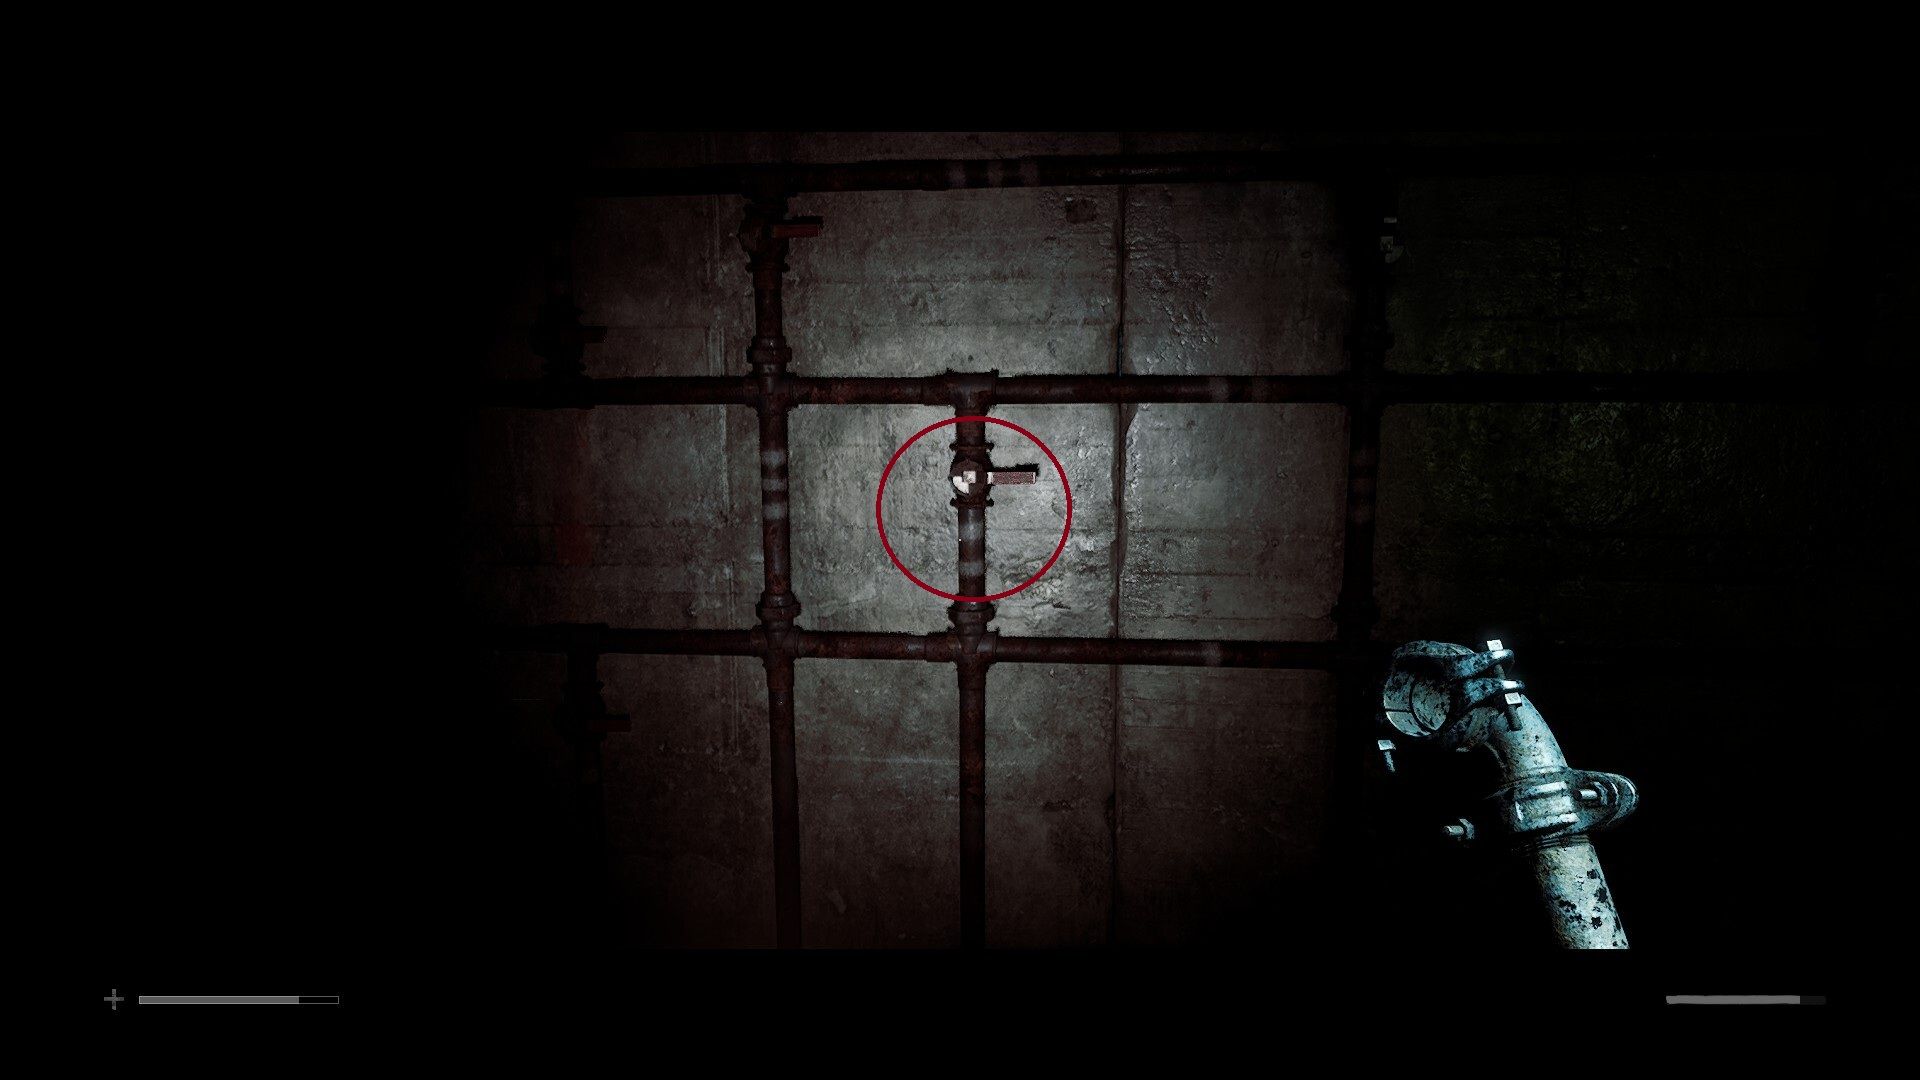
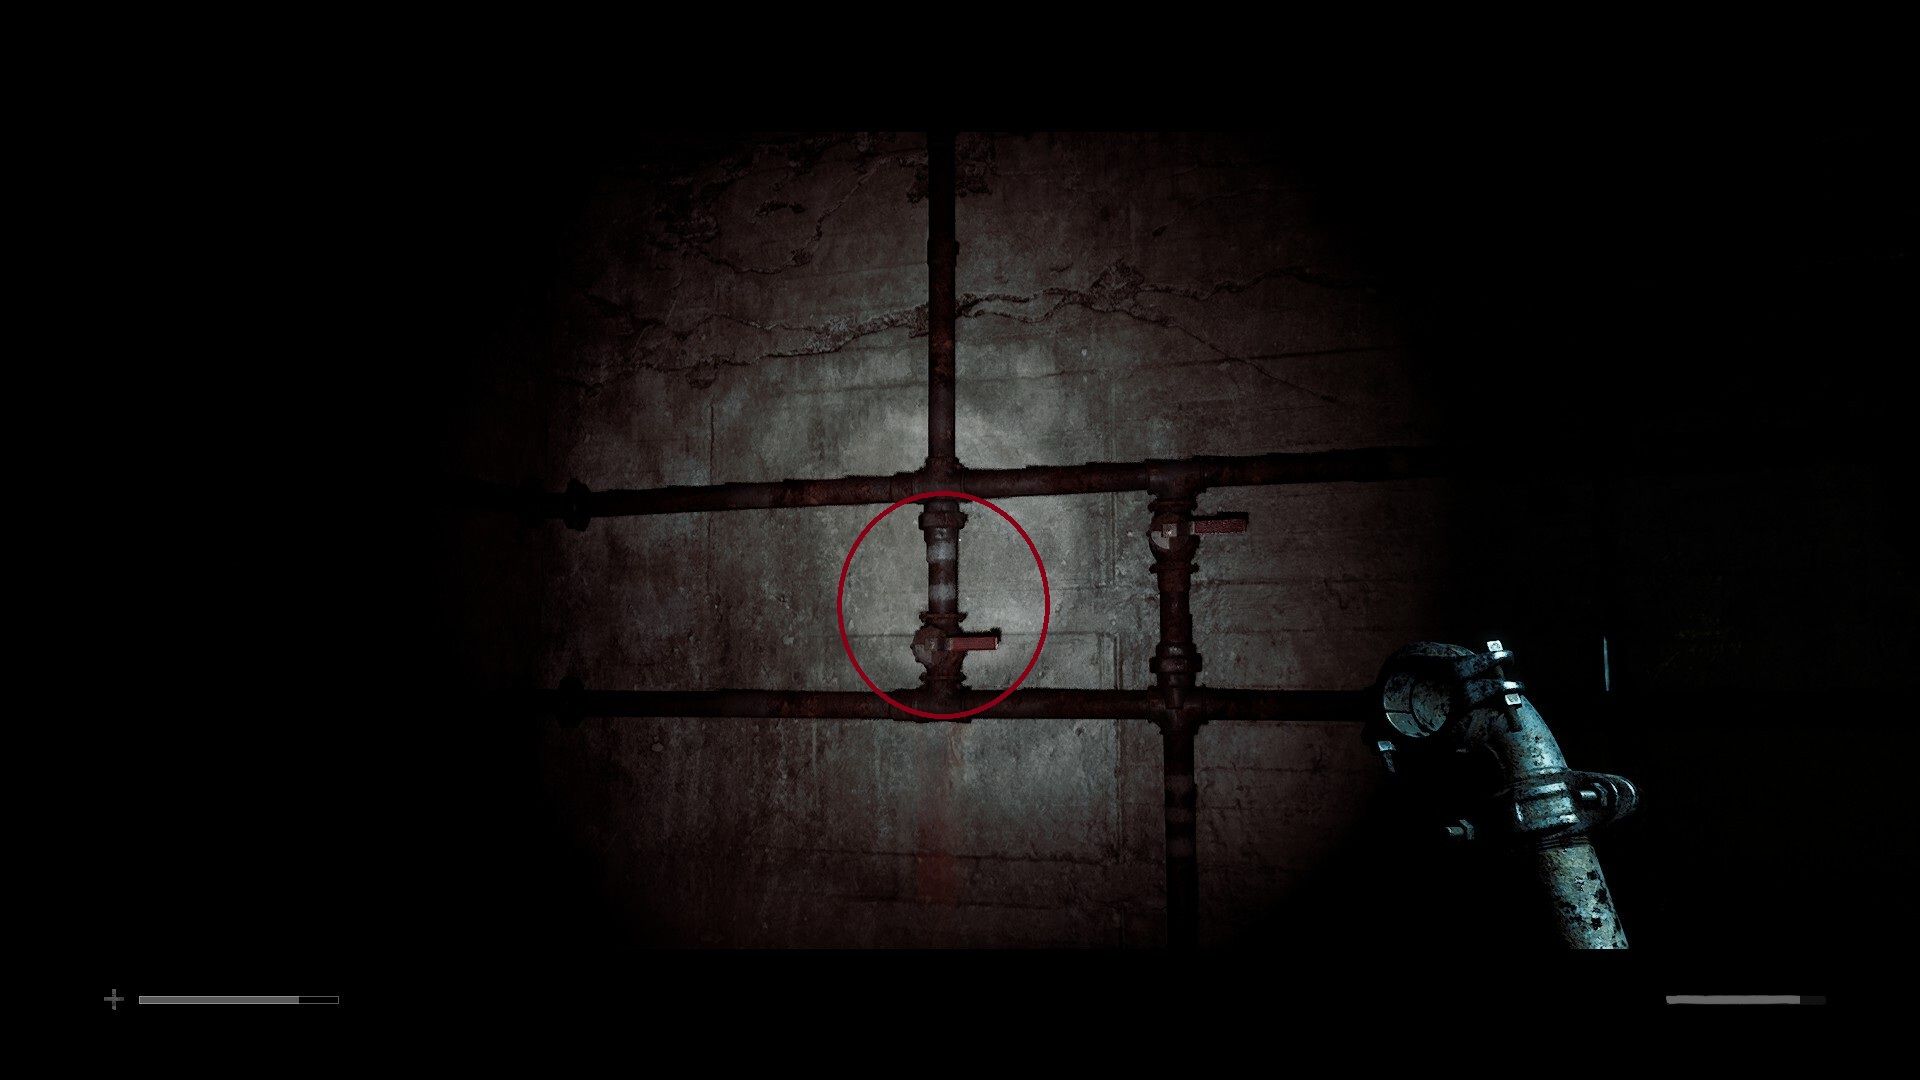
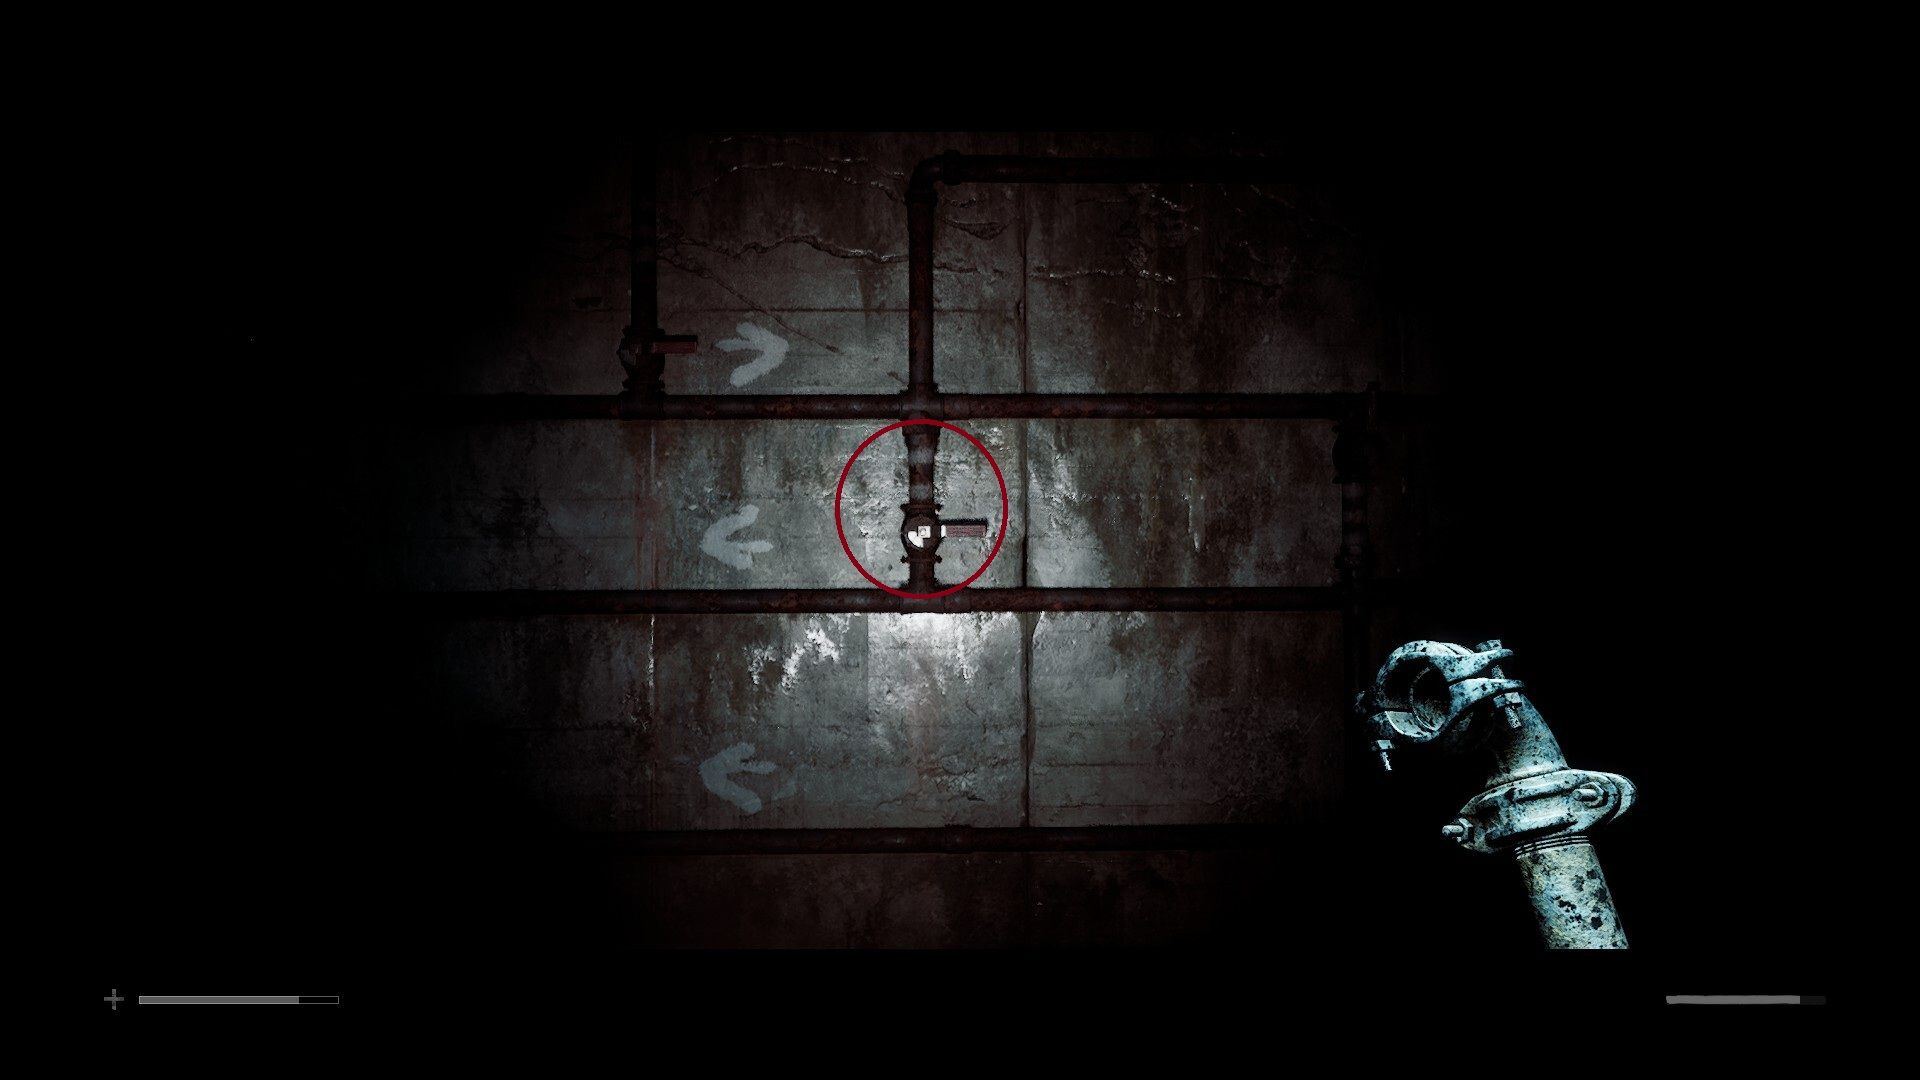
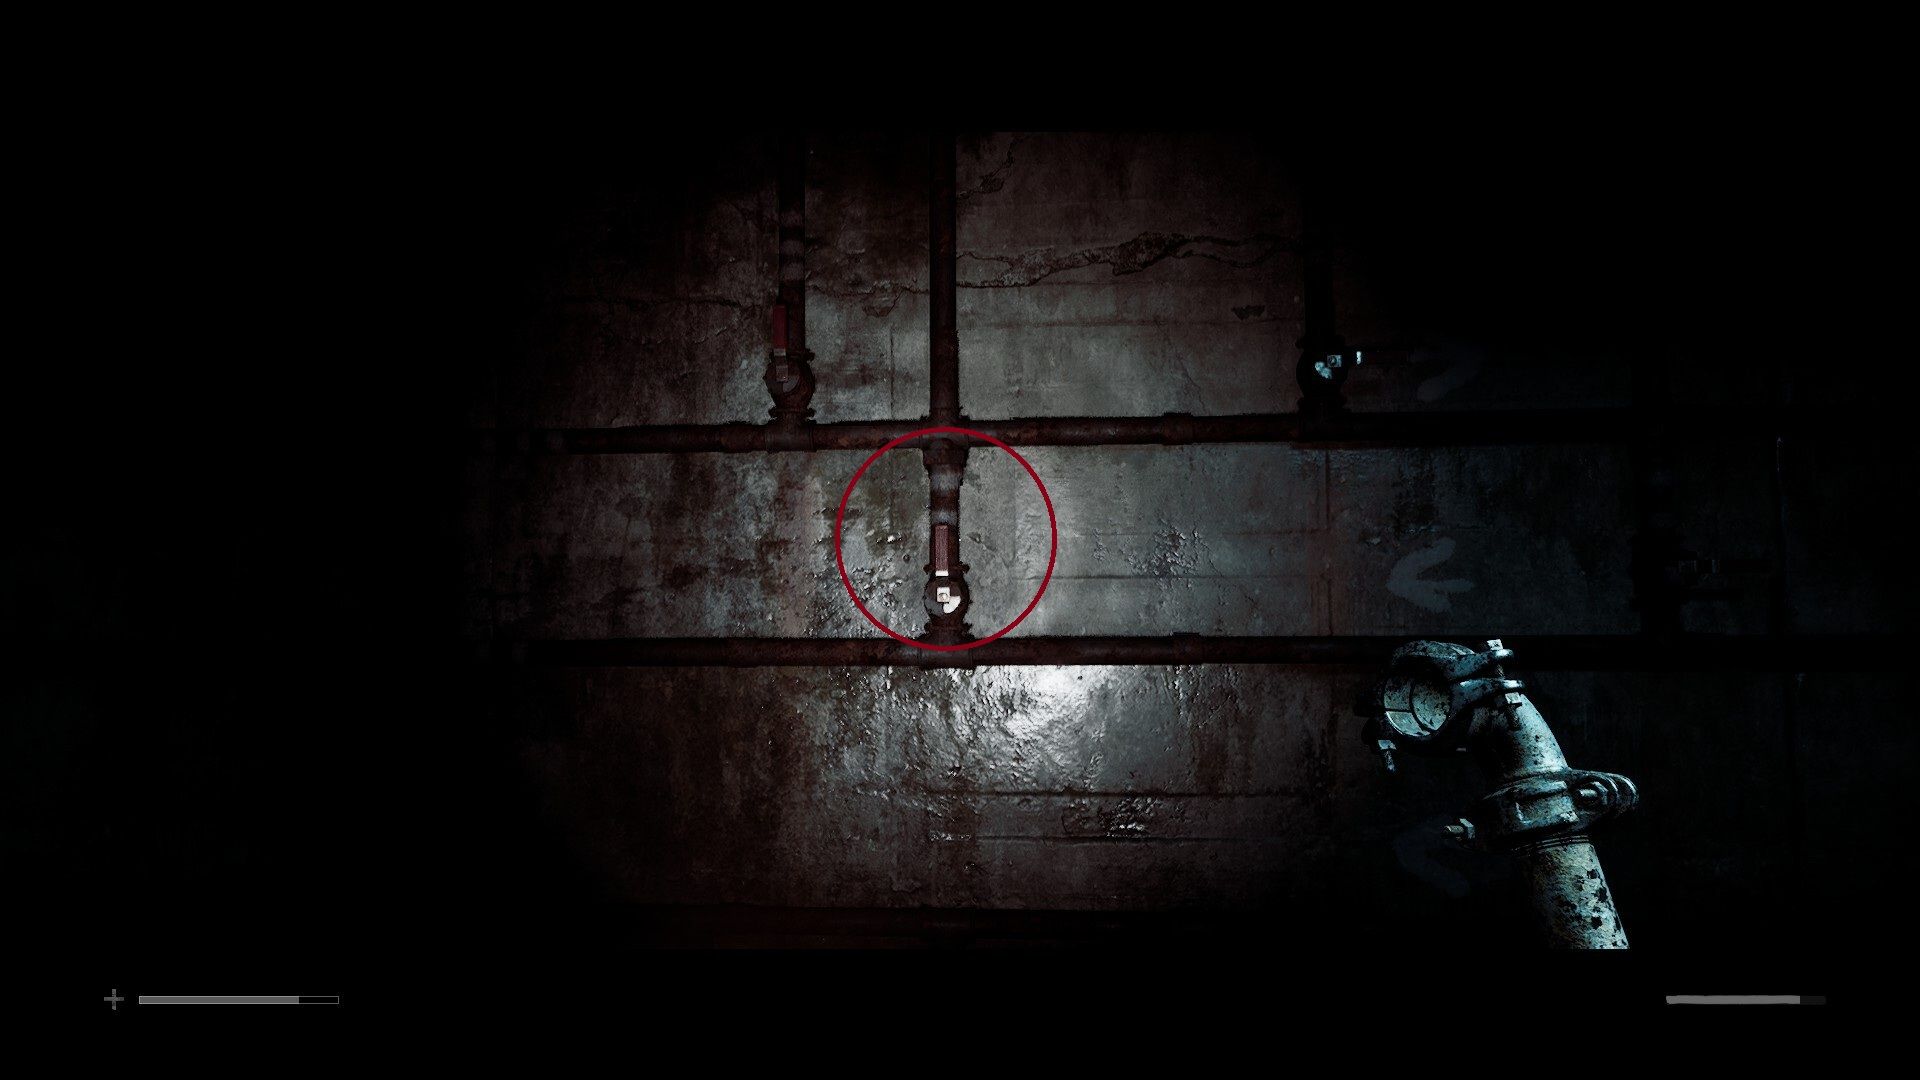
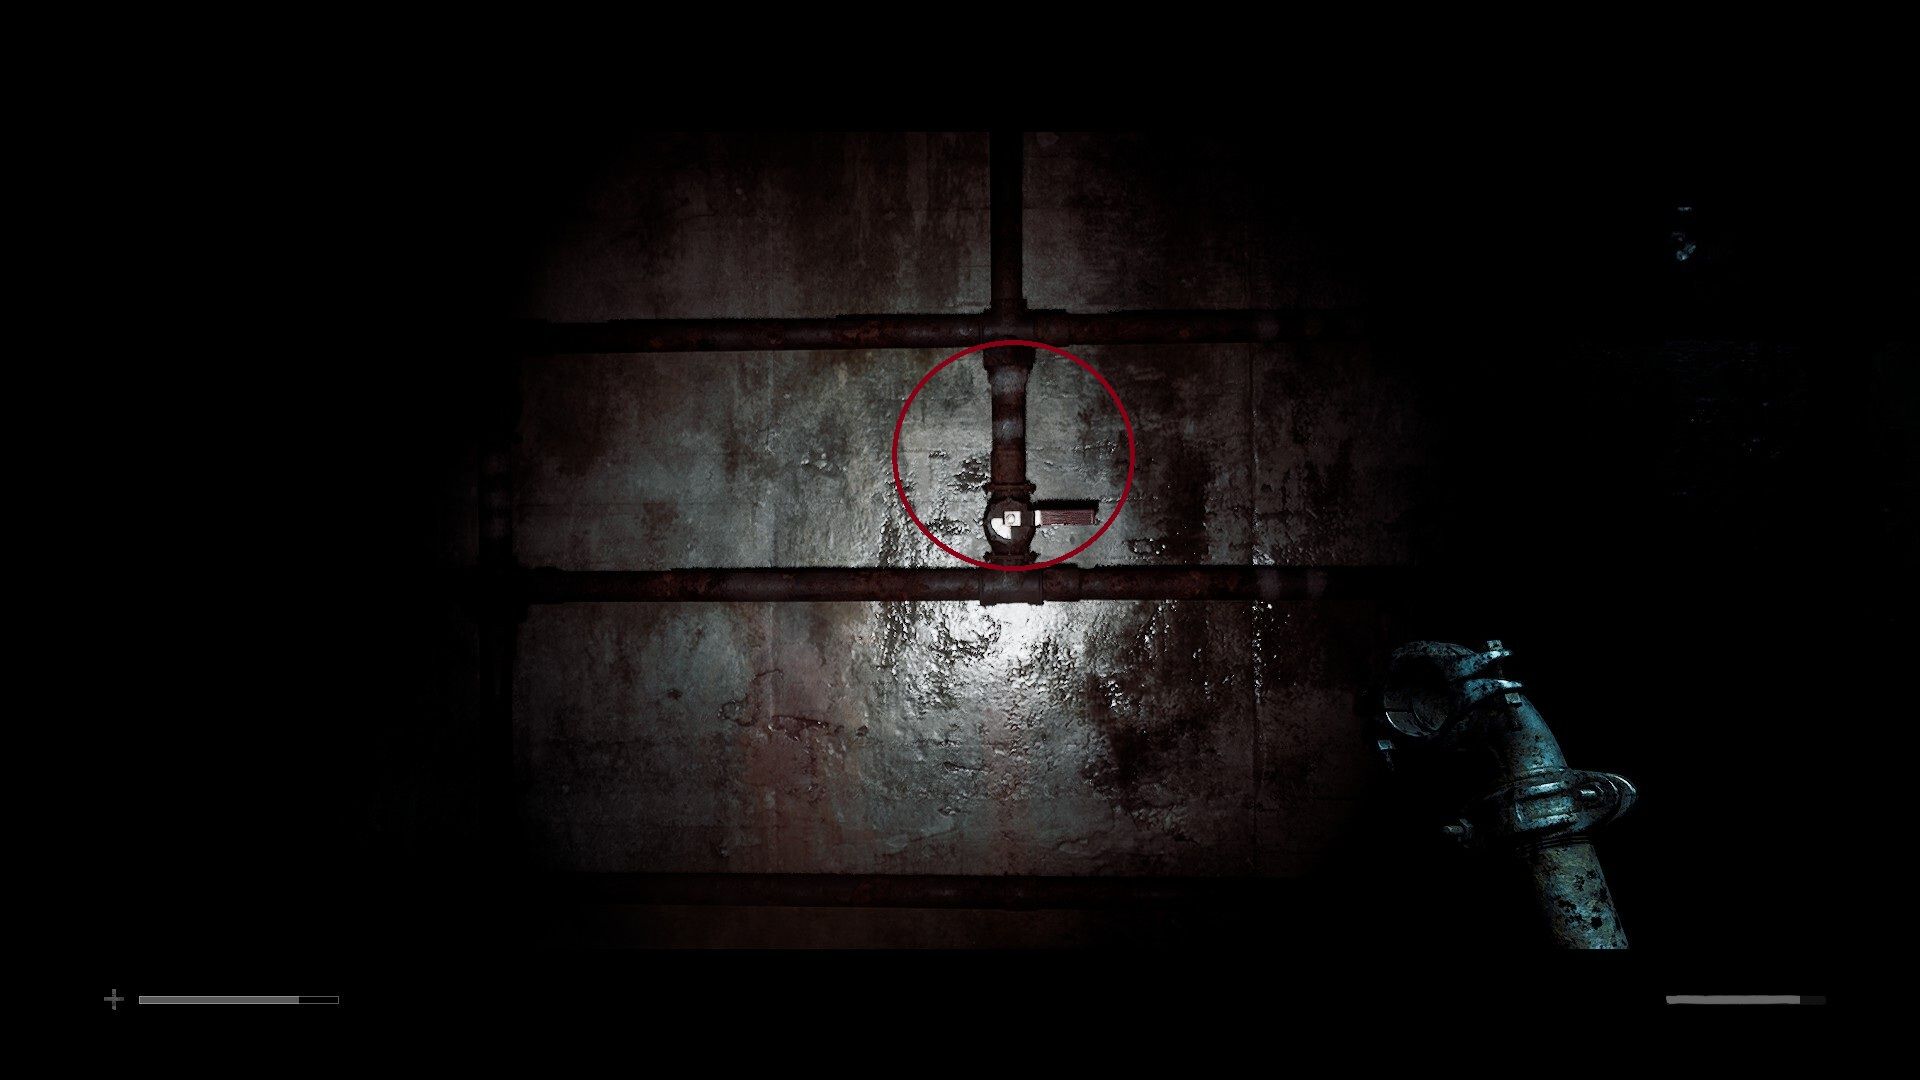
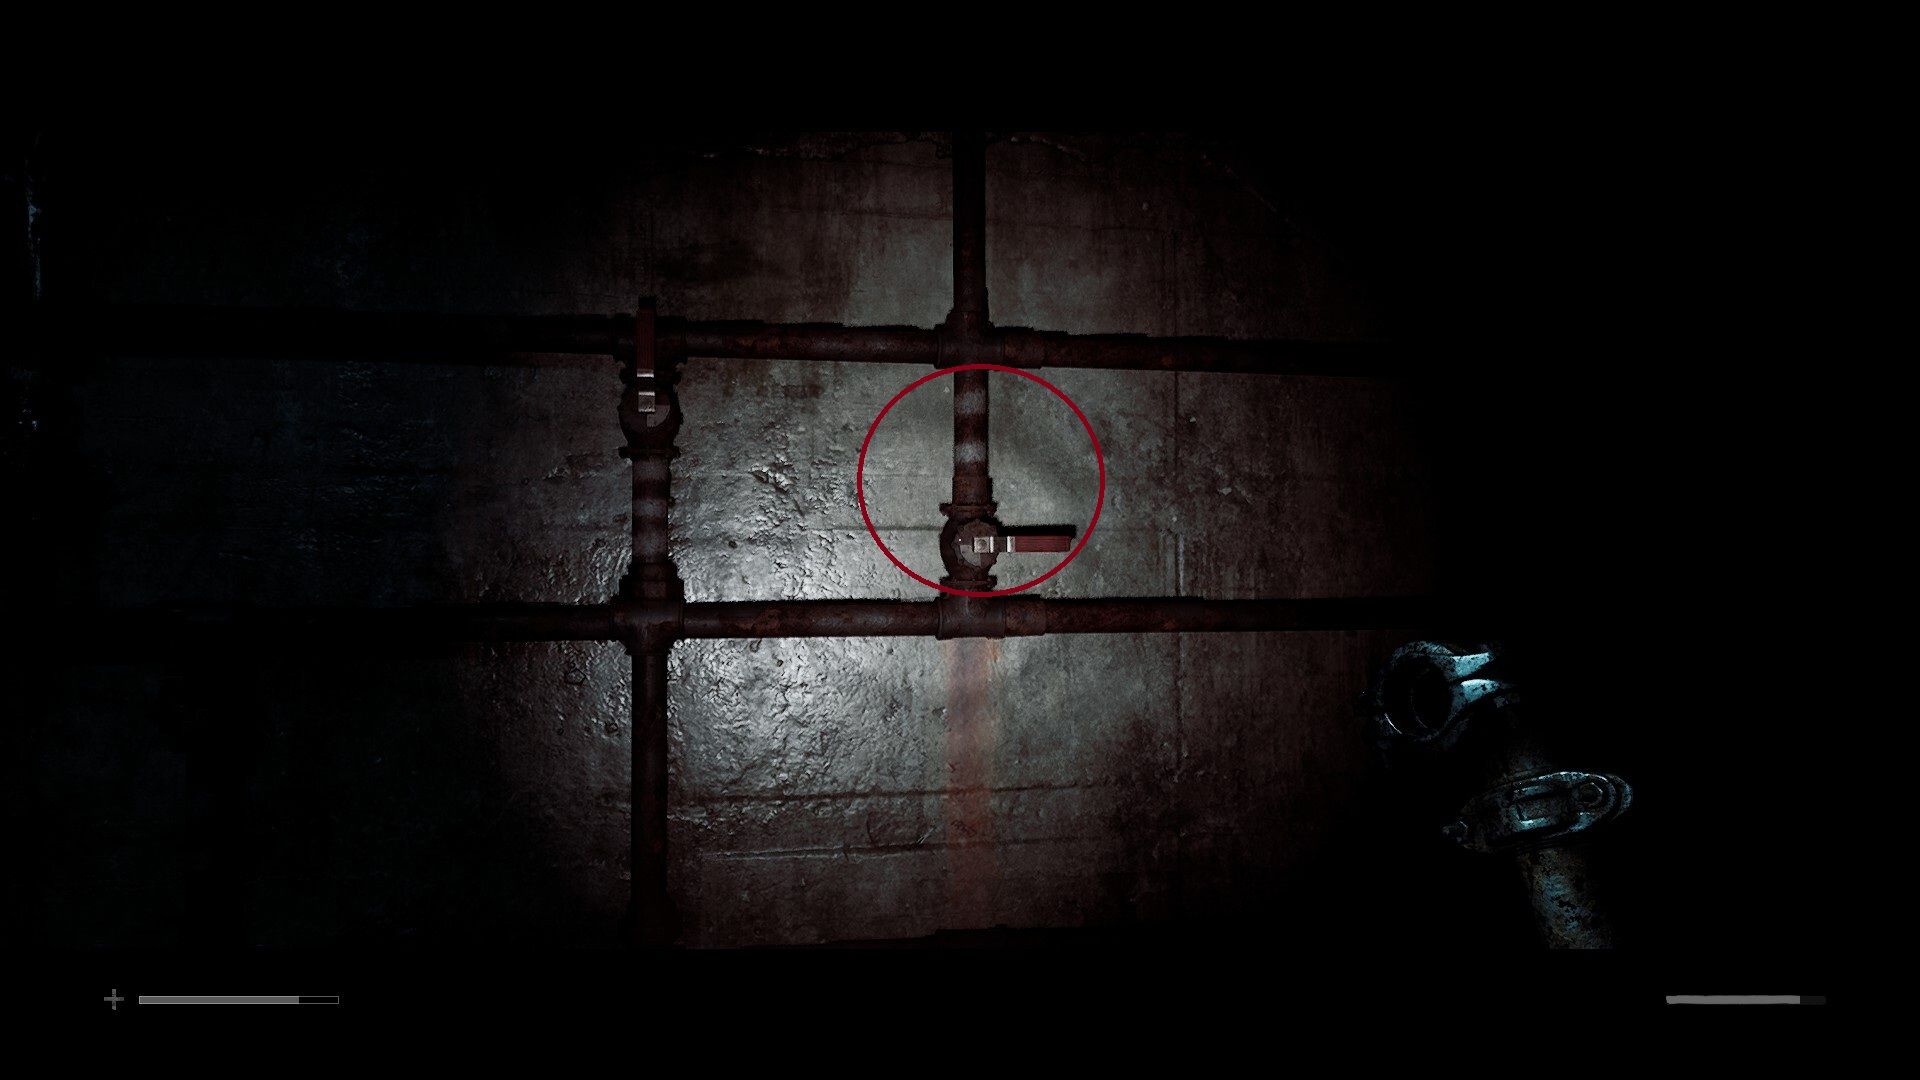
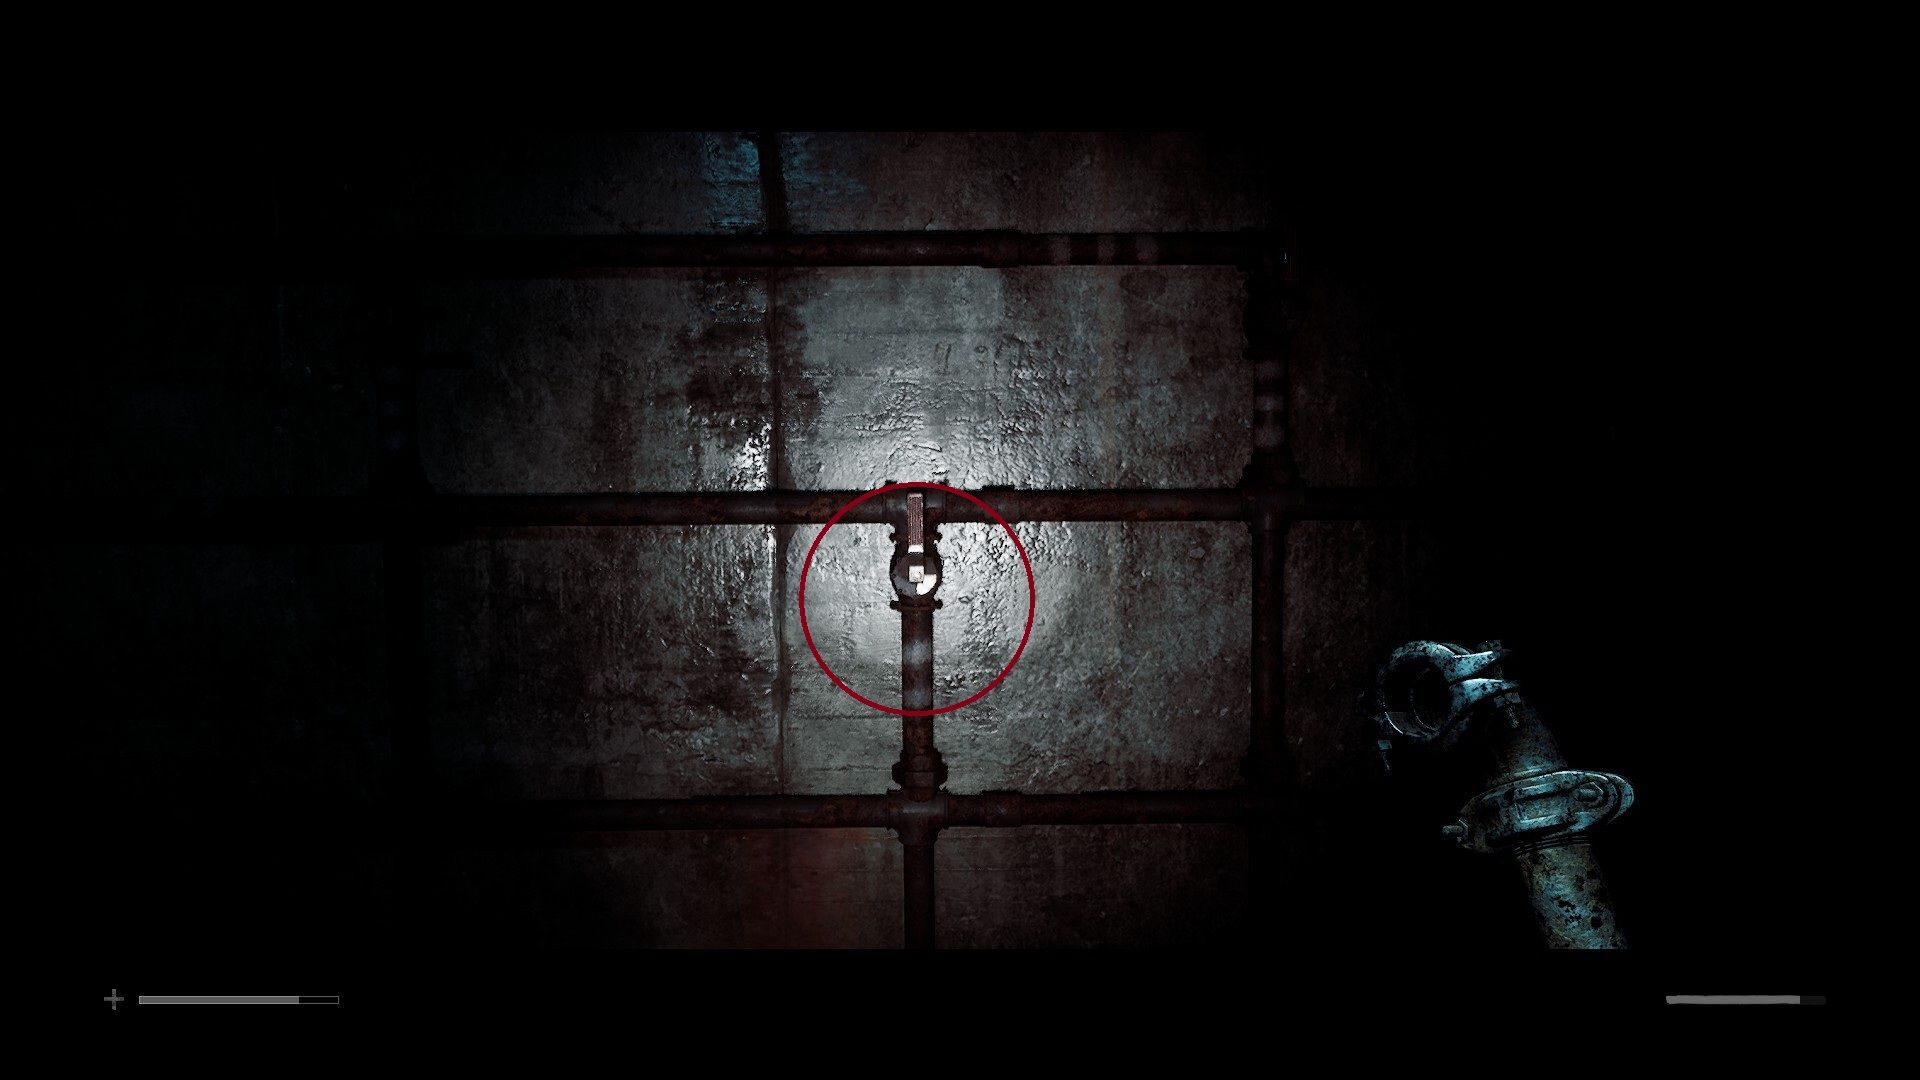
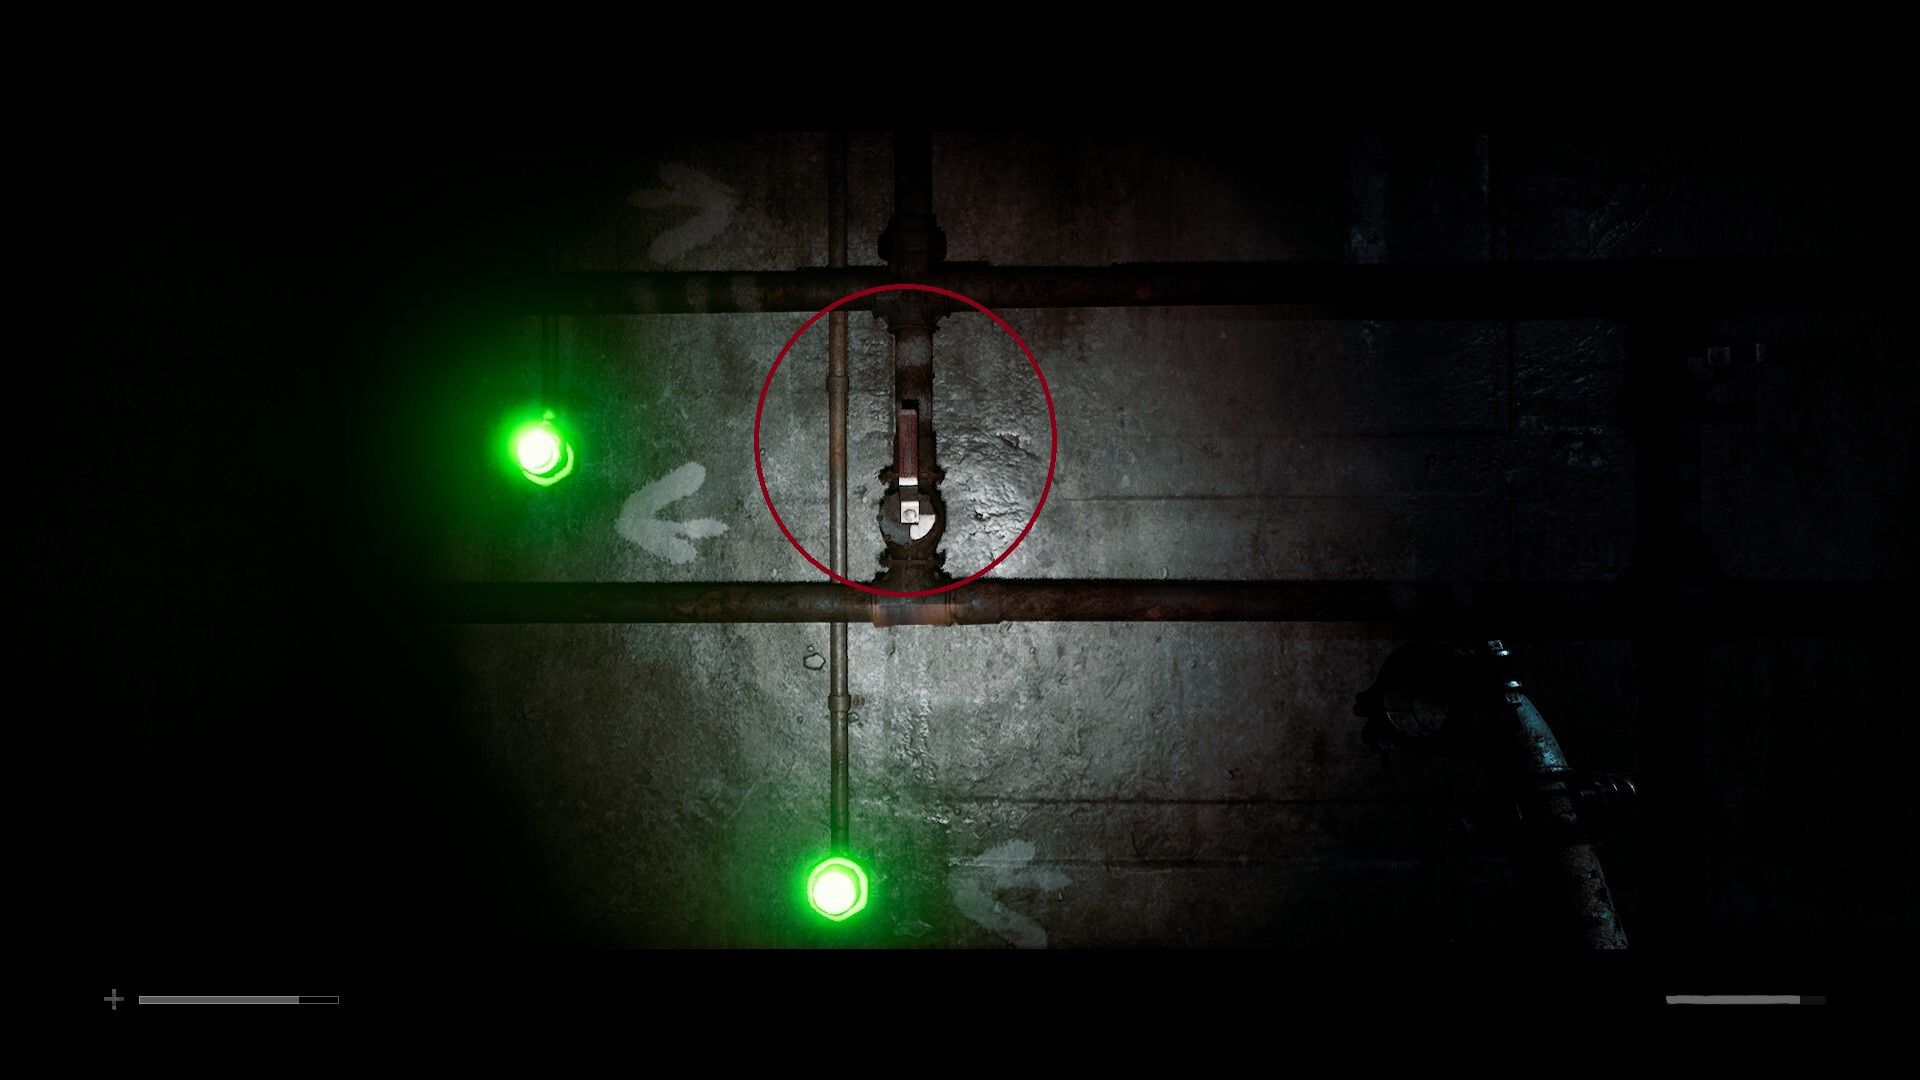
Auxiliary line 2 solution: | _ _ _ | _ _ | |
The second line starts on the wall next to the locker by the middle white arrow. The pattern should be:
- vertical
- horizontal
- horizontal
- horizontal
- vertical
- horizontal
- horizontal
- vertical
- vertical
Again, if you’ve done this right, then the light next to the last lever should turn green.
Auxiliary Line 3
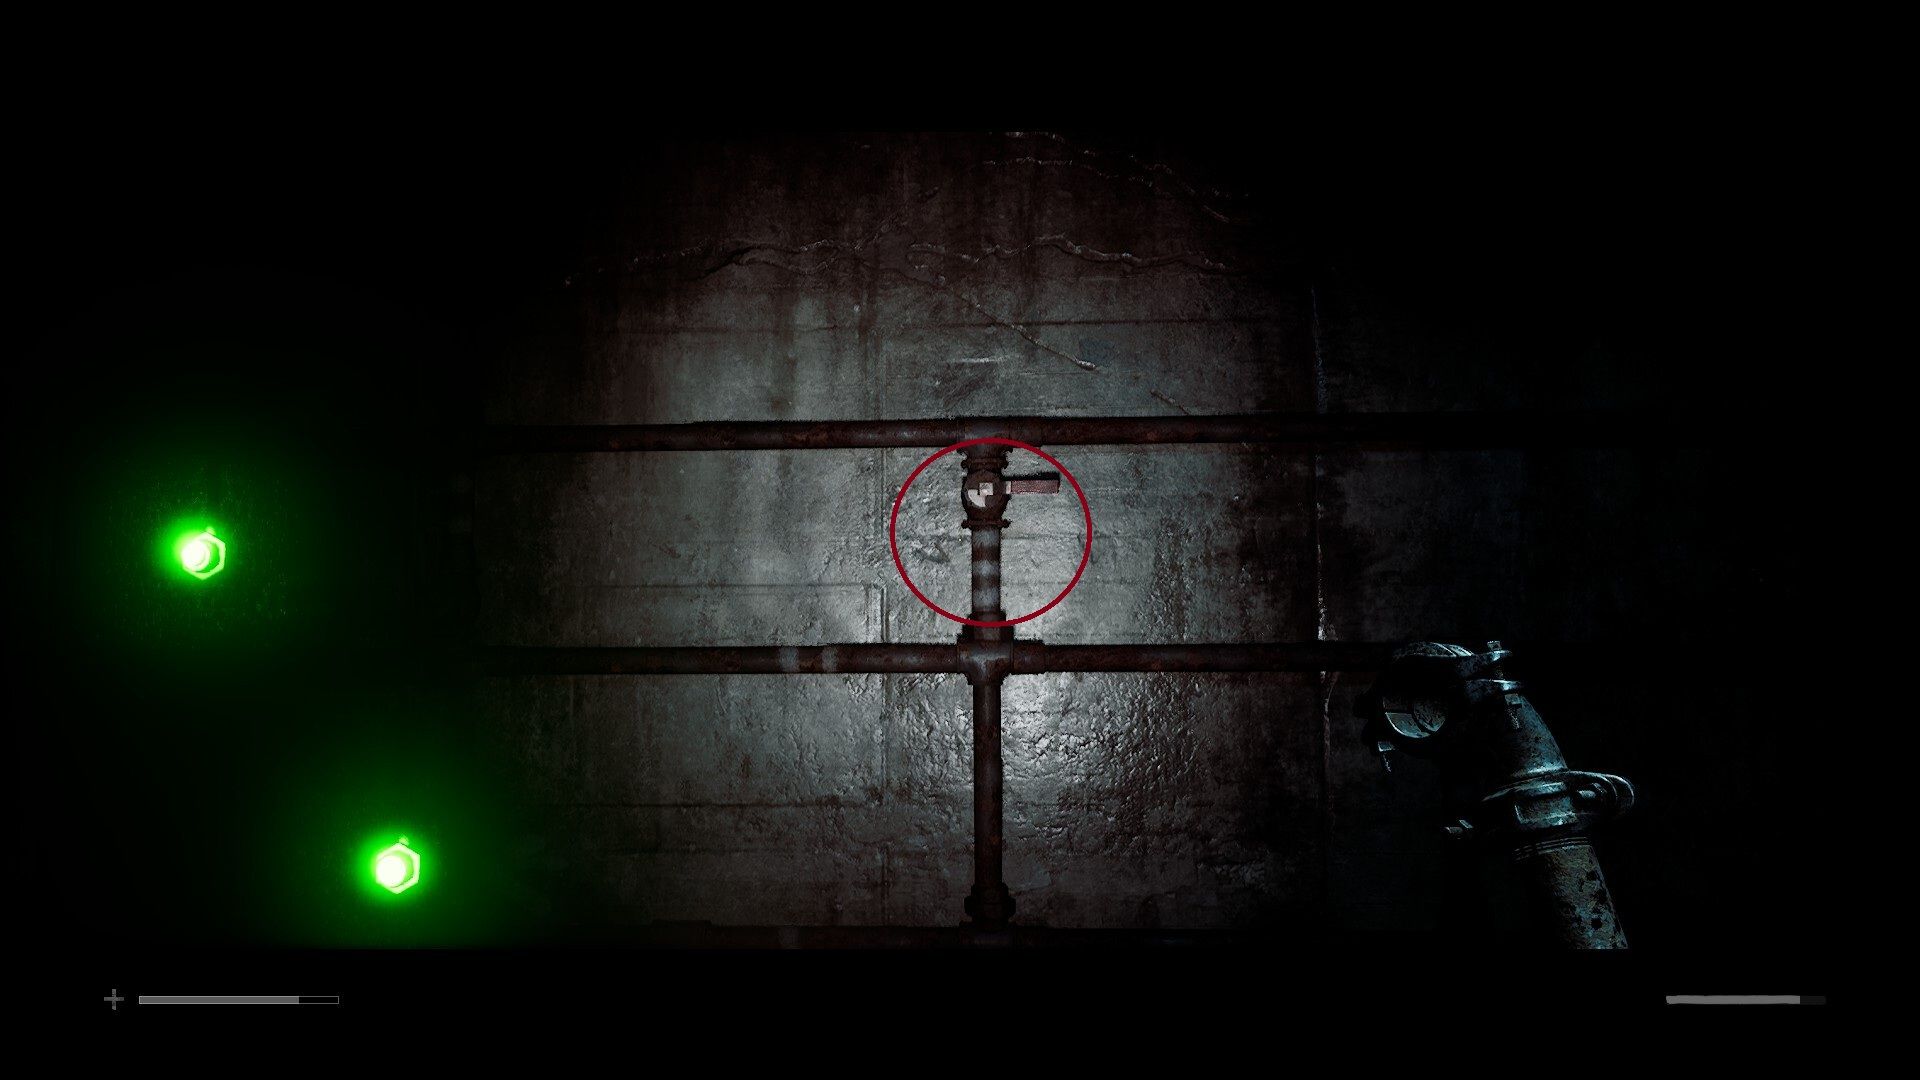
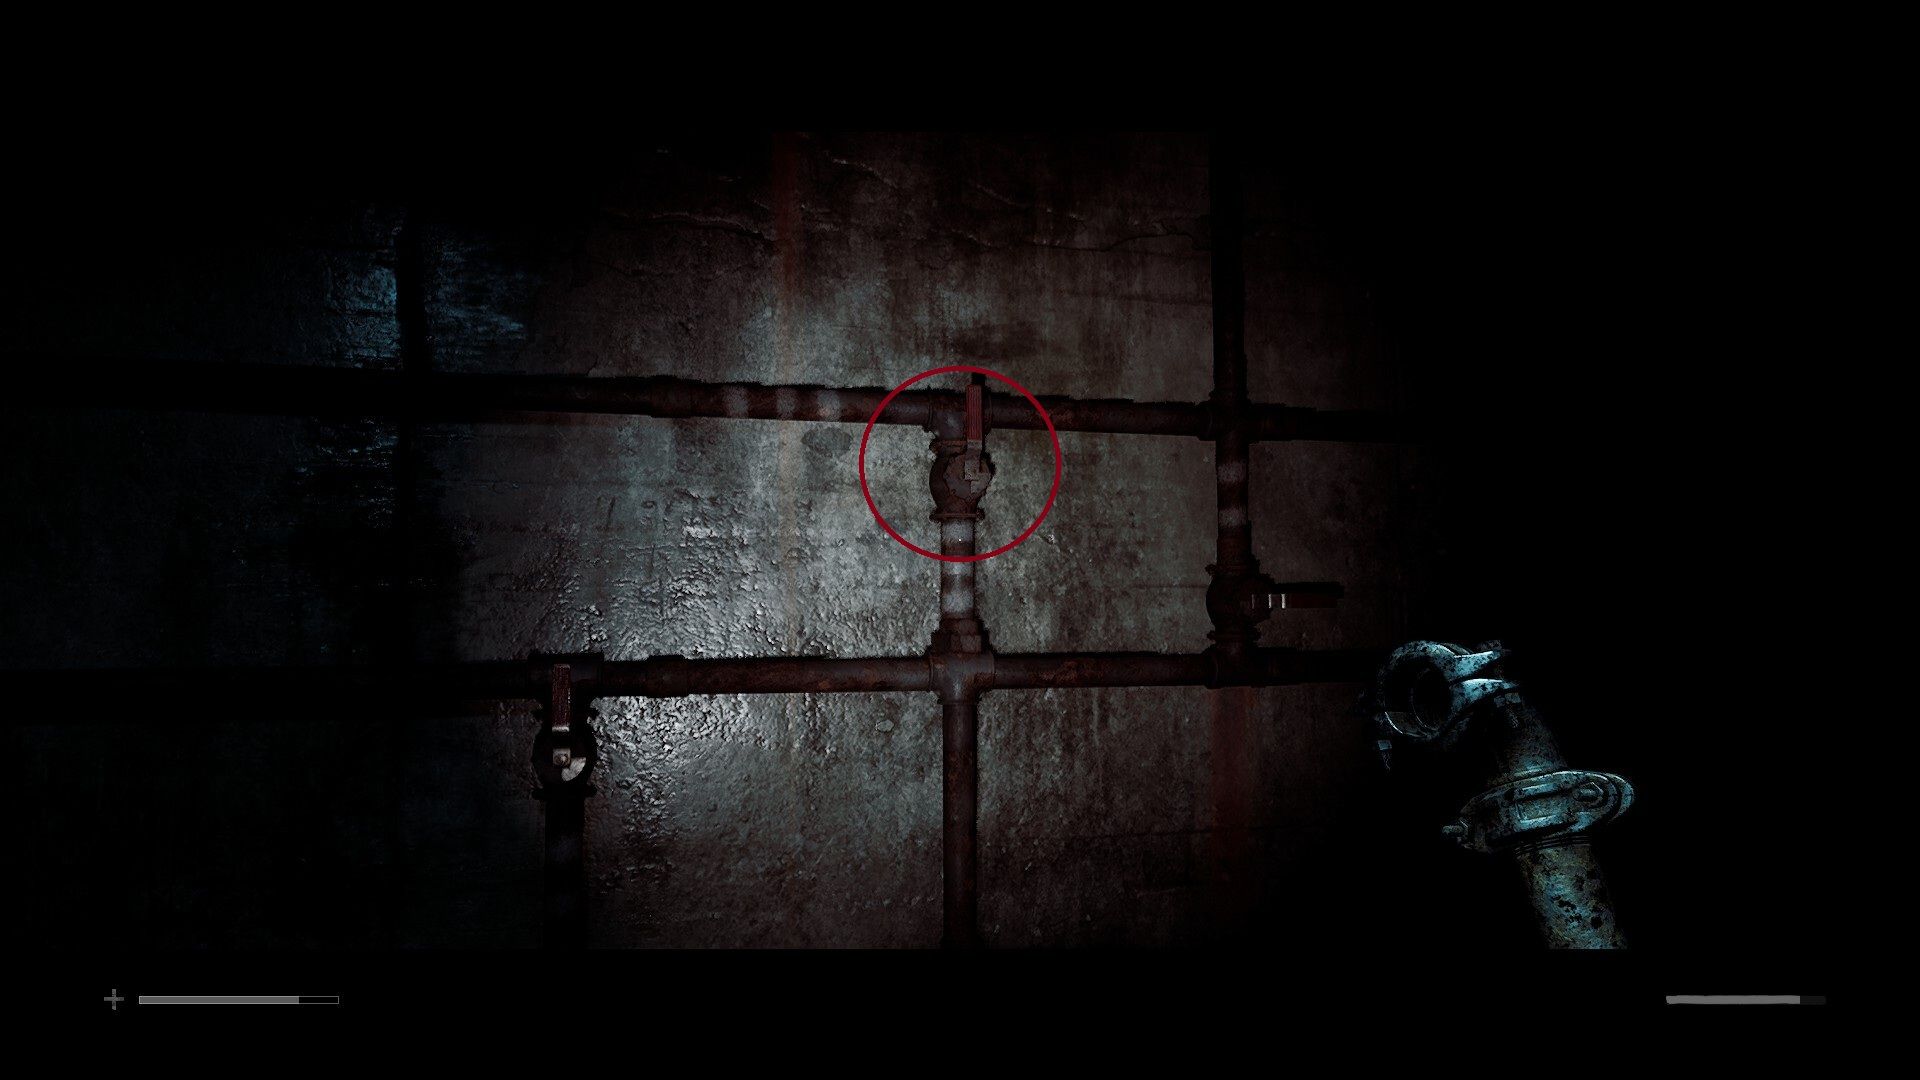
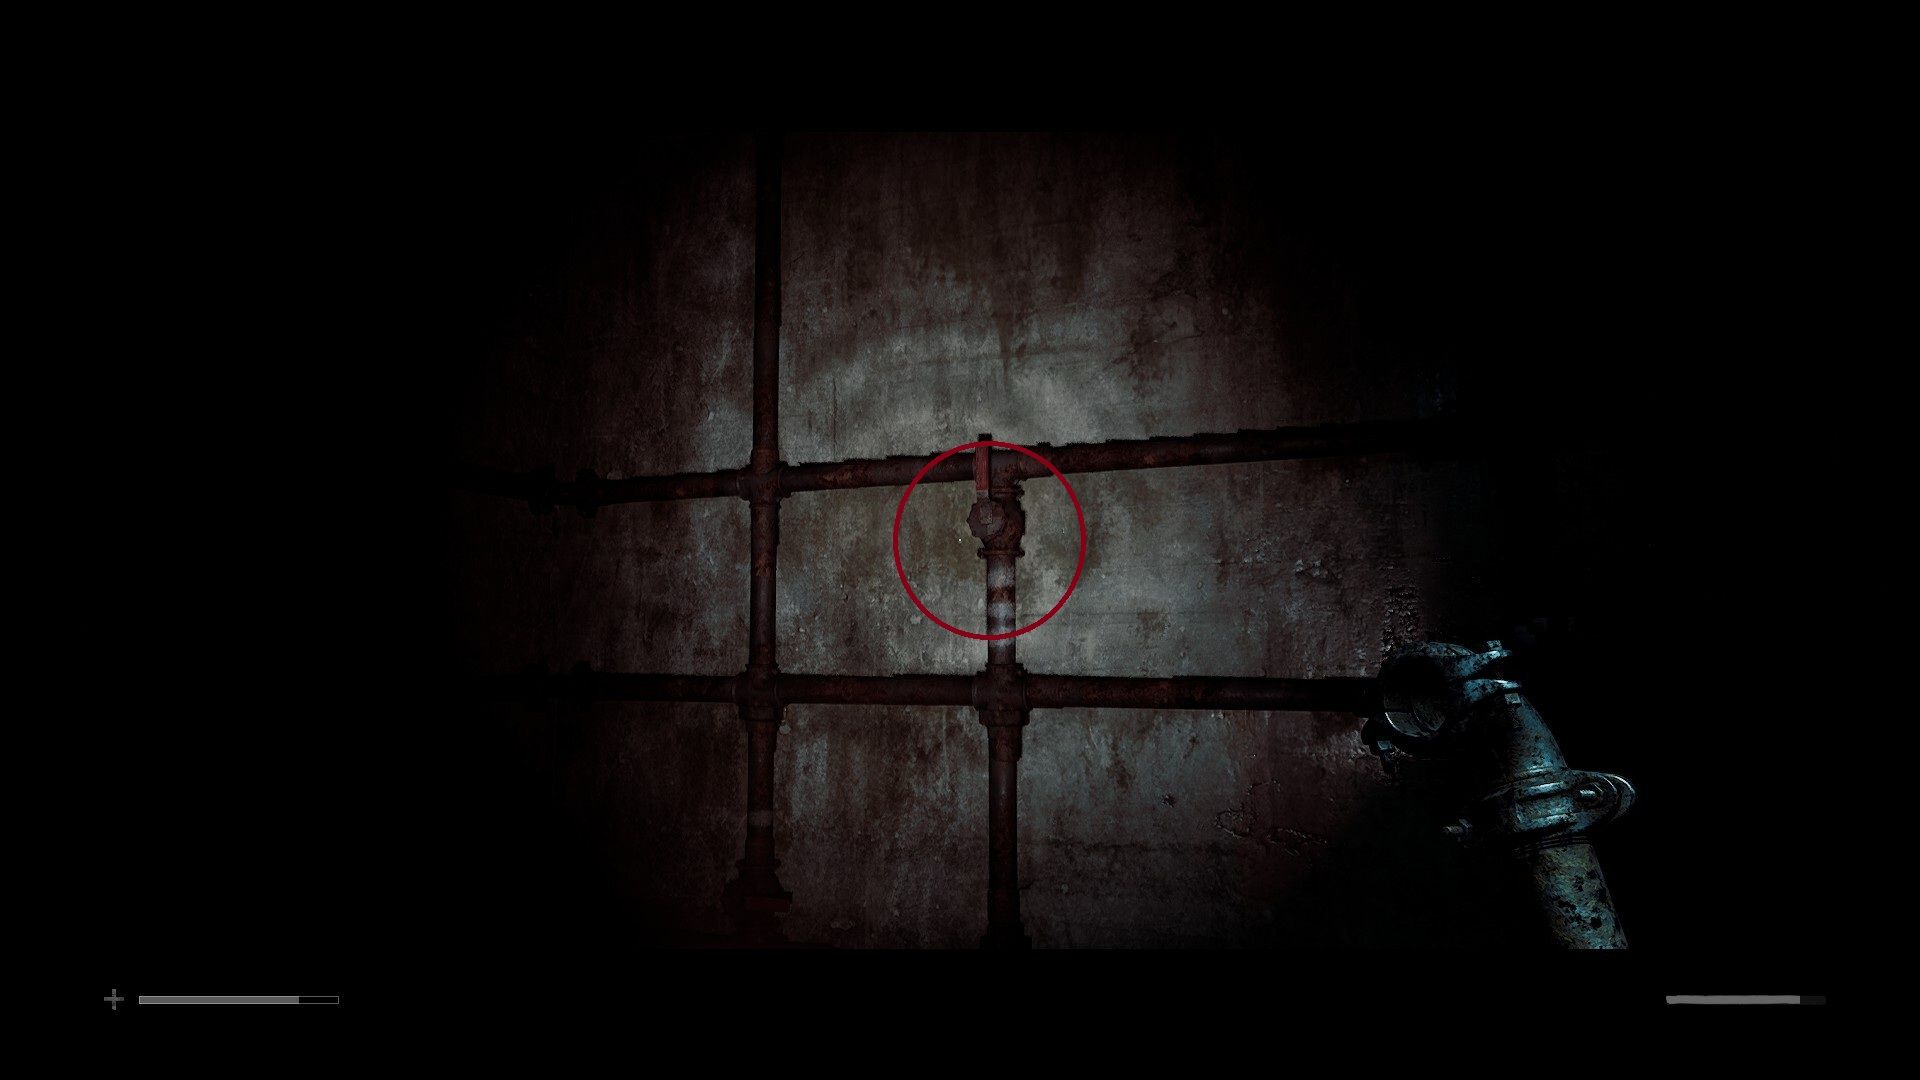
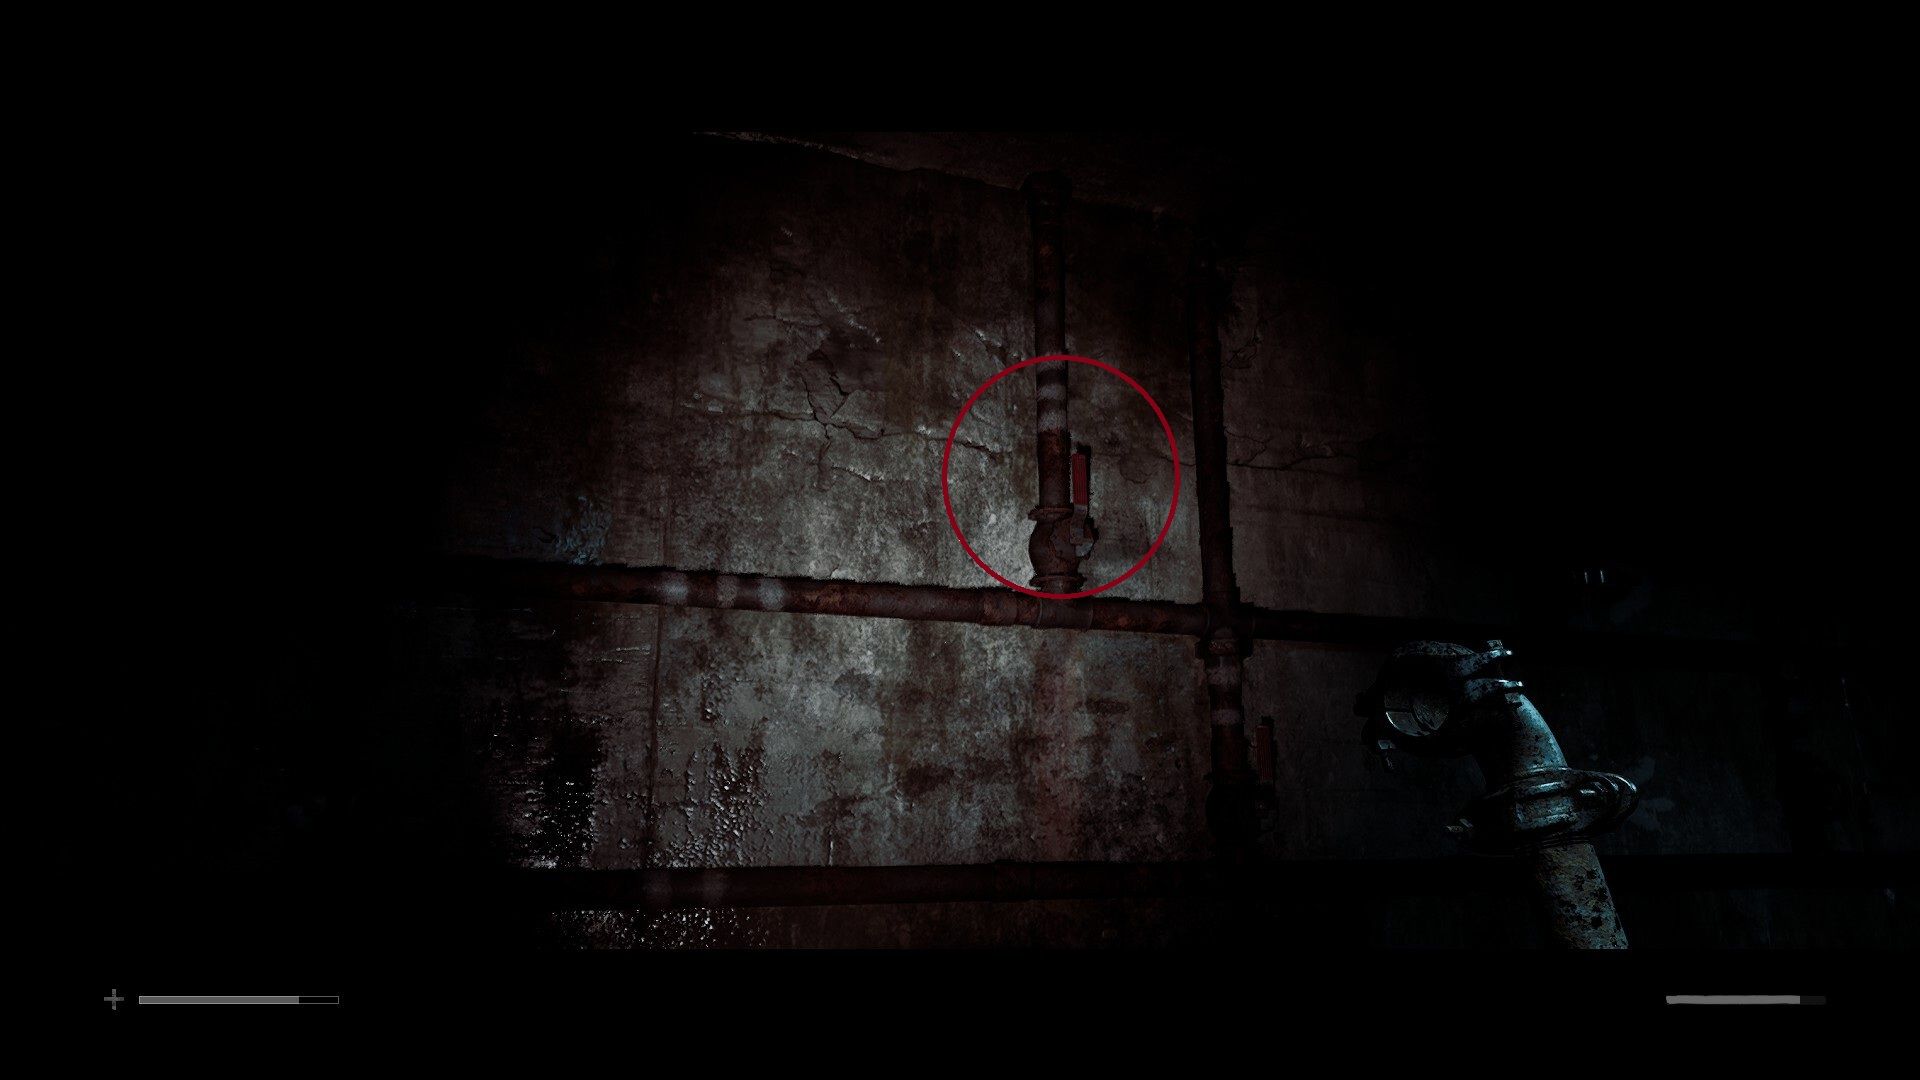
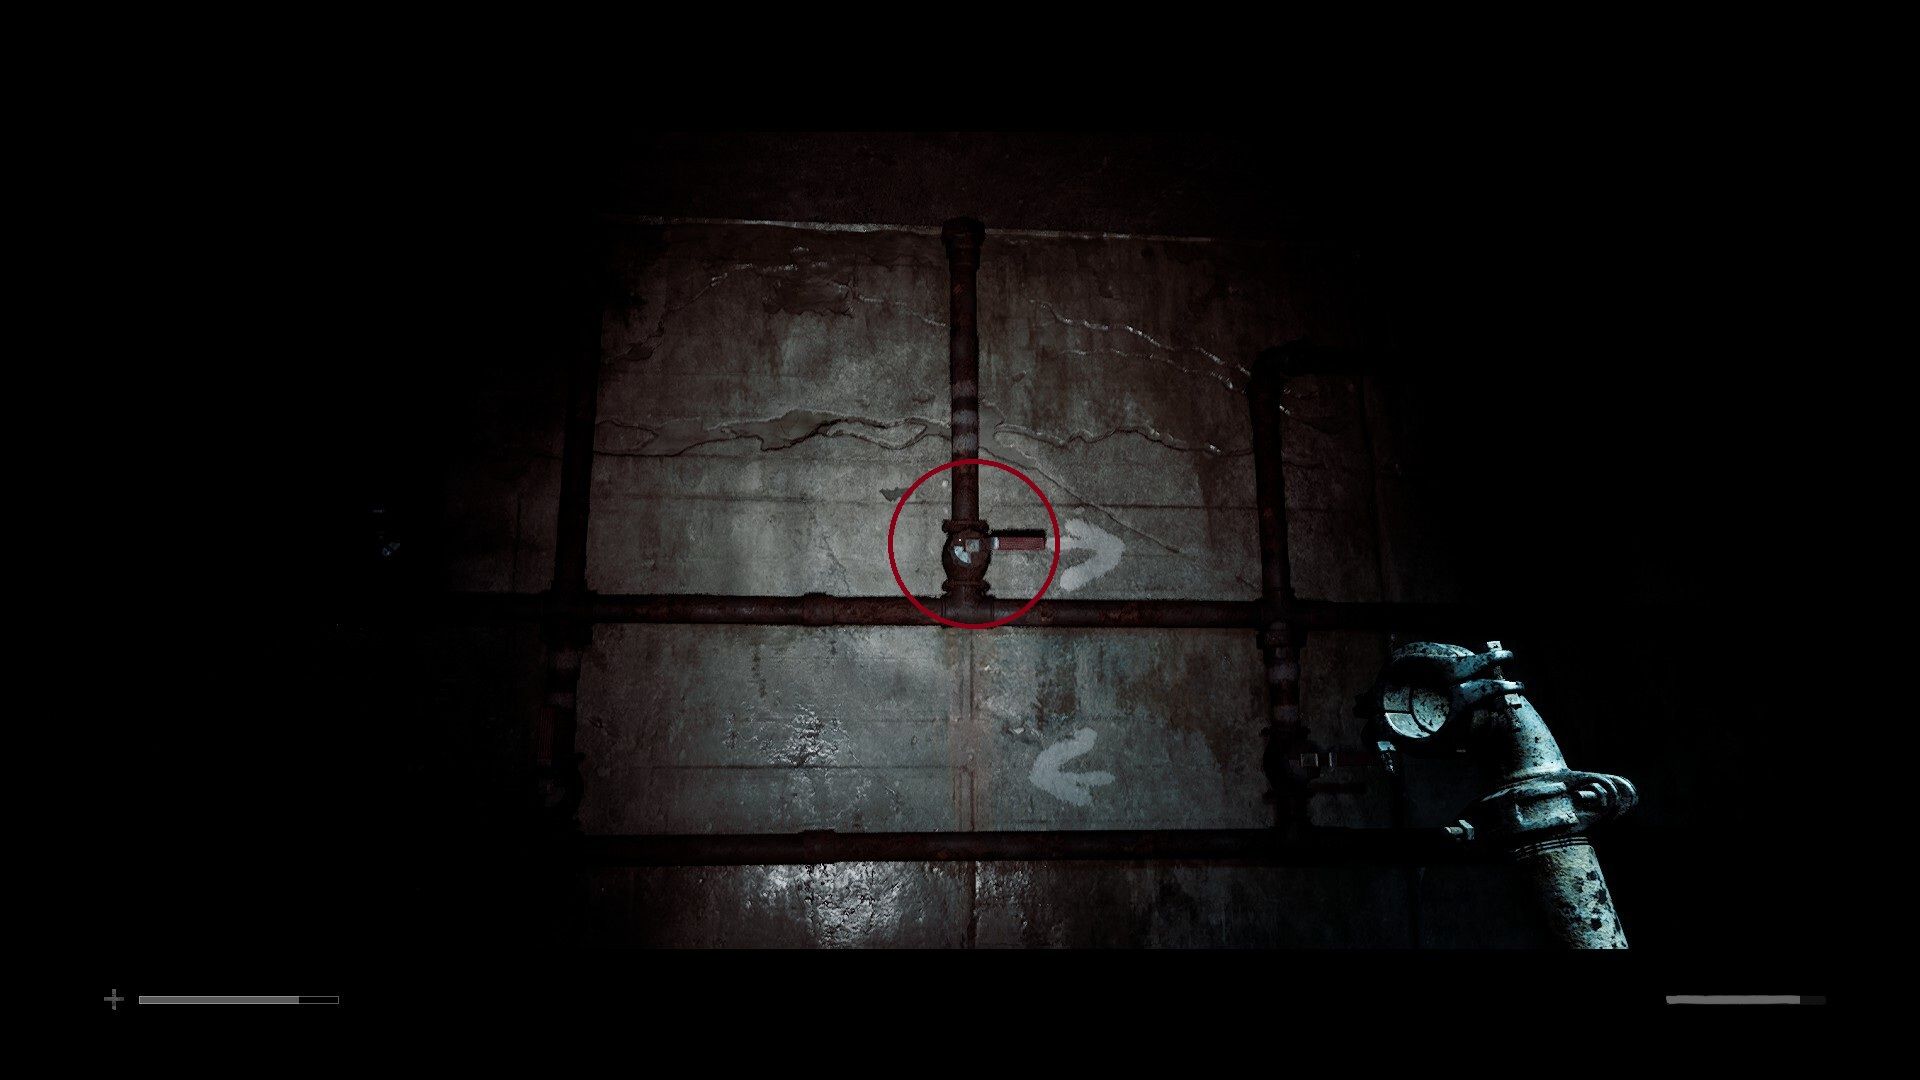
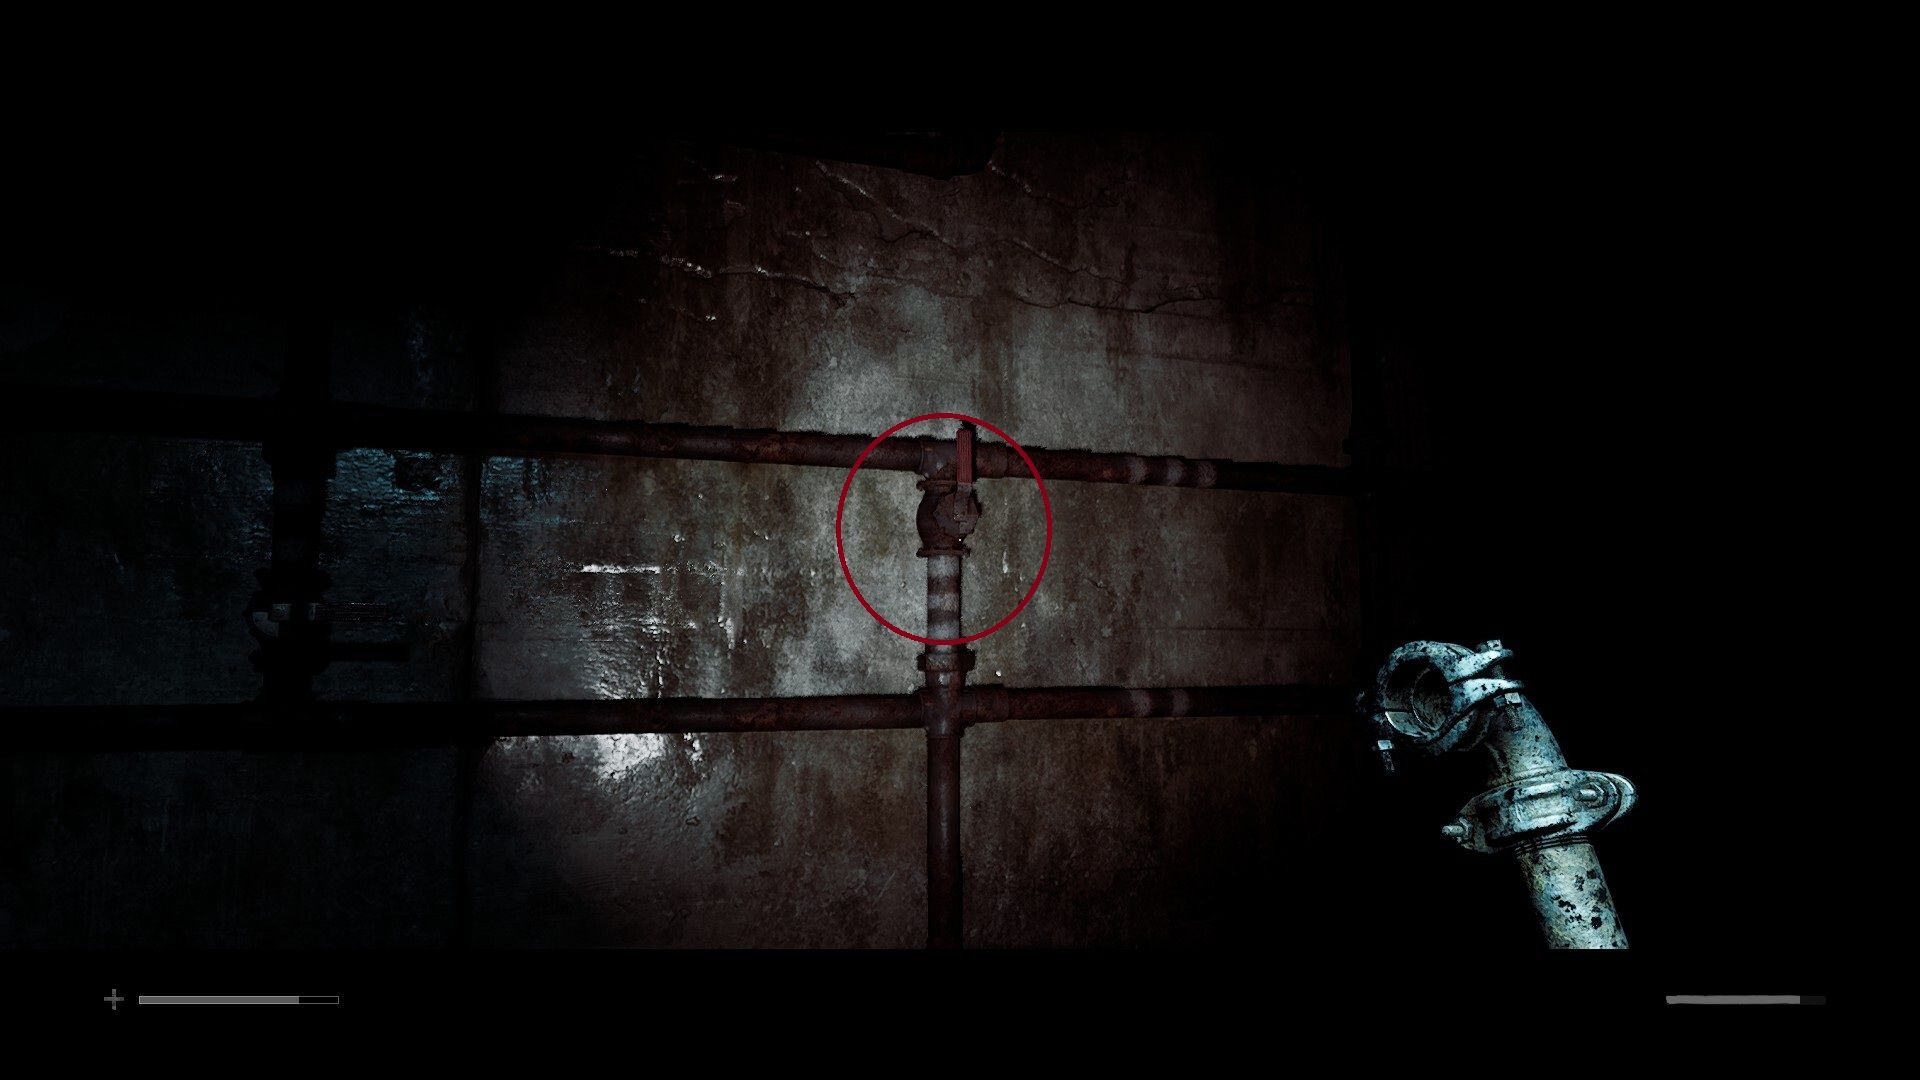
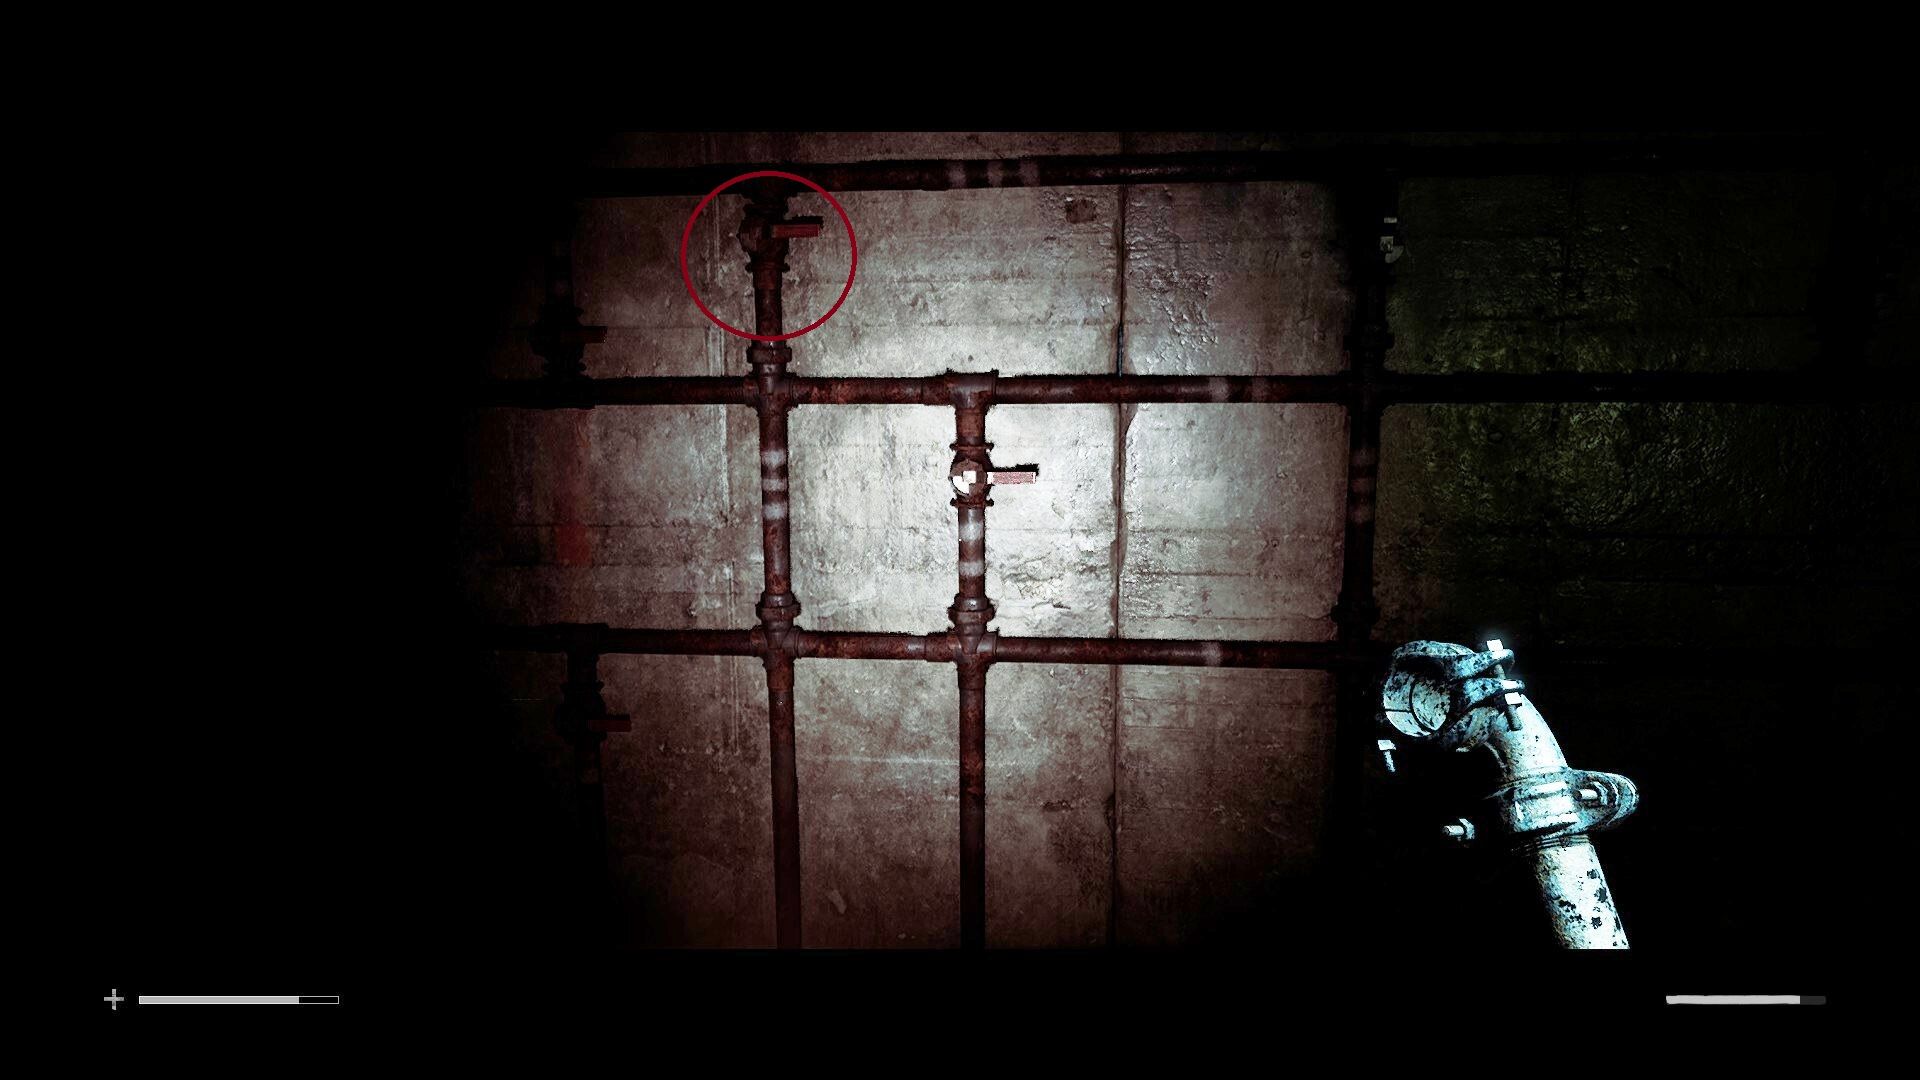
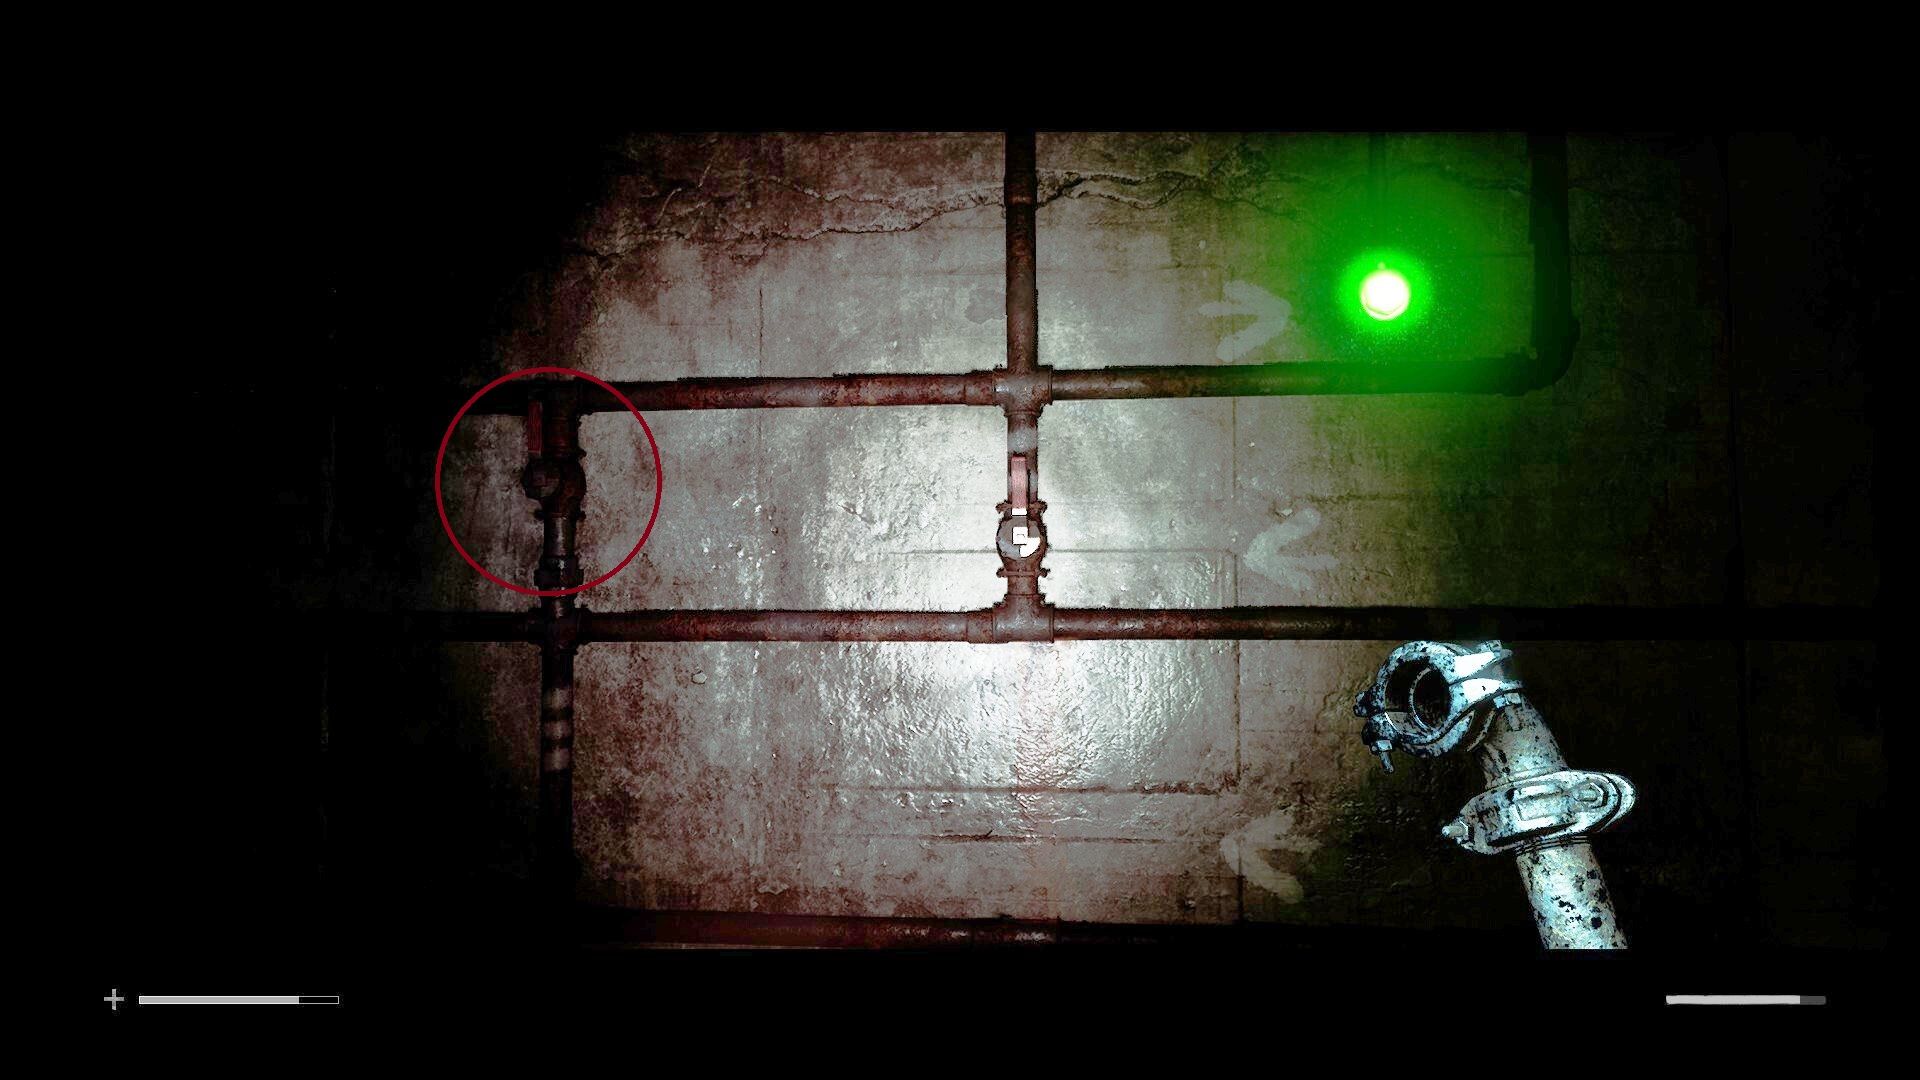
Auxiliary line 3 solution: _ | | | _ | _ |
The third line starts on the opposite wall to the other two, above the second light that just turned green and the pattern should be:
- horizontal
- vertical
- vertical
- vertical
- horizontal
- vertical
- horizontal
- vertical
Again, if you’ve done it right the final light will turn green. That’s the end of that, and now you can leave the room (be careful of the creepies), head back to the elevator, and make your way back to the control room (avoiding The Weight and other monsters) to wrap up your segment in the command centre.
2026 games: All the upcoming games
Best PC games: Our all-time favorites
Free PC games: Freebie fest
Best FPS games: Finest gunplay
Best RPGs: Grand adventures
Best co-op games: Better together