
⚡ Find the Emperor Modulator in the final loot room of the new Emperor dungeon.
⚡ This requires you to craft an Emperor Gateway Conduit via the Redirection event.
⚡ You also have to navigate through the encounters inside The Emperor.
Arc Raiders‘ Frozen Trail update adds a series of upgrades that let you create “Amplified” weapons, but to do this you’ll need a Level 4 Gunsmith bench, which requires an Emperor Modulator to craft.
To get this item, you first have to acquire an Emperor Gateway Conduit blueprint to craft the key required to open The Emperor on the Pendola Pass map. You can apparently find this as a rare drop in Arc Couriers and on other maps, but you can also get it the same way you acquire the materials to craft it:
- Arc Conductive Coupler
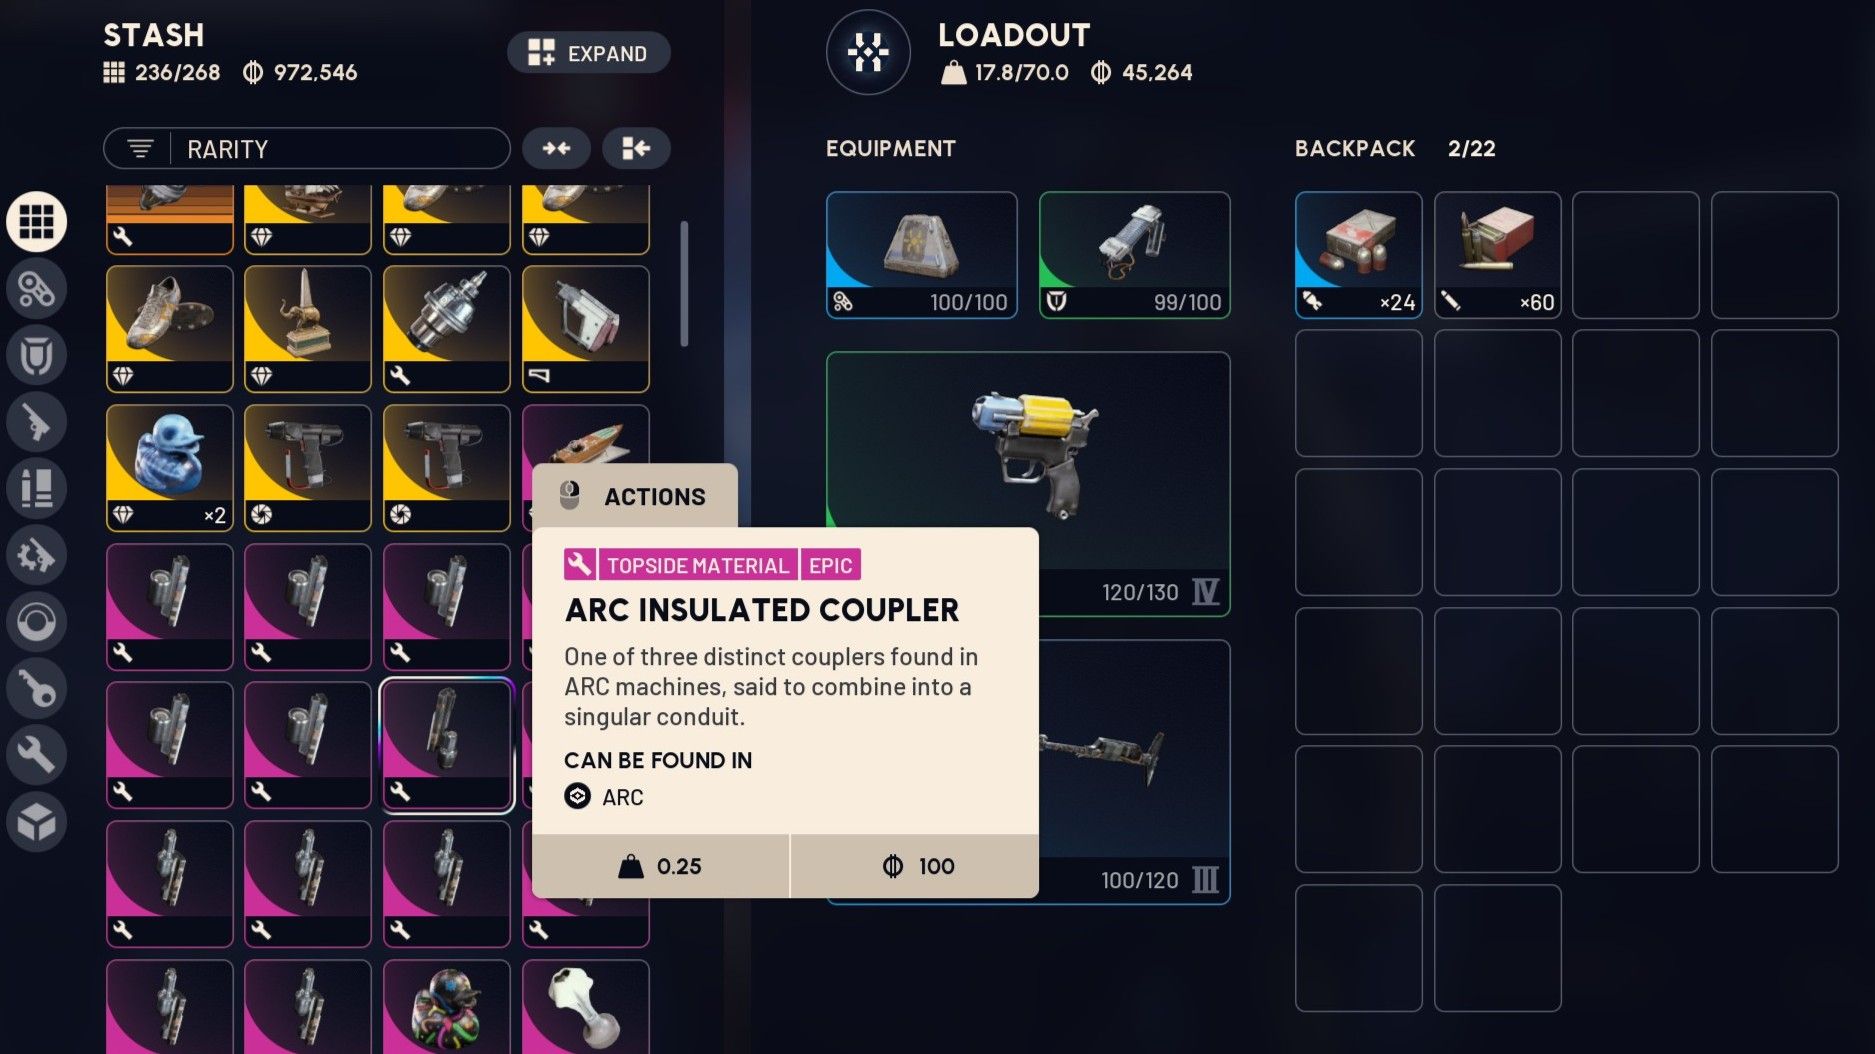
- Arc Insulated Coupler
- Arc Plated Coupler
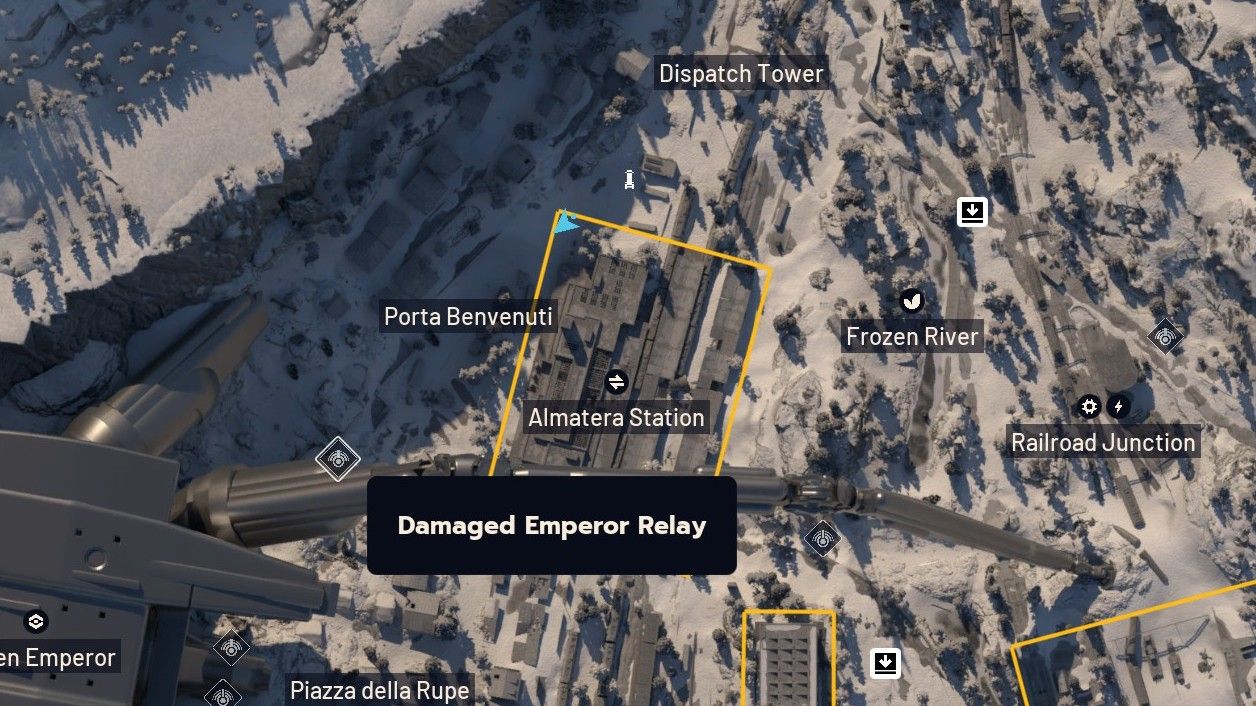
You get all three of these as random drops in the Redirection event on Pendola Pass. Wait for one of the Damaged Emperor Relays on the map to activate, grab the beacon from it, place it down in a quiet open area, and stand back. Harvester payloads will drop in—loot the big central one sticking out the ground for a chance to get one of these materials. You could also try entering The Emperor when someone else unlocks it.
How to complete The Emperor dungeon
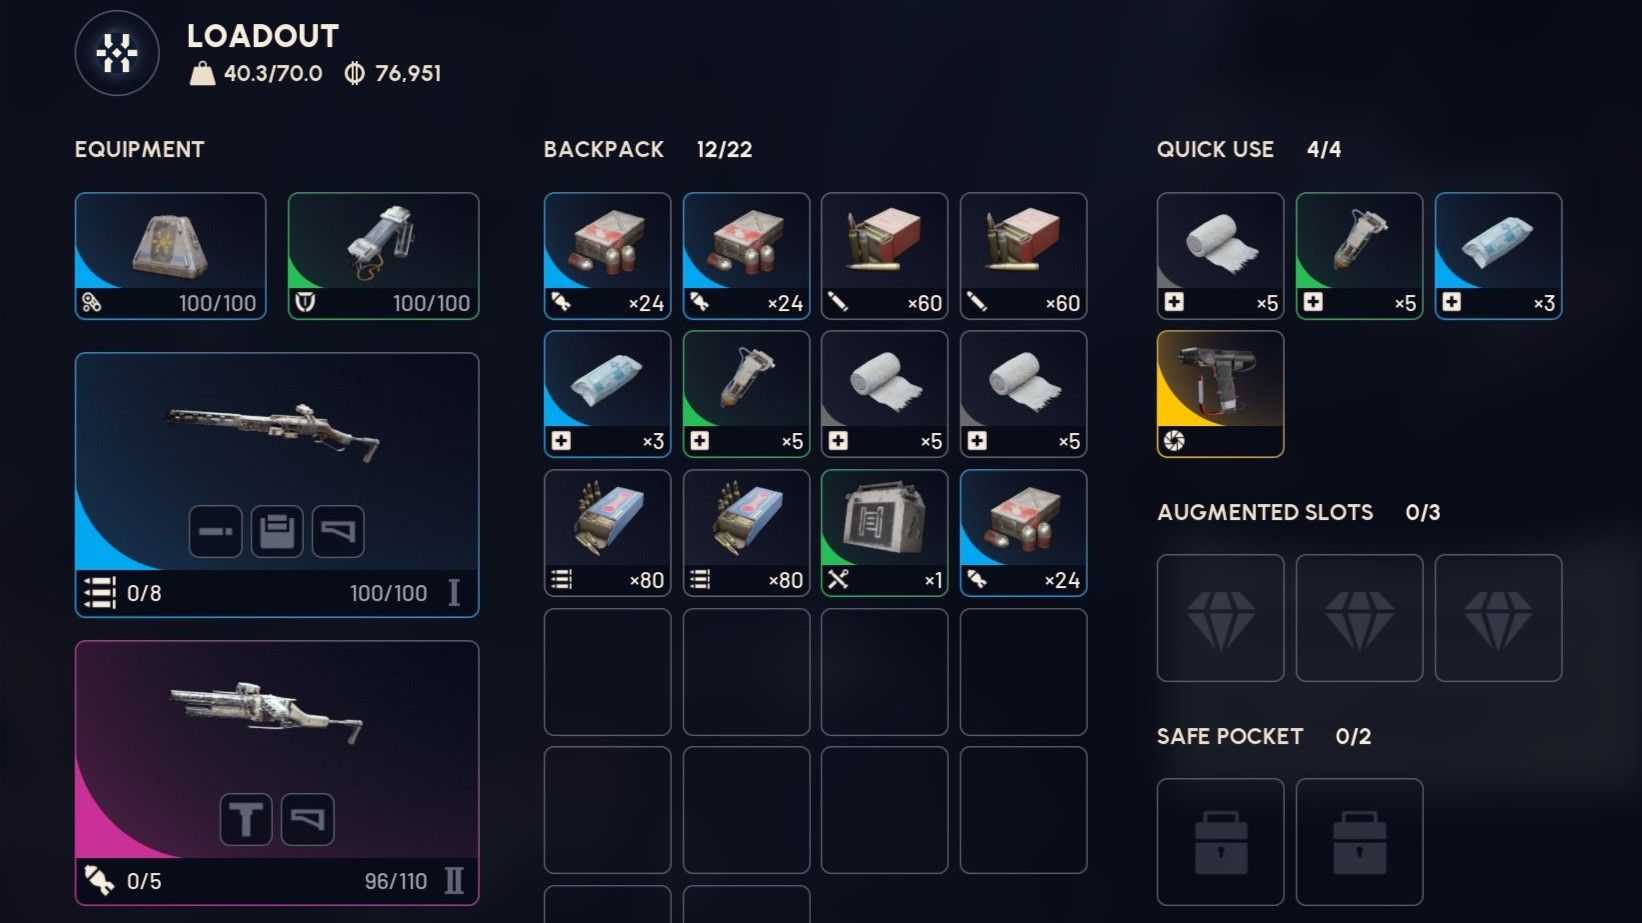
Once you have your key to open The Emperor, you’re ready to attempt the dungeon by opening the door in the west of Pendola Pass, though you’ll need to bring a decent amount of equipment:
- Snap Hook: This is mandatory in my opinion for the platforming puzzles. You could even bring a Grappling Hook as backup in case it breaks, which is a real possibility your first time.
- Anvil or Renegade: You’ll need this to destroy the yellow nodes in the more puzzly encounters.
- Hullcracker: This is for destroying the Hydra turrets inside The Emperor. You could also use a Rascal, though it’ll slow you down a bit.
- Plenty of healing and shield rechargers: There are many hazards inside the dungeon, so you’ll want plenty of healing.
- A Looting augment: You’ll want plenty of space to pack in loot, plus a couple of safe pockets for more valuable items, including the modulator.
You can loot containers along the way for Amplification Modules, but the red ones will explode after a short delay
In terms of a play-by-play of the specific encounters, this walkthrough by crazymrpipz is really good and I can vouch for its accuracy having completed the dungeon myself, though I’ll also lay out the encounters below.
The initial section with the corridor, the Hydra turret, and the electrified elevator you make safe by destroying the yellow nodes is always the same, but at the top of the elevator, The Emperor has multiple possible encounter layouts:
The Emperor layout one
1. Pillar Room
You’ll slide down a ladder into a room filled with floor-to-ceiling pillars. Destroy the yellow nodes on the pillars to lower a pillar so you can ride it up.
2. Crusher
When the pillar reaches the top, you’ll enter a room where the walls close in. Wait for them to pull out, then run to the end without a door, being wary of the gas which lowers stamina. Turn left, wait for the walls to crush in again and quickly platform through the area behind them to reach the door.
3. Hydra Room
You’ll approach this room from below in this layout. Being wary of the Hydra turrets around the room, and the crusher below, use your Snap Hook to quickly ascend to the door in the top left side of the room. Destroy any Hydras that activate and target you with your Hullcracker.
The Emperor layout two
1. Container Room
You’ll enter a room filled with containers and harvester payload racks. Snap Hook to the top and jump onto the container that lowers to ride it up.
2. Laser Tunnel
This is a tunnel of spinning lasers that deal a lot of damage. If you crouch in the centre, behind the drum that blocks the lasers, you’ll be safe. Time your movements to reach the end while taking minimal damage.
3. Hydra Room
In this layout, you approach from above. Drop onto the crate ahead of you, kill the first Hydra that activates, then slide down the rail to your front, run around it, and Snap Hook up to the door on the left before the other two Hydras behind can zero in.
There might be more layouts than this, but the Hydra room seems to be a fixed encounter no matter what. After this point you will:
- Descend down a tube, carefully dropping from platform to platform.
- Enter into another room filled with pillars, but this one is a maze.
- Ascend up a couple of tubes by Snap Hook-ing between boxes, avoiding the electrified ones, and climbing ladders to reach a door.
You will enter the final room, drop down onto a lower platform and descend a ladder to the base, though when you touch the floor, the big door at the far end will open and a load of Arc enemies will appear. Hiding is a good idea to see if they leave as opposed to fighting them all. Afterwards, you can loot the containers and also destroy the yellow nodes on either wall to reveal even more loot payloads which pops out of the racks.
One or two of these will contain Emperor Modulators, so make sure to stow one in your safe pocket. After that, you can either leave via the big hatch that opened, or the side doors if you destroyed the yellow nodes.

Arc Raiders guide: What’s hot this week
Arc Raiders roadmap: New and improved
Arc Raiders best skills: Survive the surface
Arc Raiders best weapons: Just don’t lose them
Arc Raiders Expeditions: Retire your Raider
Arc Raiders quests: All the missions and how to beat ’em